How to create rumbling techno kick drums with reverb
Custom tricks for techno kicks
Want all the hottest music and gear news, reviews, deals, features and more, direct to your inbox? Sign up here.
You are now subscribed
Your newsletter sign-up was successful
Whether your latest electronic production demands a thudding ‘knock’ or a full- frequency pulse to underpin the rhythm, the kick drum is one of the most important elements to get right. Find the perfect bass drum to suit your other parts, and everything else will slot into place.
In this tutorial we will show you how to create that stalwart of any techno track, the perfect rumbling kick with reverb to accompany those rhythmic hi-hats.
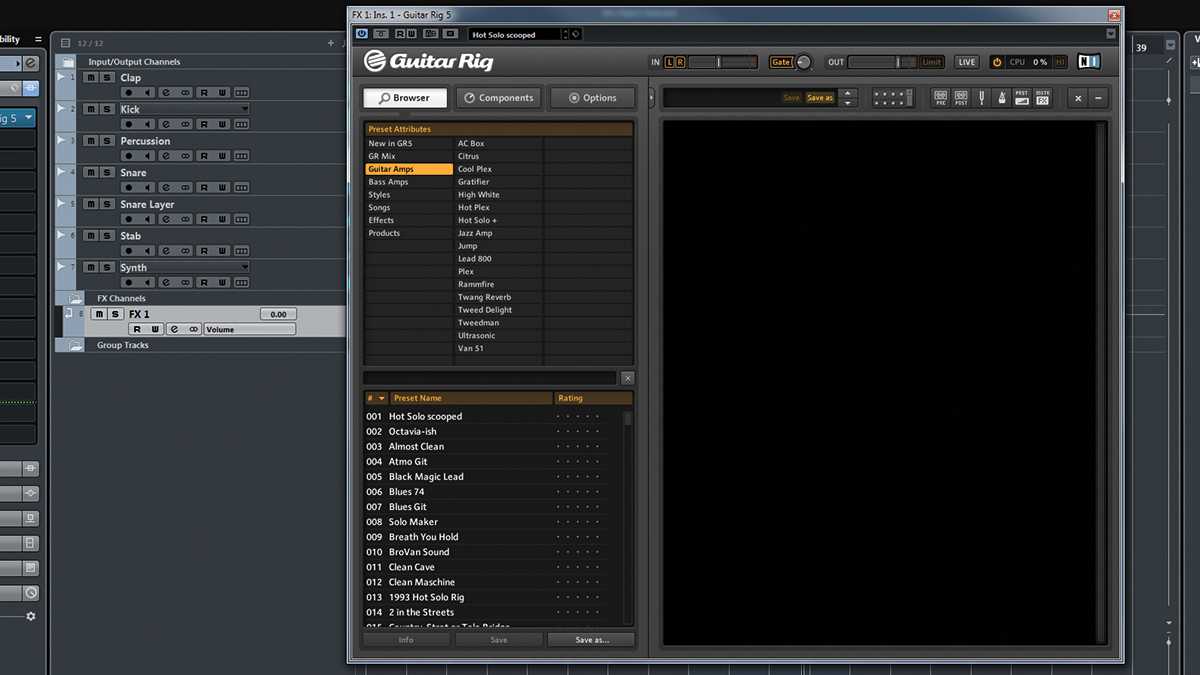
Step 1: Many techno records feature a rumbling, industrial-sounding rhythmic kick reverb that contrasts with the percussion for an interesting groove. Let’s create one from scratch. Drop our Tutorial Files into any blank 125bpm project, then set up an empty FX bus. Kick-off by loading a distortion effect – NI’s Guitar Rig 5 – on our new bus.
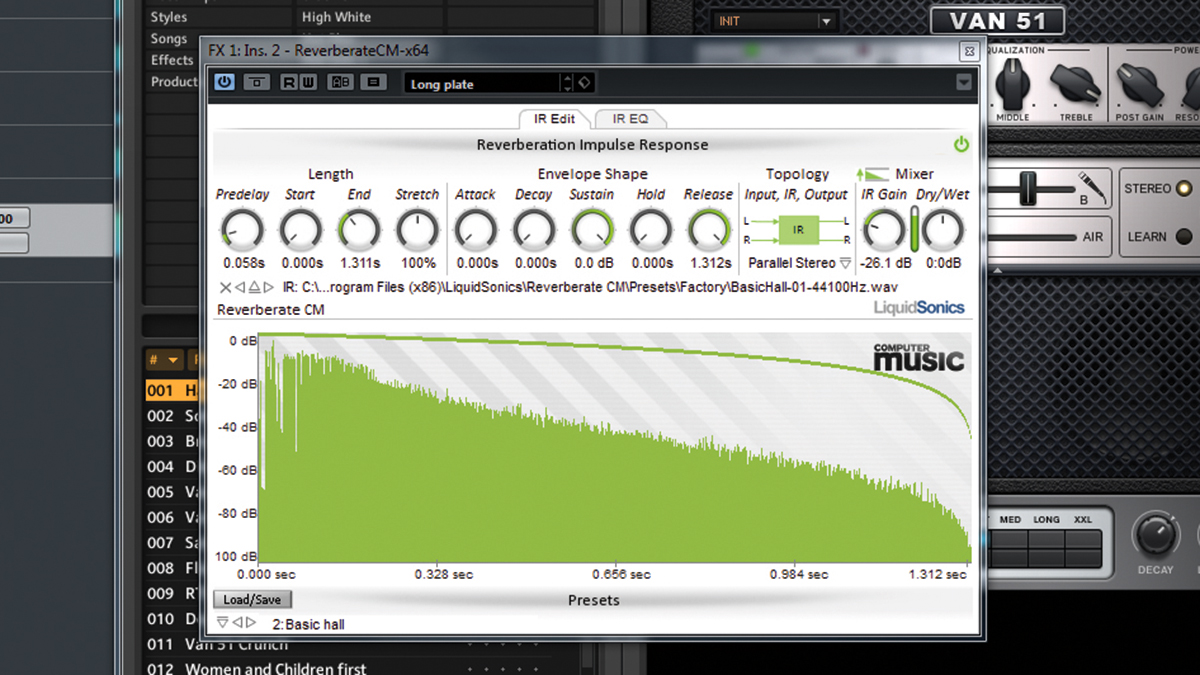
Step 2: First, set up a 0dB send from the Kick channel to our FX bus. Open Guitar Rig, and choose one of the Van51 presets: Hardcore51 adds a nice crunch to the kick in this case. Next, we’ll add some reverb using Liquidsonics’ Reverberate CM. Open the plugin and load up the Basic Hall preset. This gives our kick drum a splashy, wide feel.
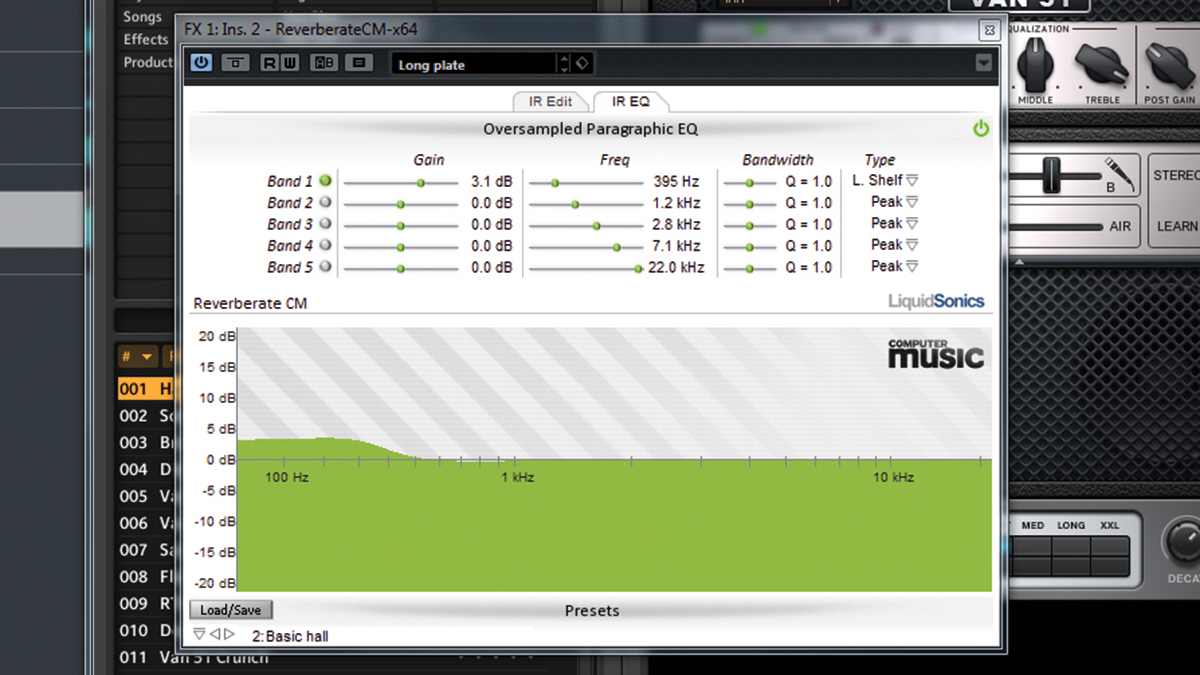
Step 3: Push the Wet/Dry dial to 1 o’clock to mix in a little more reverb. Next, we open the IR EQ tab and add some bass to the reverb signal by boosting Band 1 to +3dB or so. You’ll hear the reverb’s low frequencies fill out. Next, we can give the effect more of a rhythmic feel by adding some delay…
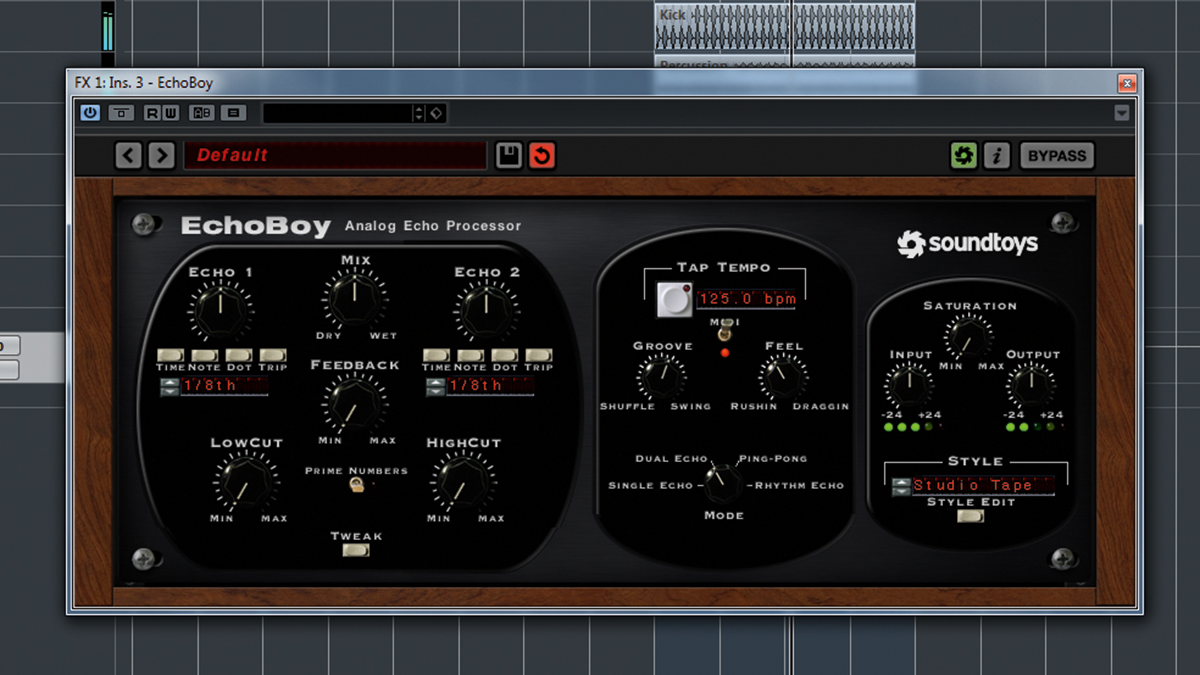
Step 4: Add Soundtoys’ EchoBoy to the return track, then put it into Dual Echo mode. You’ll hear that classic rumbling techno kick reverb take on a new rhythm – exaggerate this by adjusting EchoBoy’s Groove and Feel controls to your own taste. We then add in a bit of Swing with the Groove dial and tweak the Feel towards Rushin.
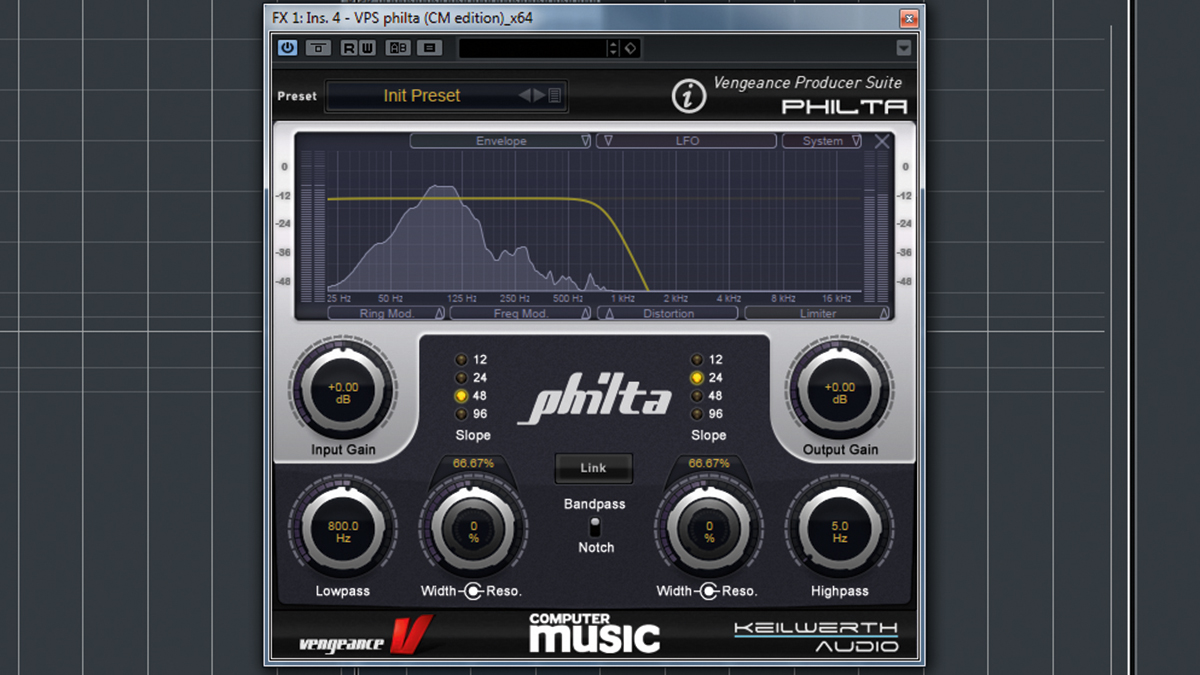
Step 5: We can tidy up our rumbling reverb by using a low-pass filter to remove the highest frequencies. Call up Vengeance’s Philta CM (free in Plugins), then adjust the Lowpass frequency until you hear just the low-frequency rumble without any high-frequency splash – we’ve set ours at 800Hz. Changing the filter Slope to 48dB increases the steepness of the filtering.
Want all the hottest music and gear news, reviews, deals, features and more, direct to your inbox? Sign up here.
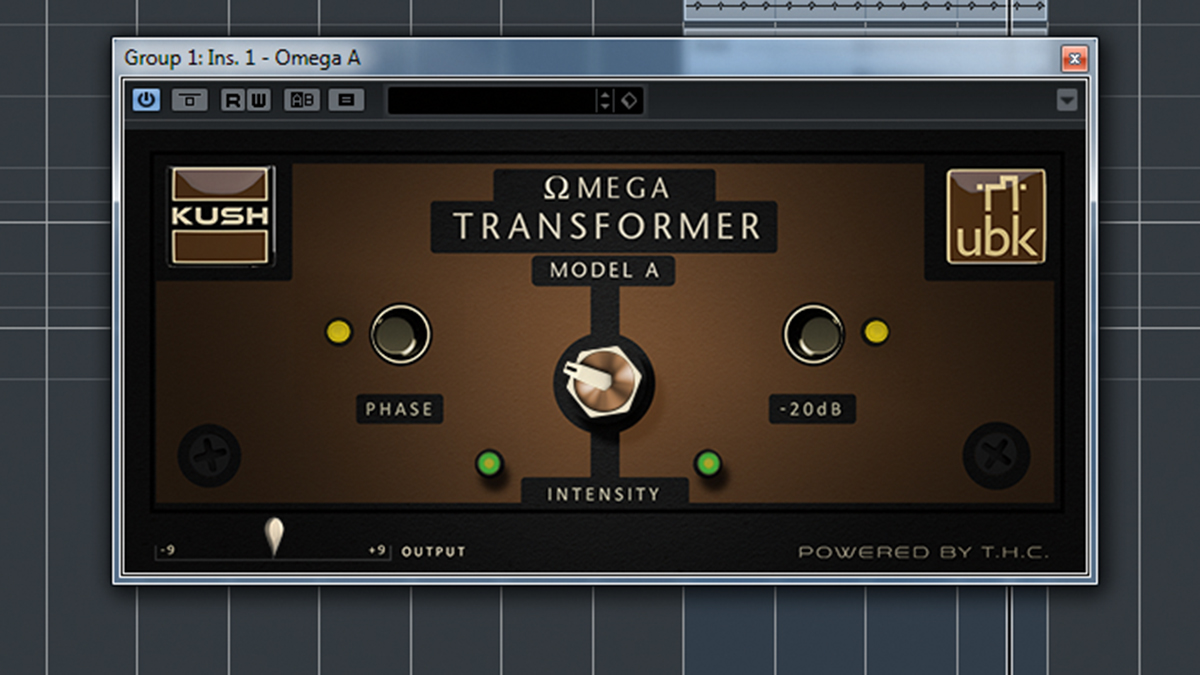
Step 6: To finish, we’ll route the dry kick and reverb send to a fresh group channel, so we can apply further processing. Kush Audio’s Omega A preamp is perfect for adding some crunchy analogue glue and weight to the kick and reverb combo. Adjusting the Intensity amount gradually introduces distortion that can be great as an effect when automated in a track.
Computer Music magazine is the world’s best selling publication dedicated solely to making great music with your Mac or PC computer. Each issue it brings its lucky readers the best in cutting-edge tutorials, need-to-know, expert software reviews and even all the tools you actually need to make great music today, courtesy of our legendary CM Plugin Suite.
