How to use the '3 reverb approach' to nail reverb in almost any mixing scenario
Choosing and adding reverbs can seem daunting, but this simple technique should get you up and running in no time at all
Artificial reverb is a major mixing topic, and in the coming months I’ll be looking at more specific single-reverb techniques. This month, however, the focus is on some basics and a reliable technique that I use myself very regularly.
But first, it’s important to appreciate that artificial reverb can be used in many ways including creating a common space for elements in a track, adding a specific spot effect, or even in combination with recorded ambiences – drum kits for example.
Next up, genre is important, so reference relevant material (see the pro tip). And remember, you don’t have to use reverb at all, and sometimes delays will add the sense of space that you’re after.
This technique is an overall approach where you set up three reverbs, which I’ll loosely call small, medium and large, each on their own auxiliary. The decay of the reverbs is not set in stone, but in general terms, the small one is designed to help add tight ambience/width, the medium one is a regular, quite rich, room (and probably the reverb you’d initially reach for) and the large one is designed to add a long and coloured space.
Within that framework, look for reverbs that suit your track, combine reverbs if it works and expect to adjust your send levels throughout your mix. And remember, this is an approach and not restrictive, so use what you need and add more reverbs if required.
That’s the idea. Let’s put it into practice.
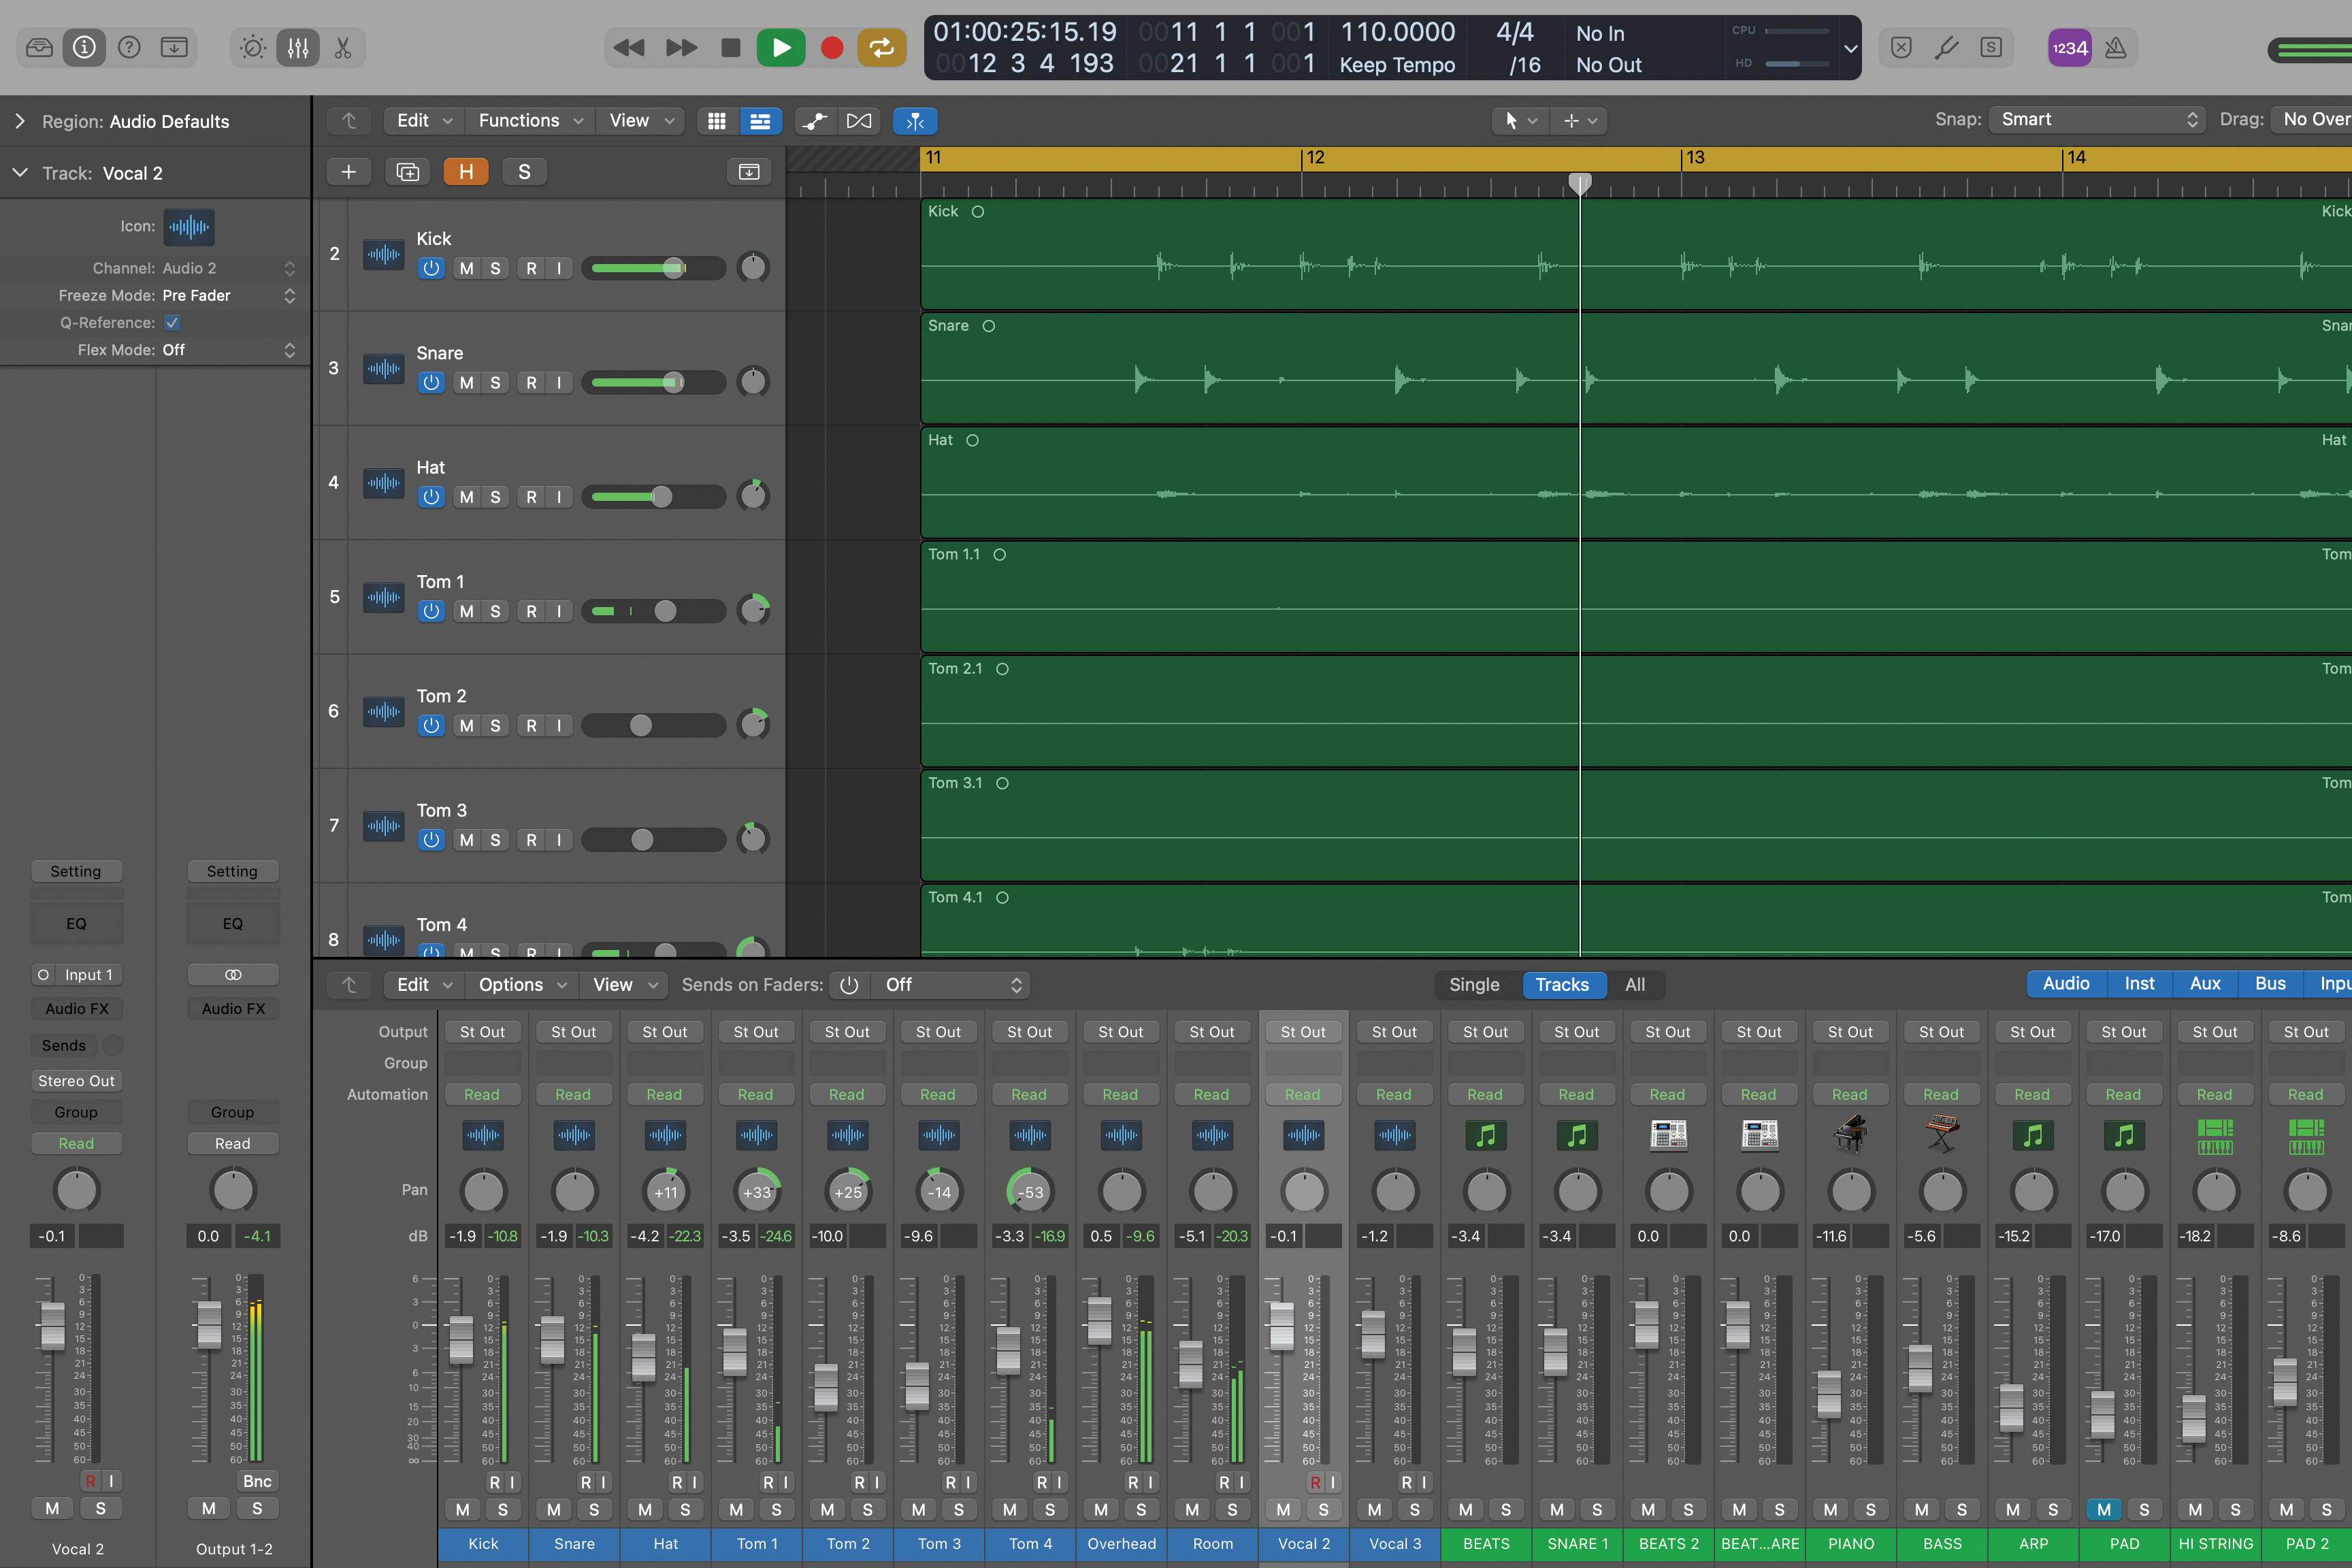
Let’s try the technique in a couple of contexts. The first is a regular, multi-tracked drum kit and the second is a contemporary track with beats, bass, various synths and some vocals. In both cases, the raw sounds are pretty dry and need some reverb to help the elements gel and deliver a more polished sound.
Want all the hottest music and gear news, reviews, deals, features and more, direct to your inbox? Sign up here.
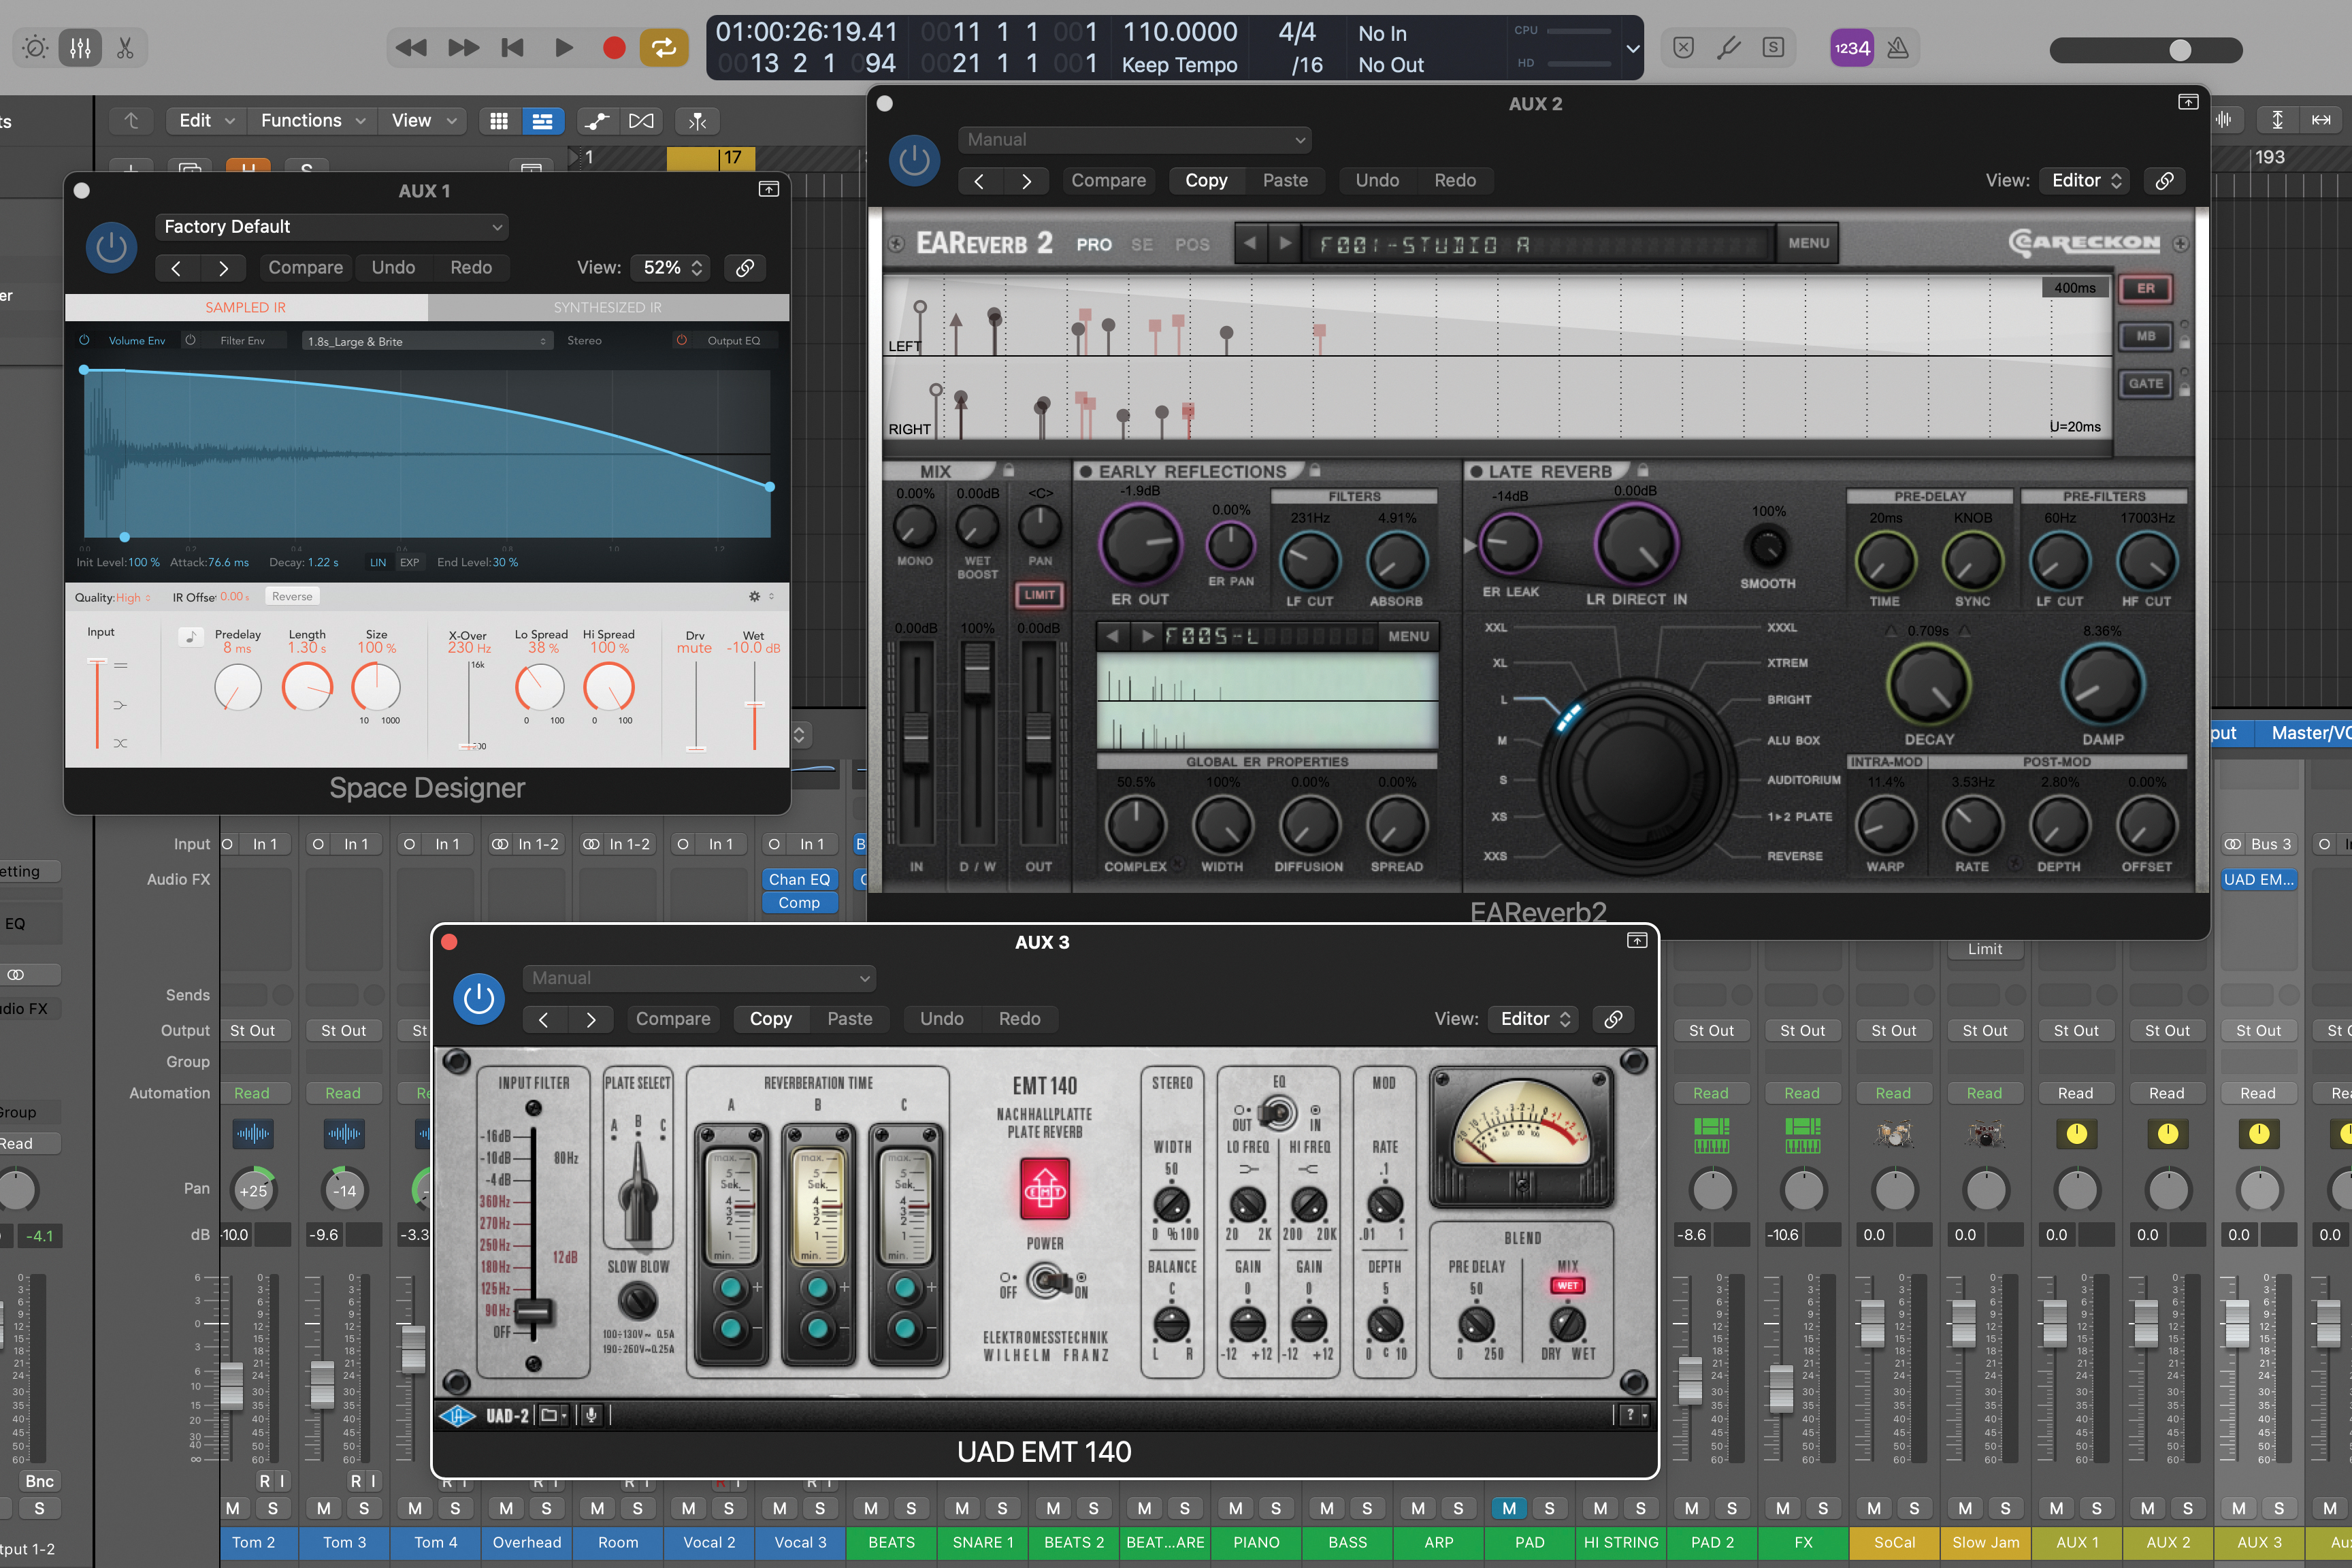
To get started, set up three auxiliaries and then on the return channels add three reverbs. You can use the same reverb plugin for all three if you like, but I’m personally a big fan of adding variety and here we’ve loaded a convolution reverb, an algorithmic reverb and a plate reverb.
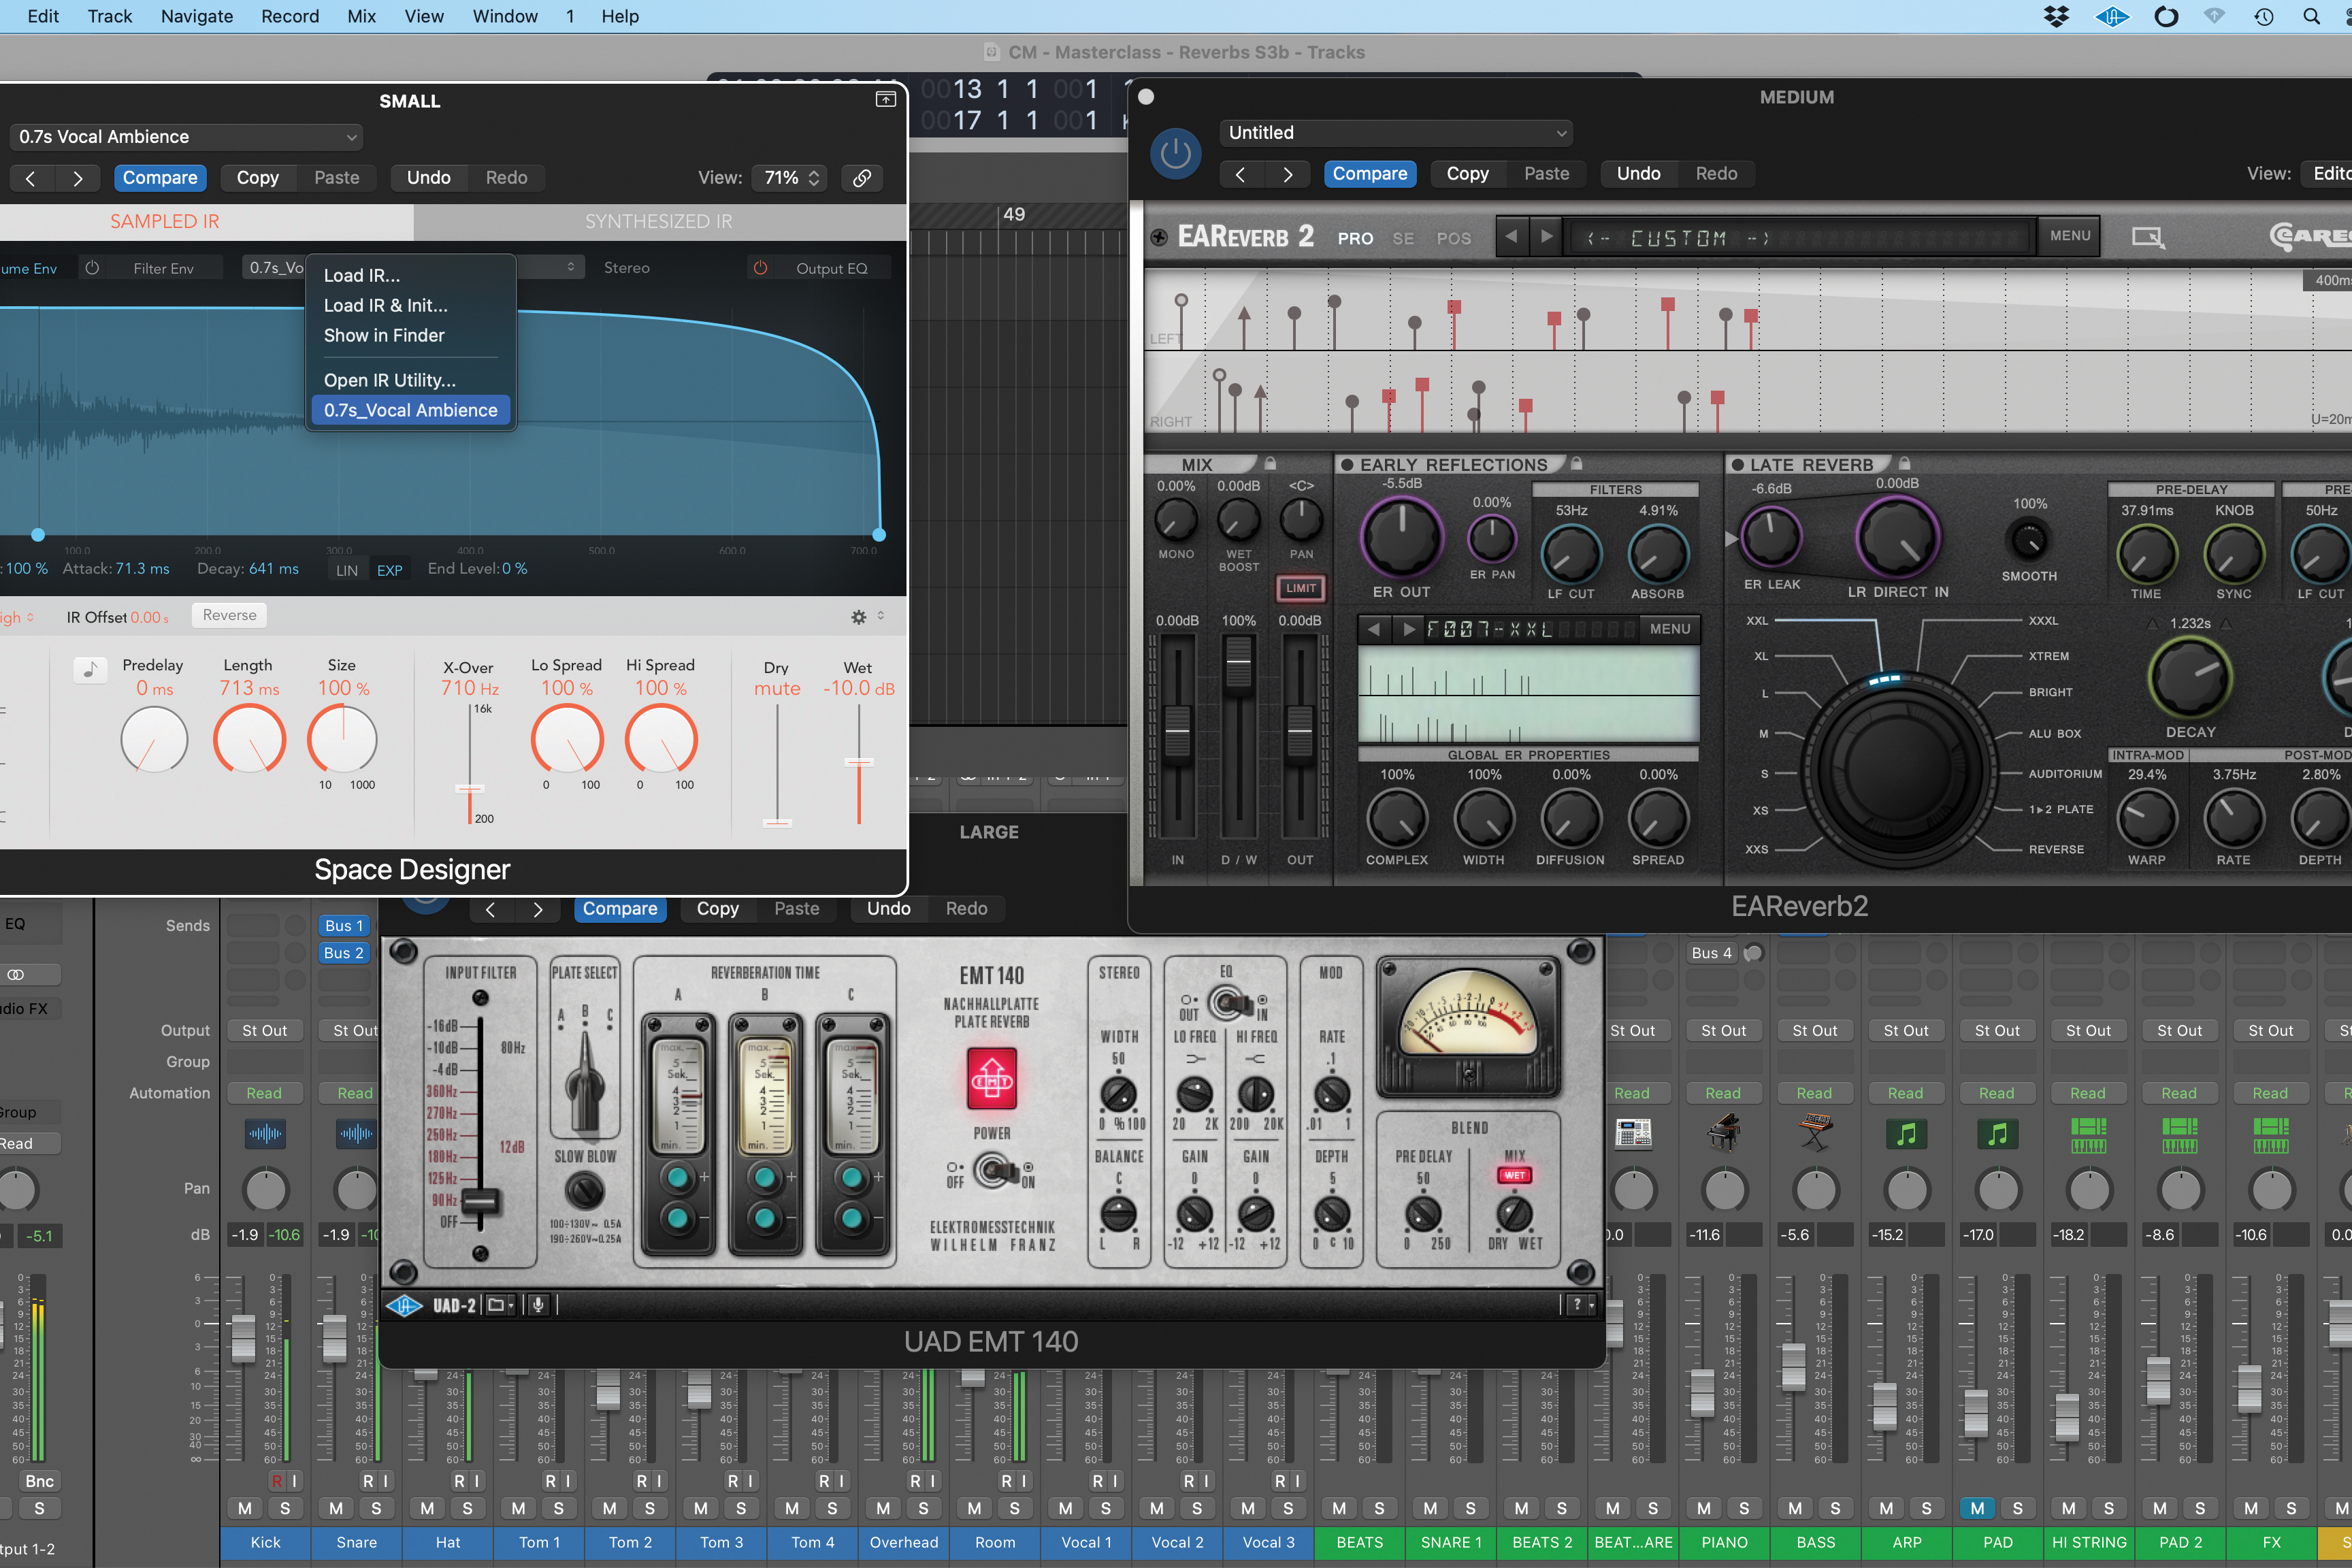
In terms of decay times, the short one is 0.7 secs, the medium one is about 1.2 secs and the long just over 5 secs, but as mentioned, these are not strict rules, and often finding reverbs where the colour fits your mix is just as important. So, once you get started, if a reverb doesn’t fit, try a different preset.
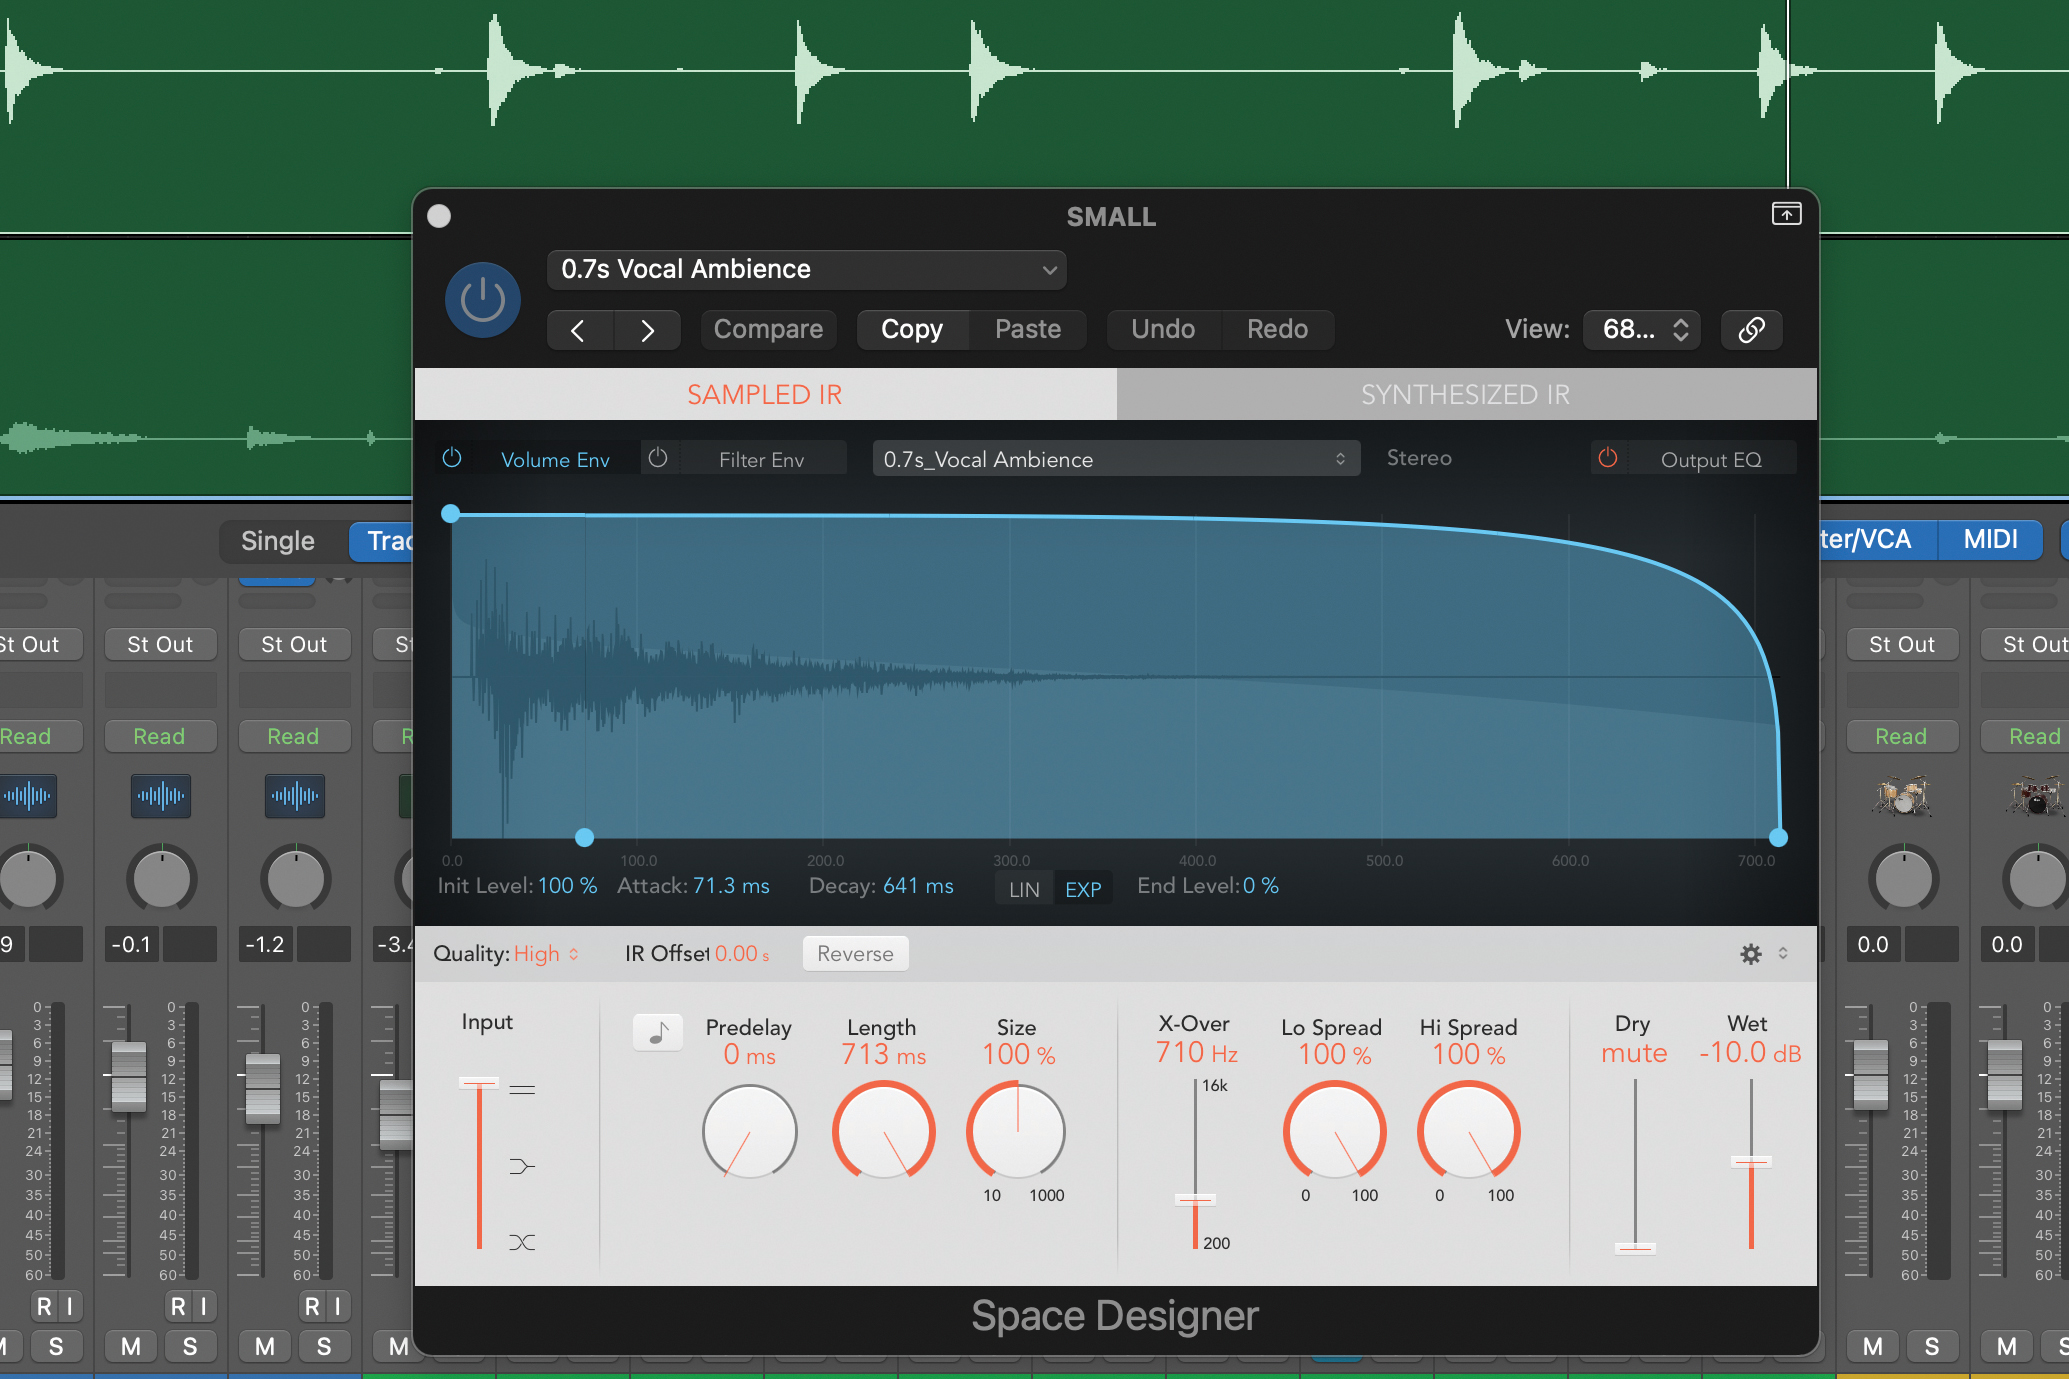
Even if you don’t use them that much, acoustic drums are perfect for trying out reverbs and besides, the techniques are universal. Our kit has a room reverb recorded with the drums and we’ve balanced this conservatively. To add width and depth to the snare, apply some of the short reverb so it’s just audible. Mute the send to A/B the difference.
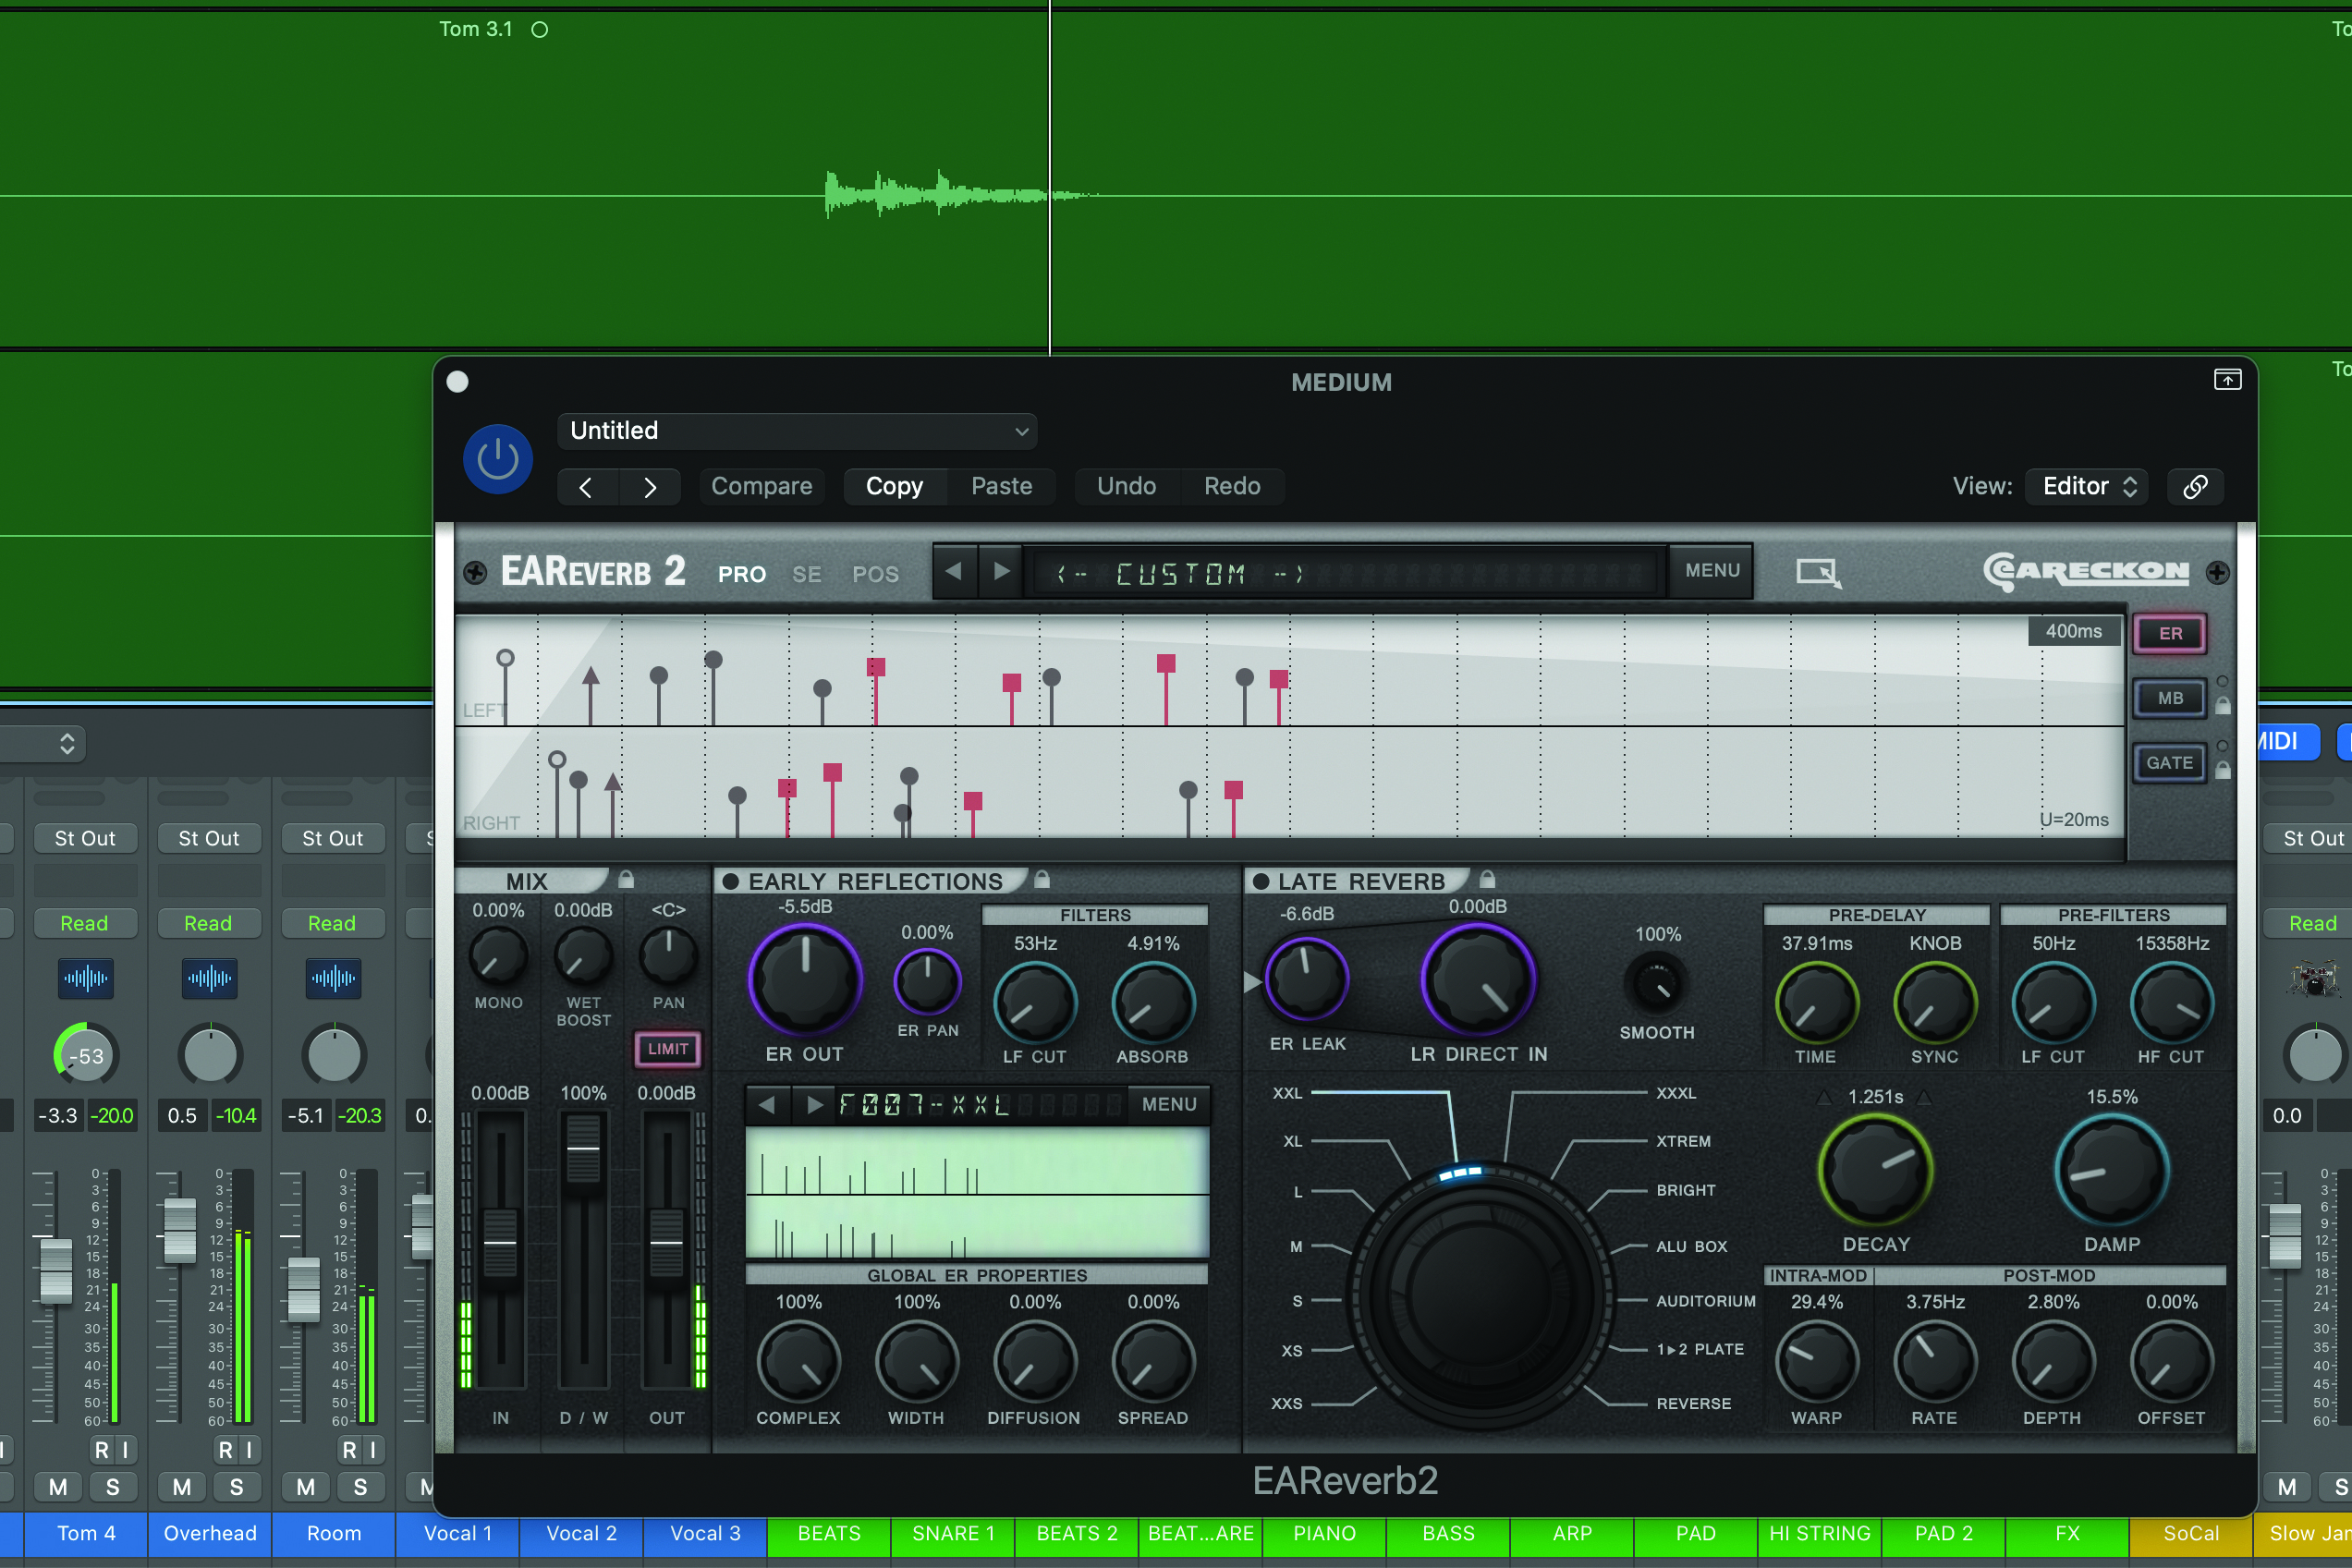
If the snare needs to be bigger, and this will probably depend on the genre, add in some of the medium reverb, but also leave the short reverb active. Remember, each reverb is doing a different job. Here we’ve also added the medium reverb to the tom fills. Try muting the returns to A/B the difference.
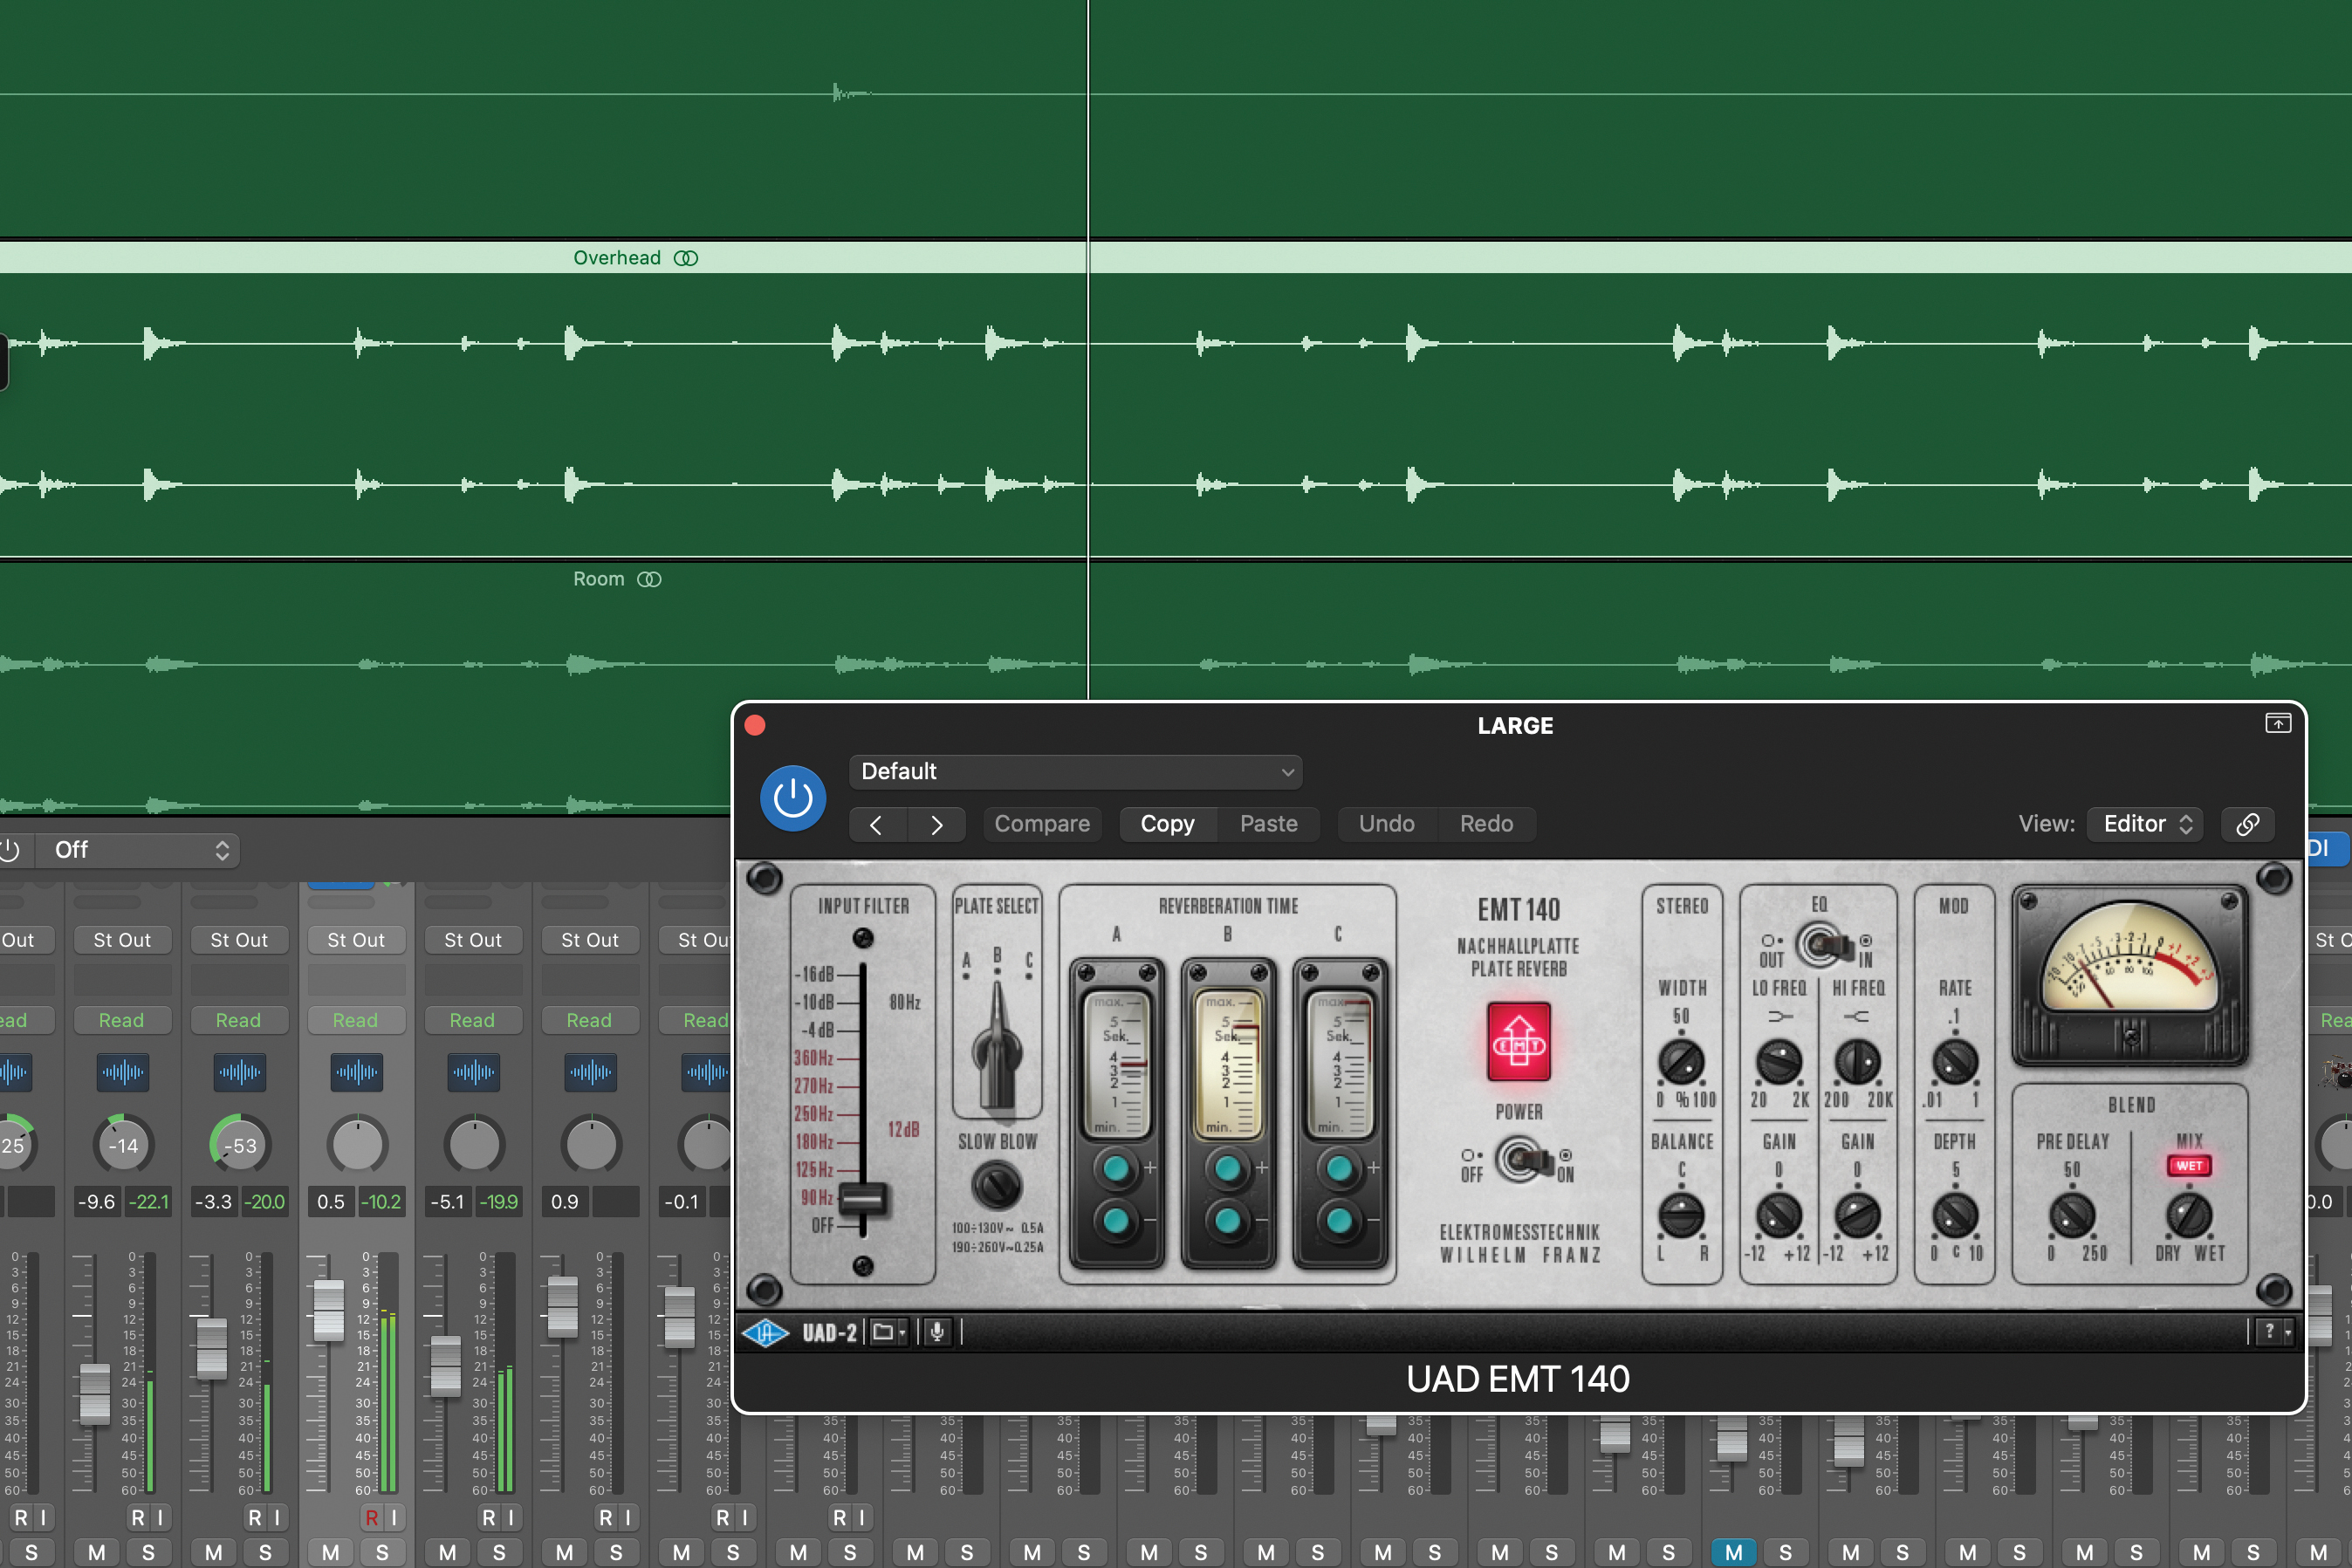
Finally, there can be times when we want the drums to be really big. Rather than head back to the snare and toms, we can leave those as they are and use the long reverb either on the overheads or room blend. Here we’ve gone for the overheads, and once again using just enough and A/Bing to check.
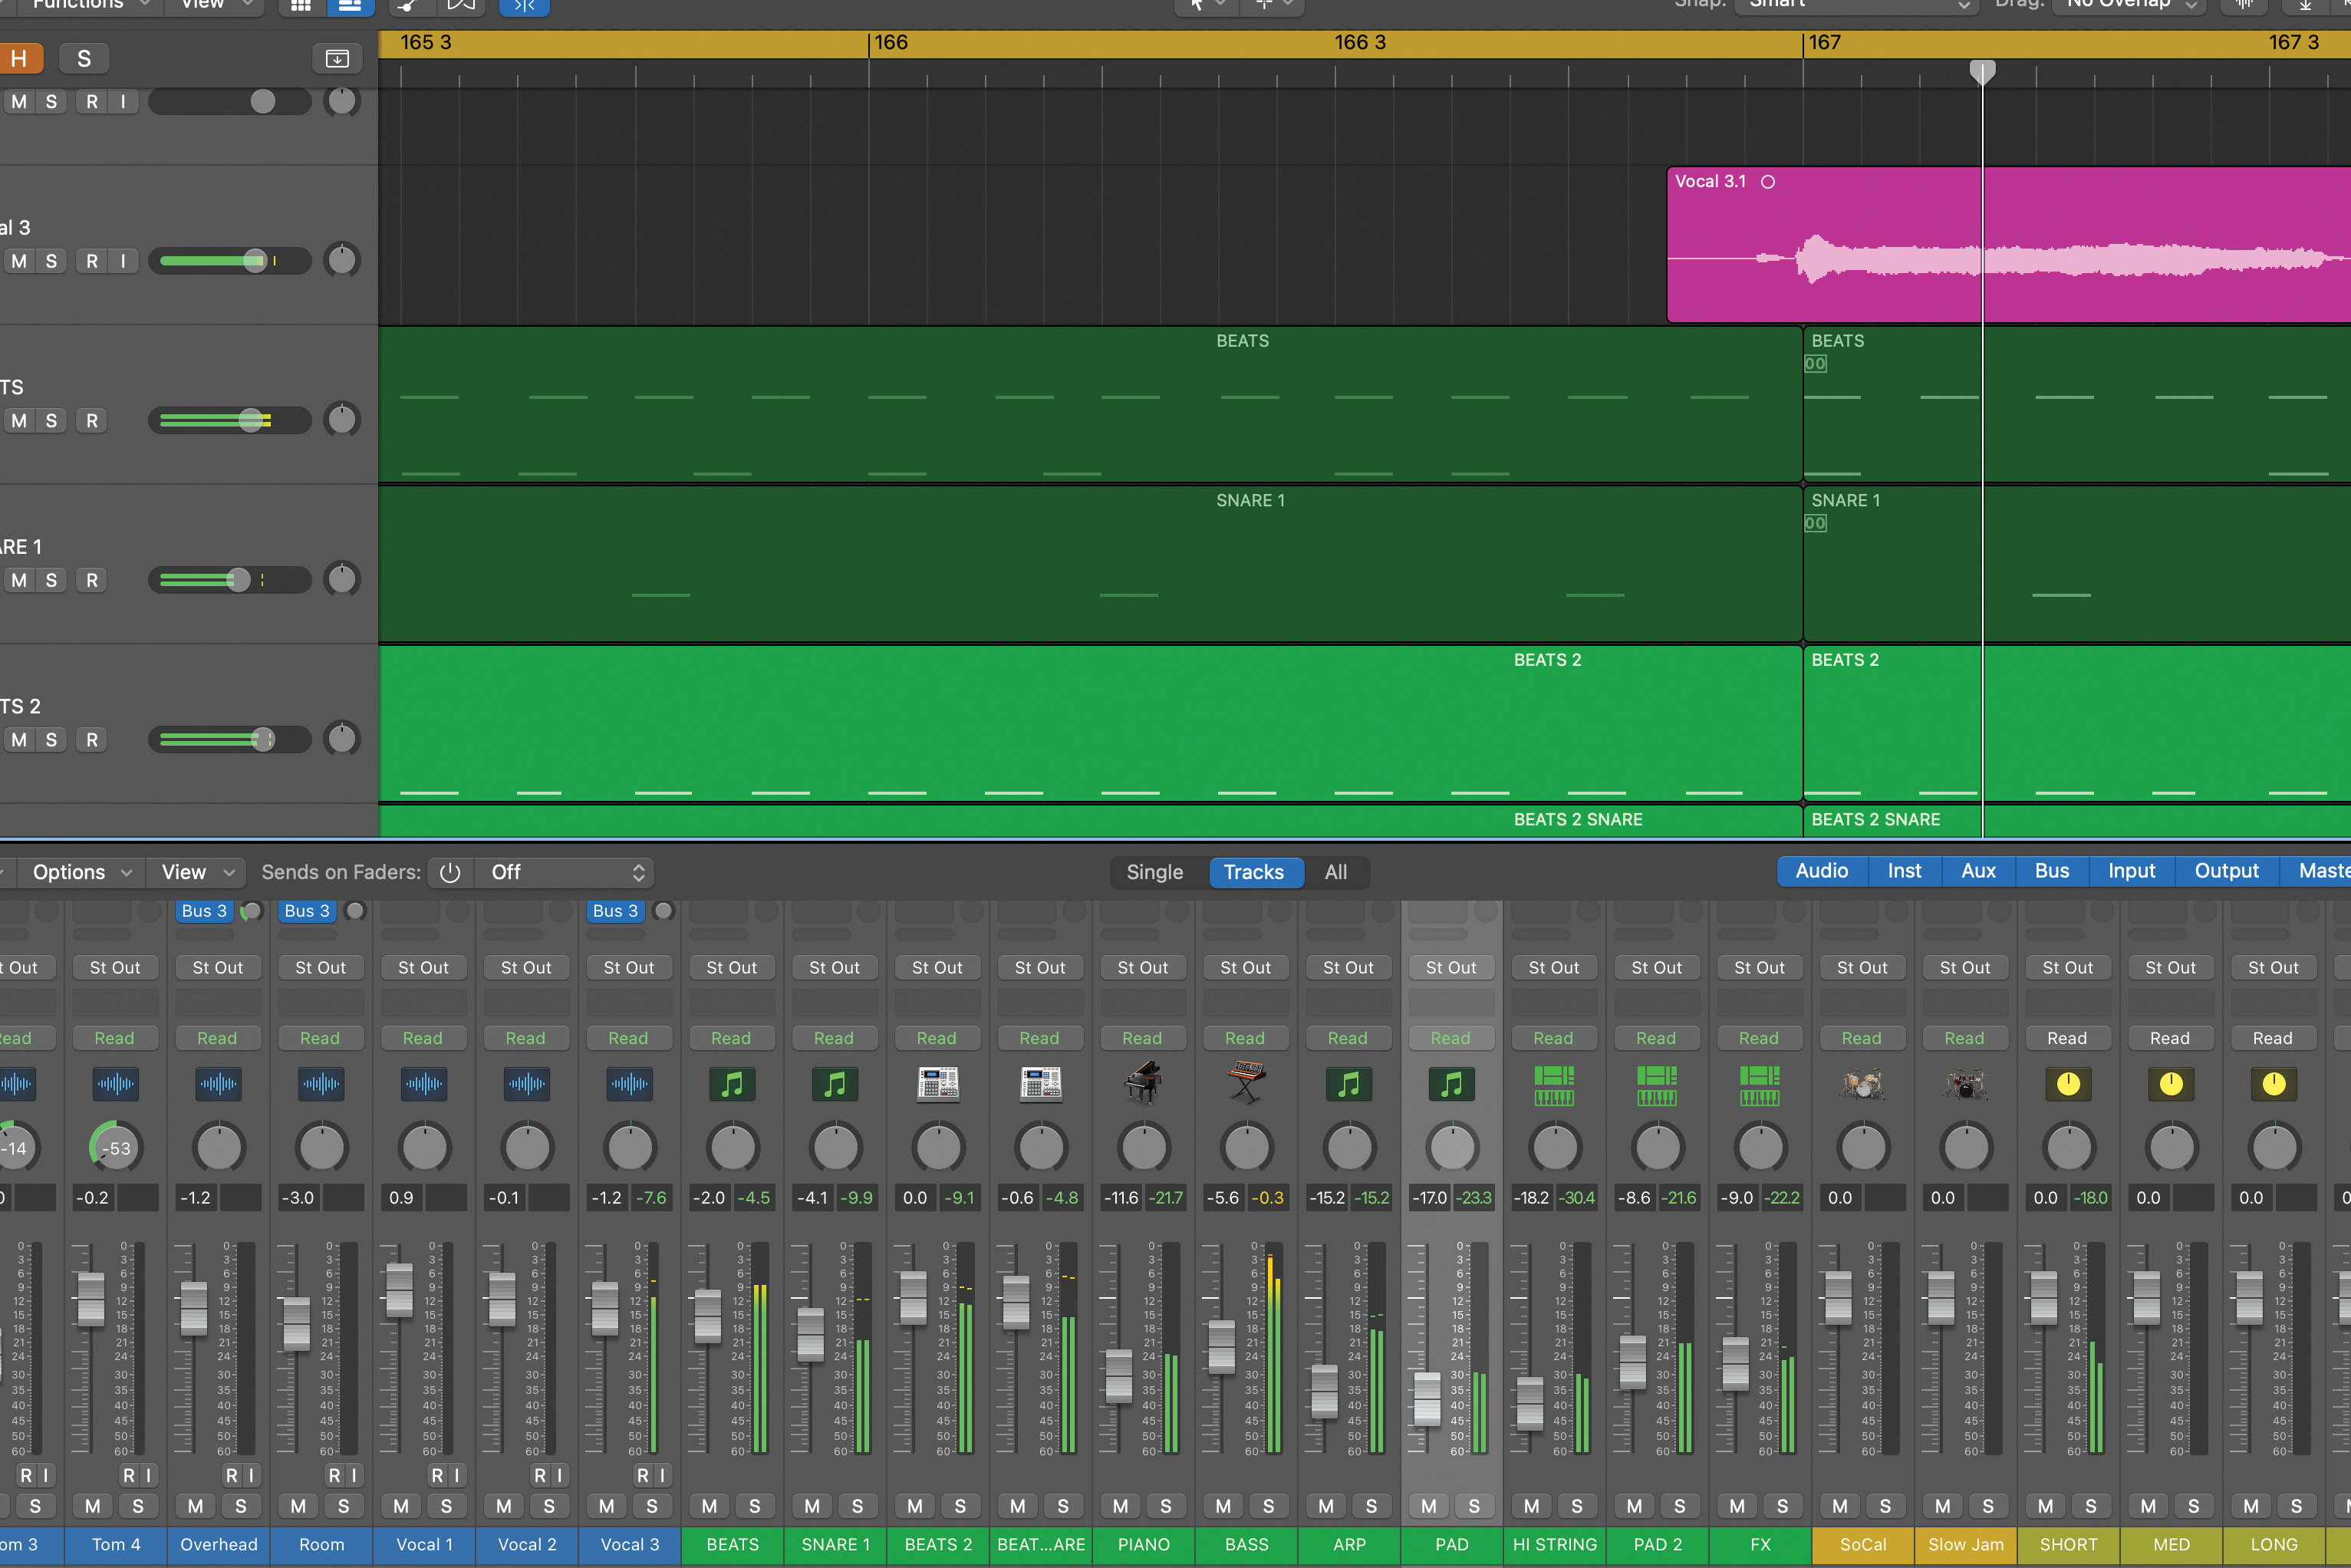
The great thing about this technique is it works pretty well across multiple sources. Moving onto our track, most of the sounds are pretty dry, including the synths where we’ve removed most of the onboard effects. We have two snares. Let’s start with those.
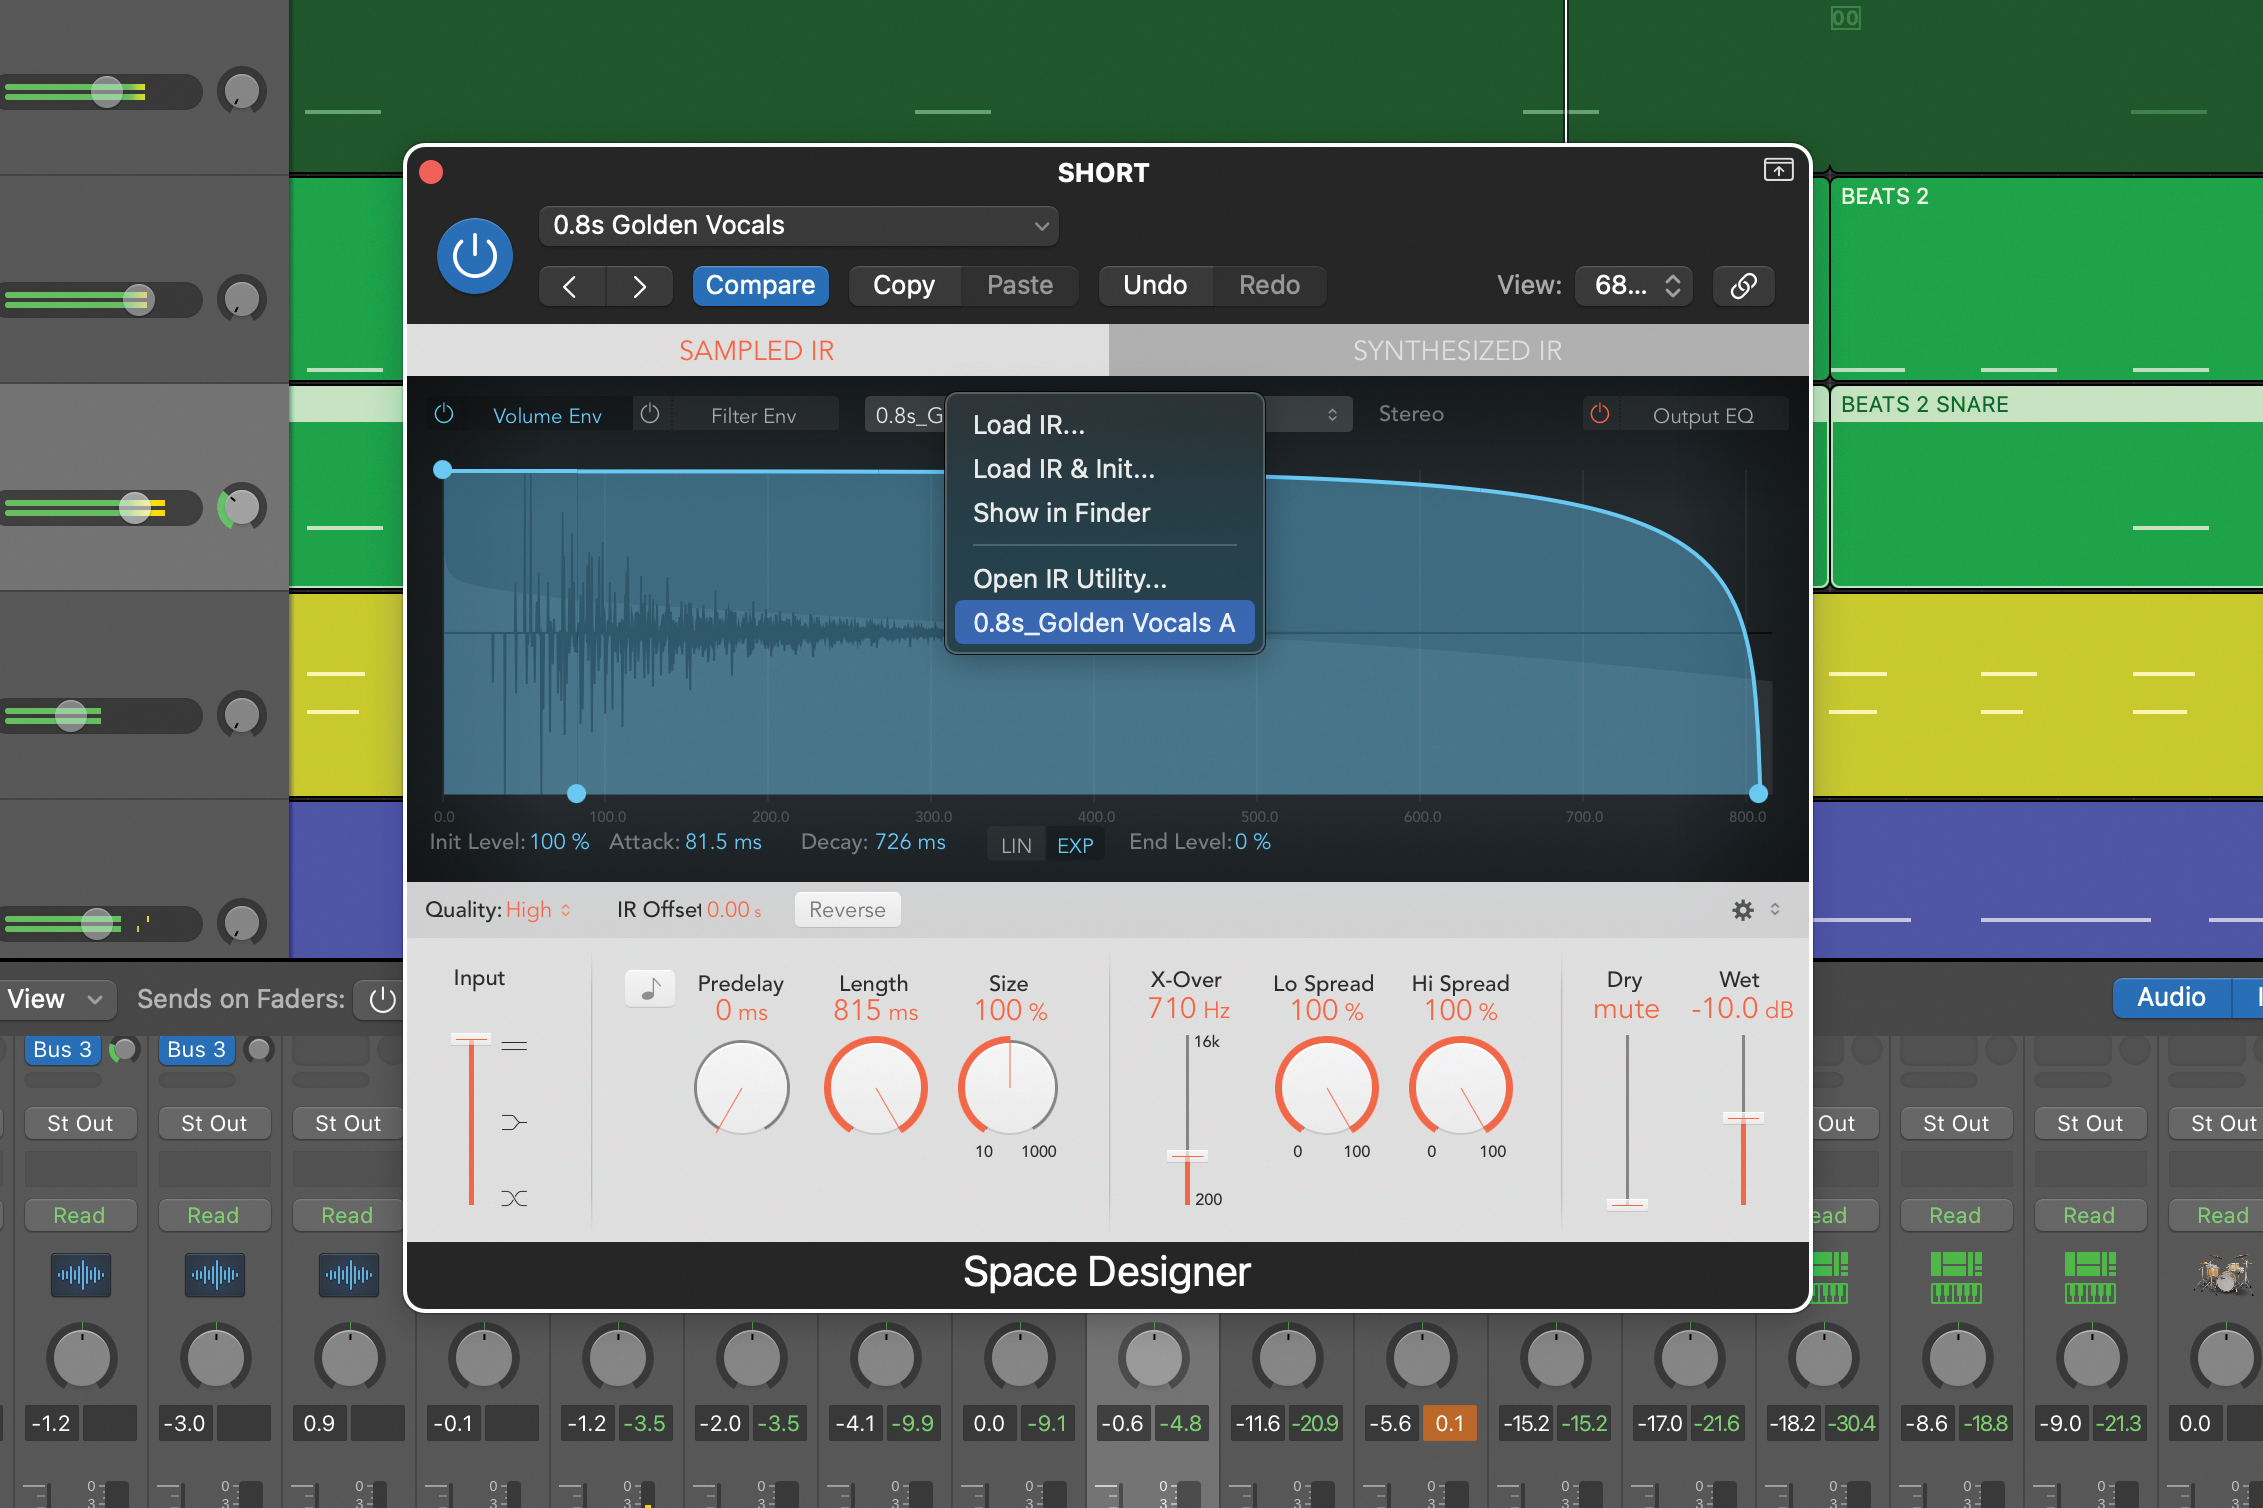
One snare is crunchy and the other dry and tight. We’ve tried both and the tight snare works best. Again, using just a moderate amount of the small reverb adds depth to the back beat but keeps it tight. But the sound isn’t quite right, so we’ve swapped out the preset for a similar but slightly longer (0.8secs) preset.
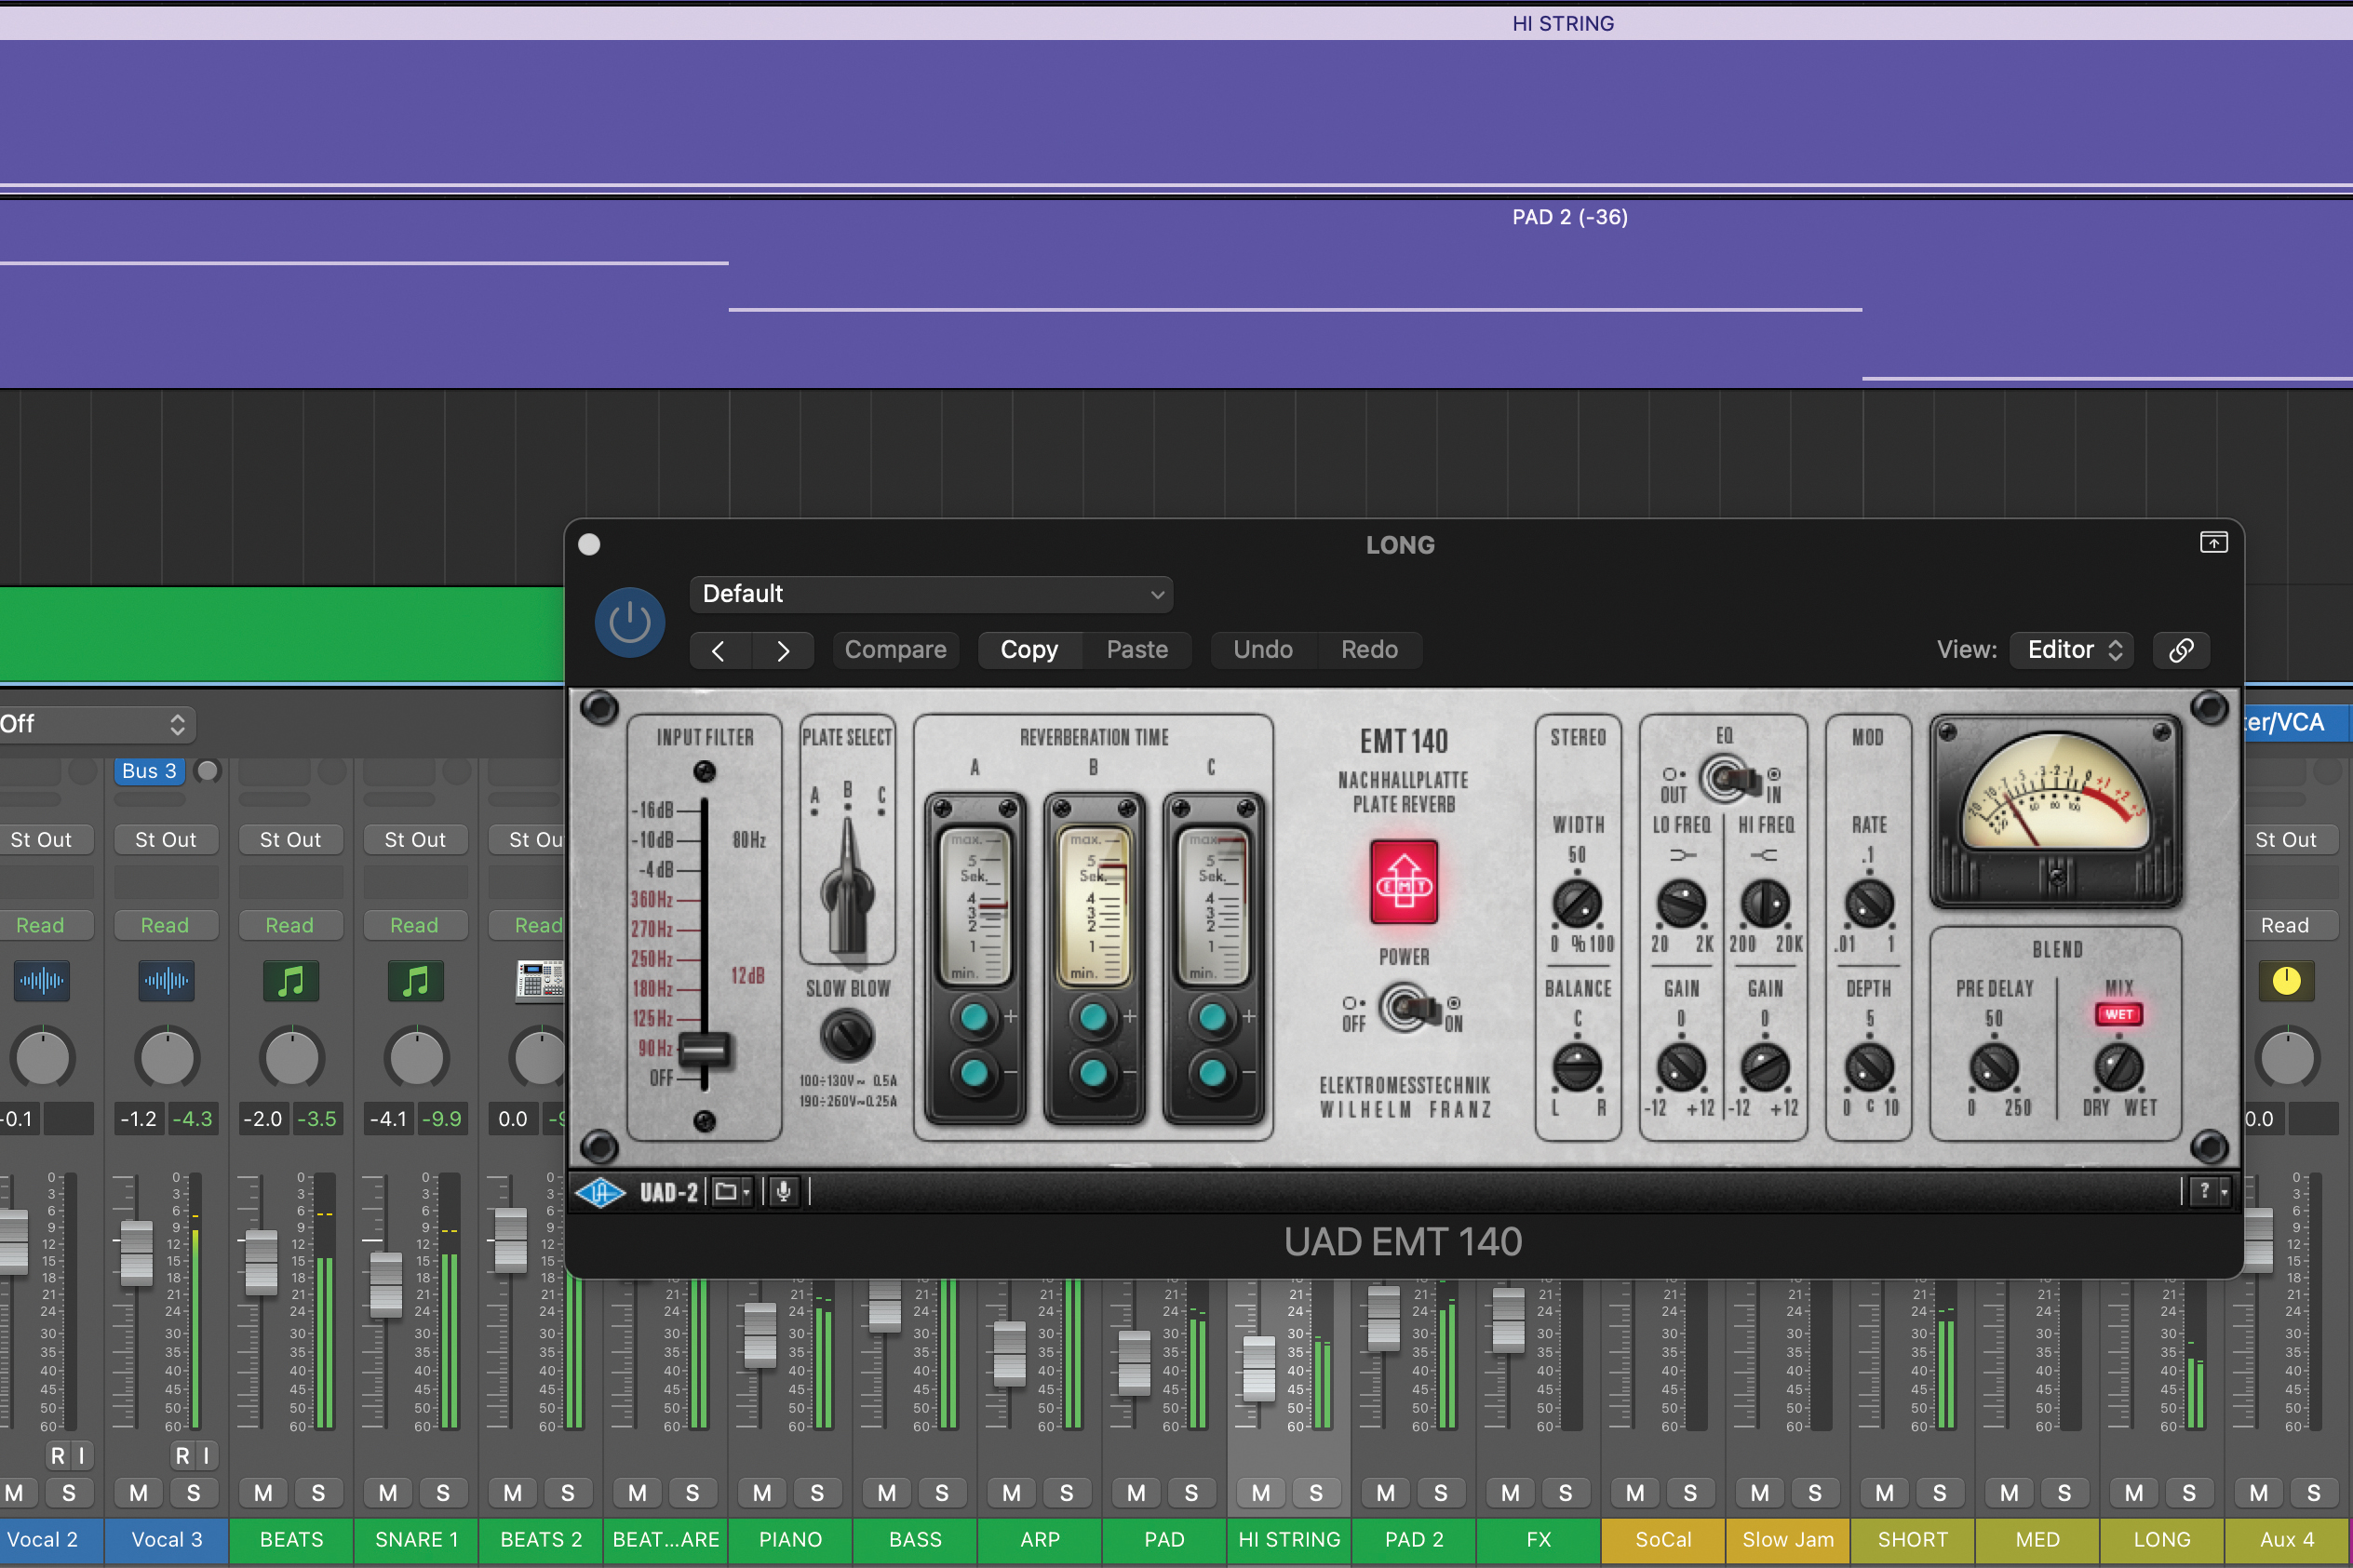
Next we’re going to jump to the high string part. We want this to have an ethereal feel and distance, so we’re heading straight for the large reverb. The part is balanced quite low in the mix so to create a washy effect the send level can be high.
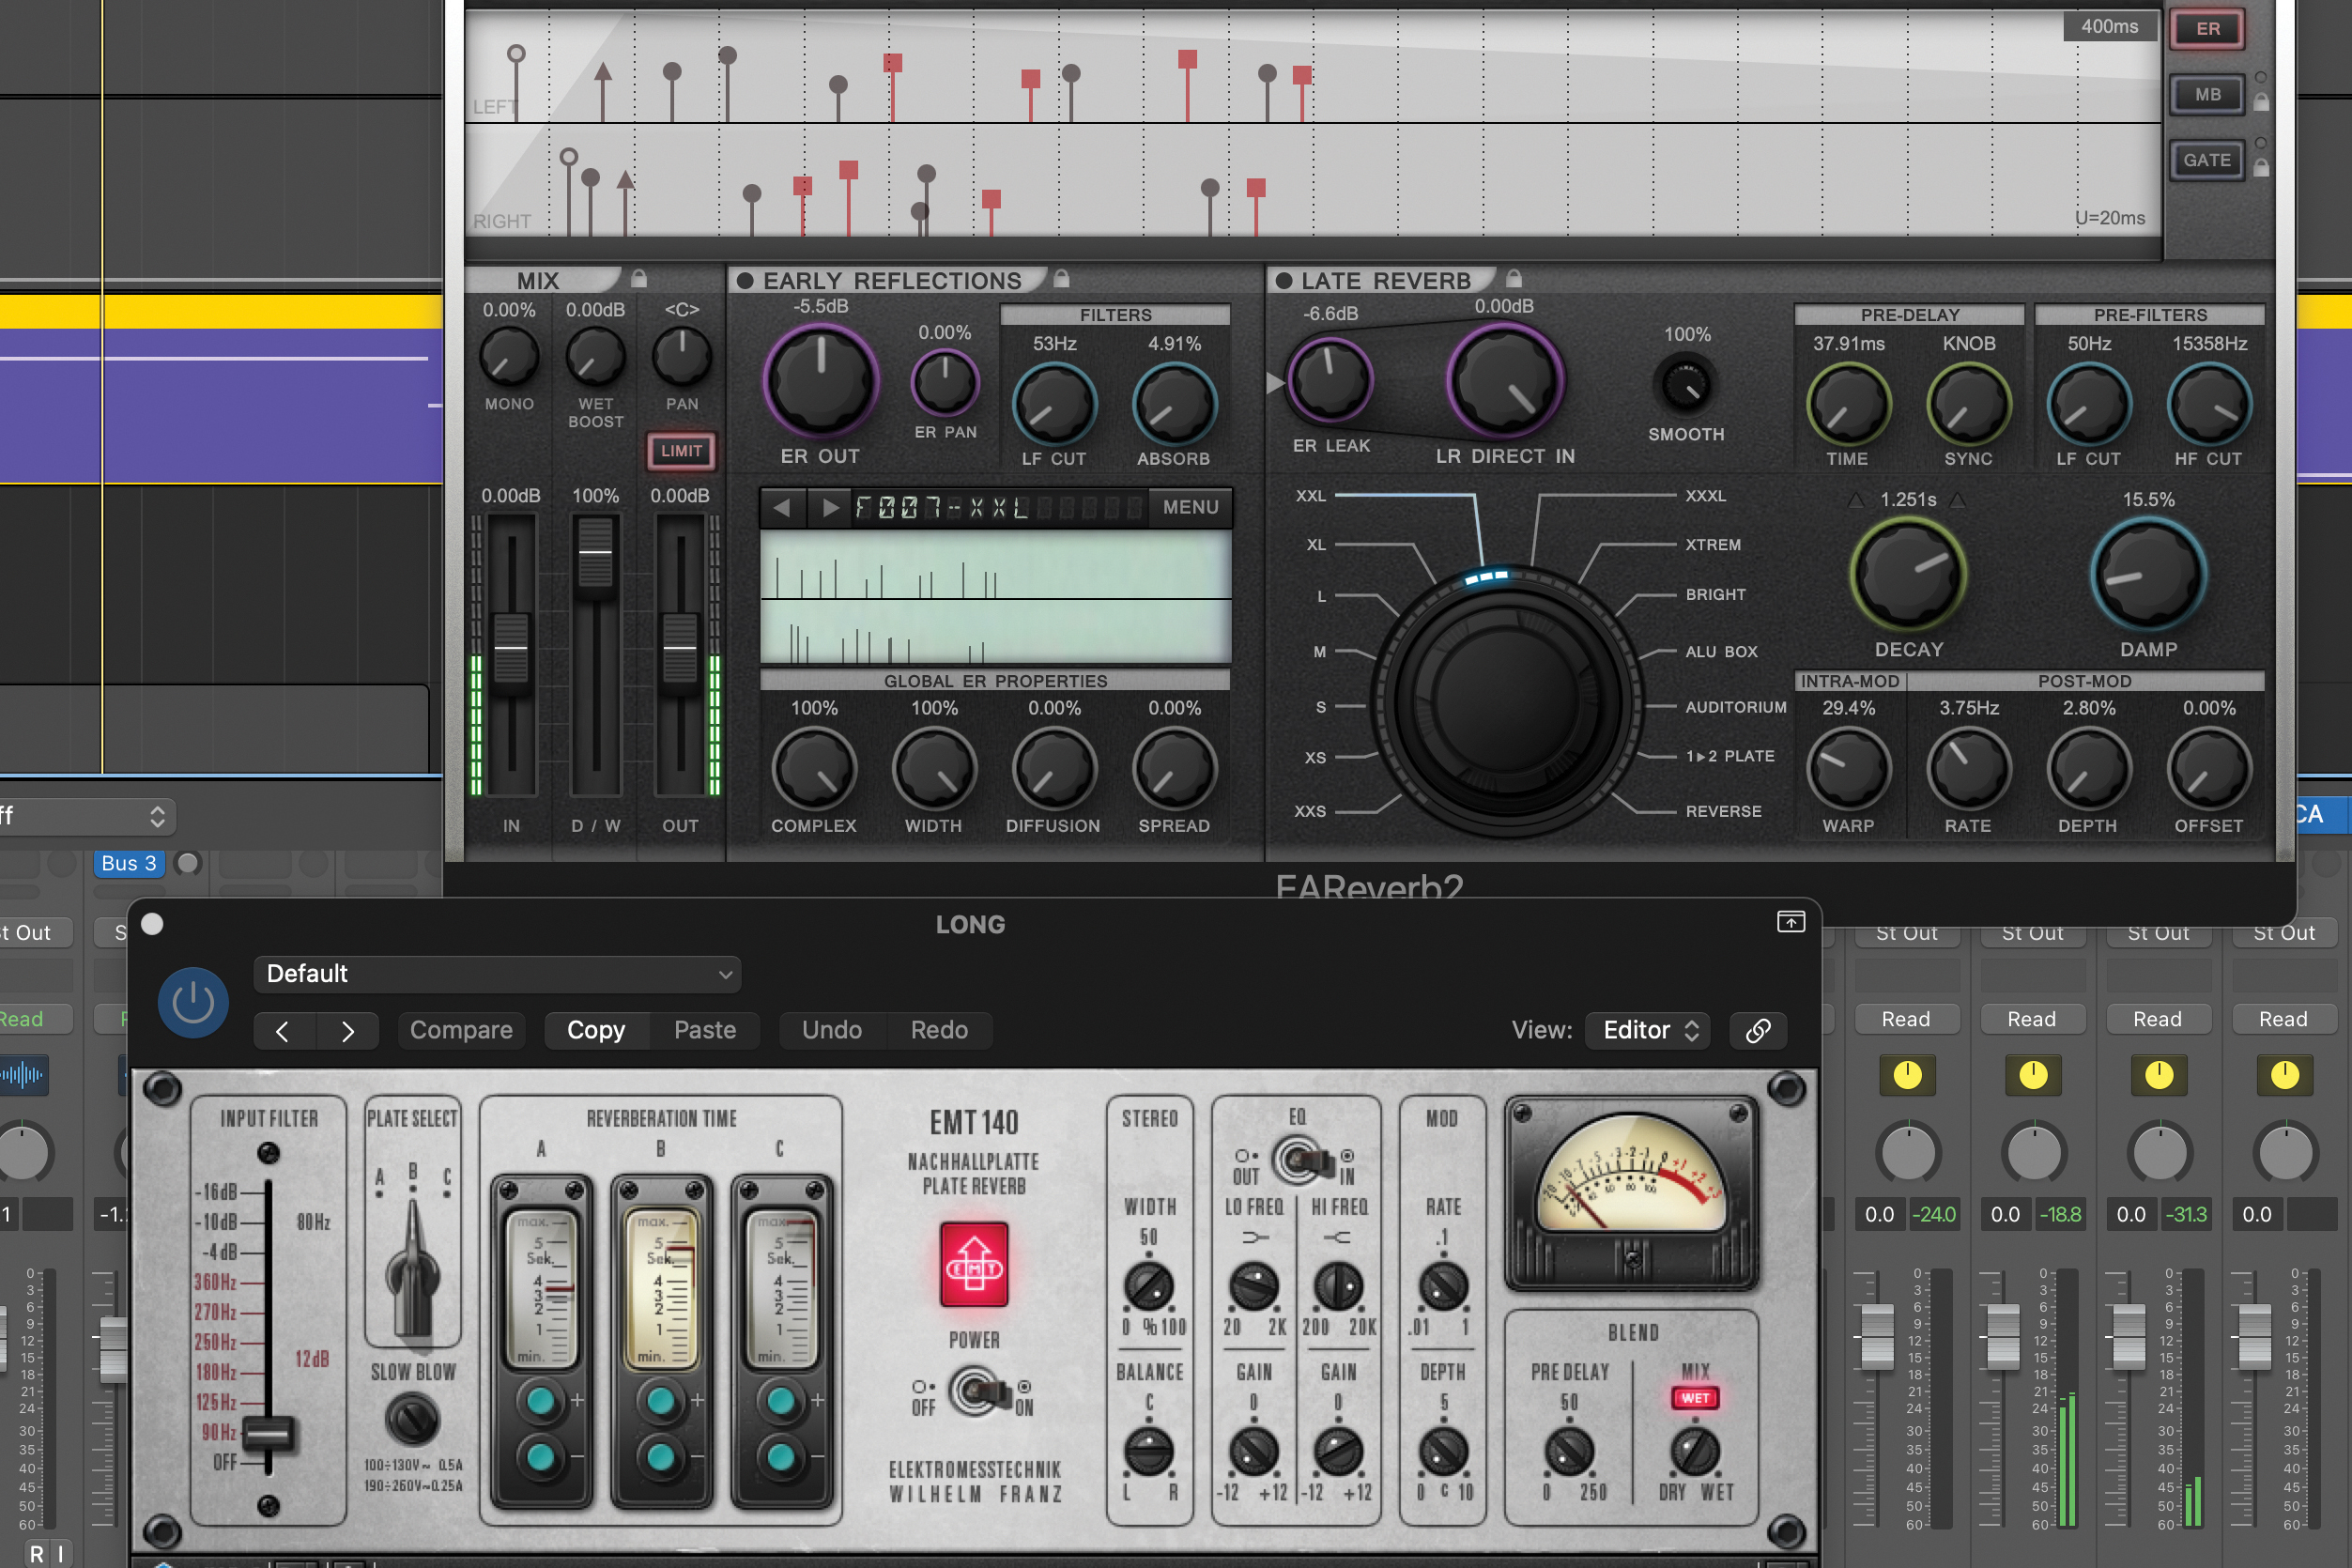
We have a thick pad sound (Pad 2). This needs more width but we don’t want it to be too distant. The medium reverb works well here, adding richness to the sound, and we’ve added a small amount of the large reverb as well to give it a bit more scale.
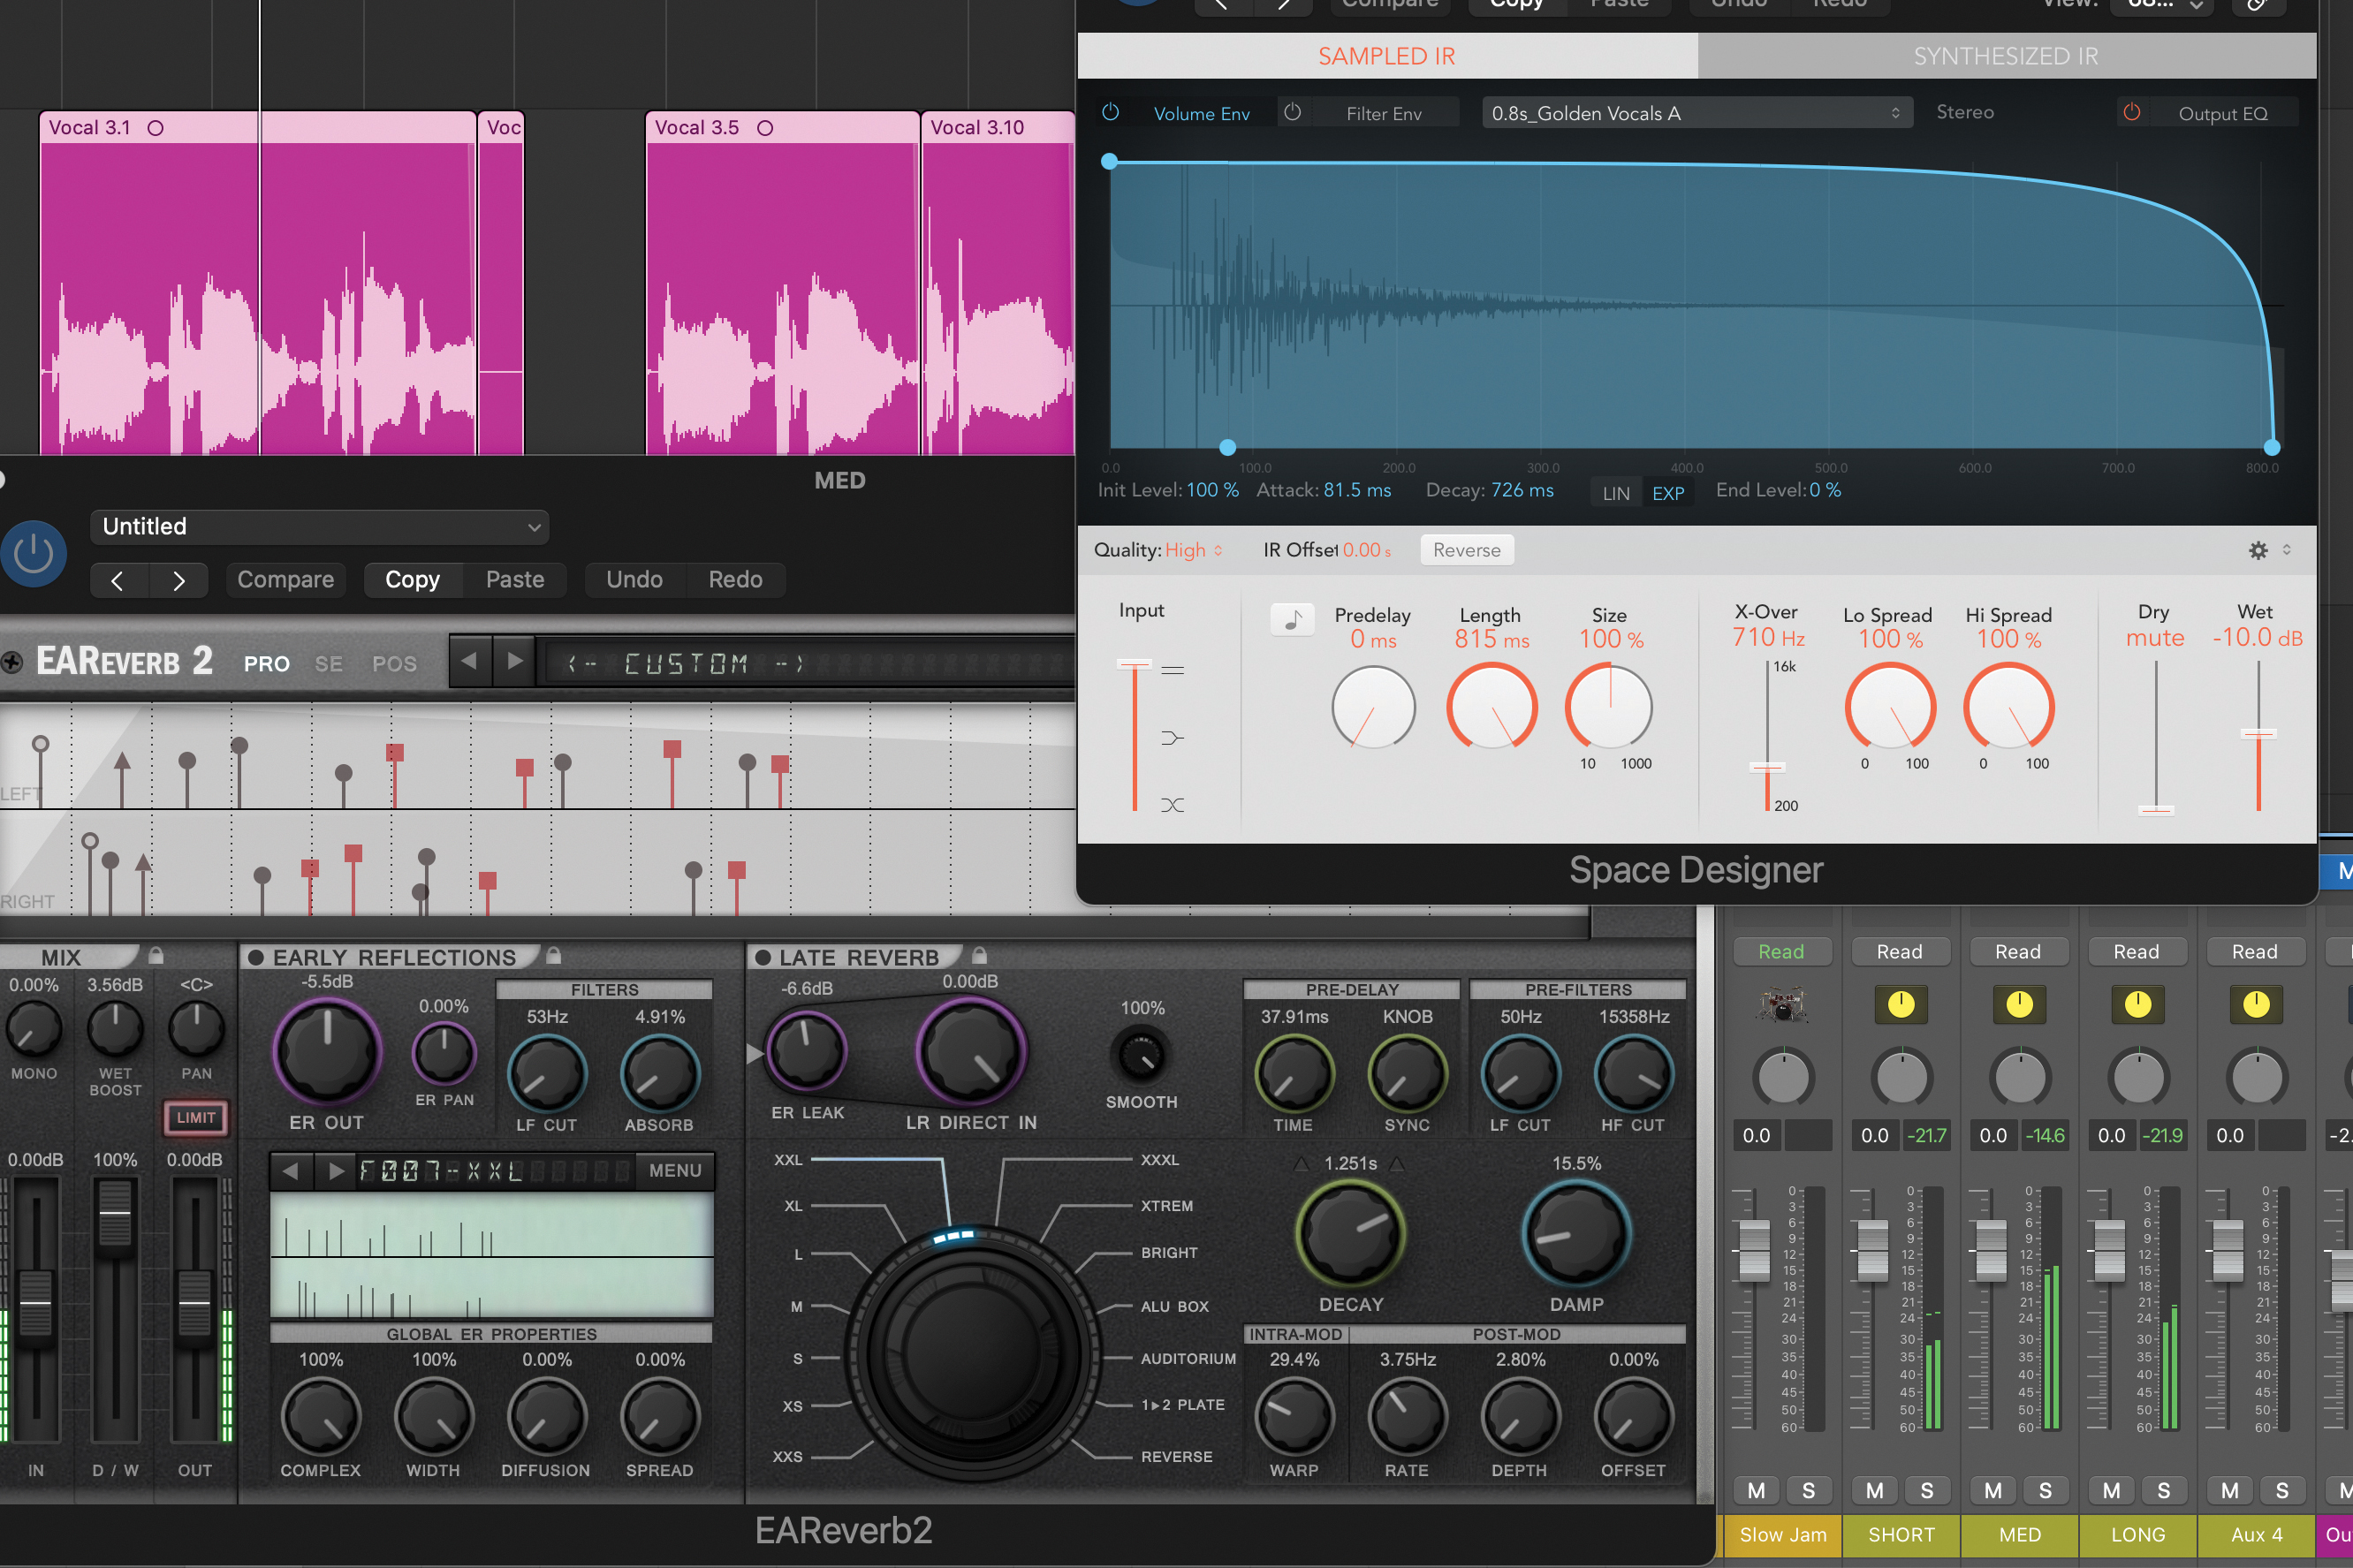
Moving on to the vocals, sometimes we need a specific vocal reverb, so bear this in mind. However, most of the time I can get what I want using a combination of the three core reverbs. Here we’re adding just a little of the small reverb for width and some of the medium reverb for depth and richness.
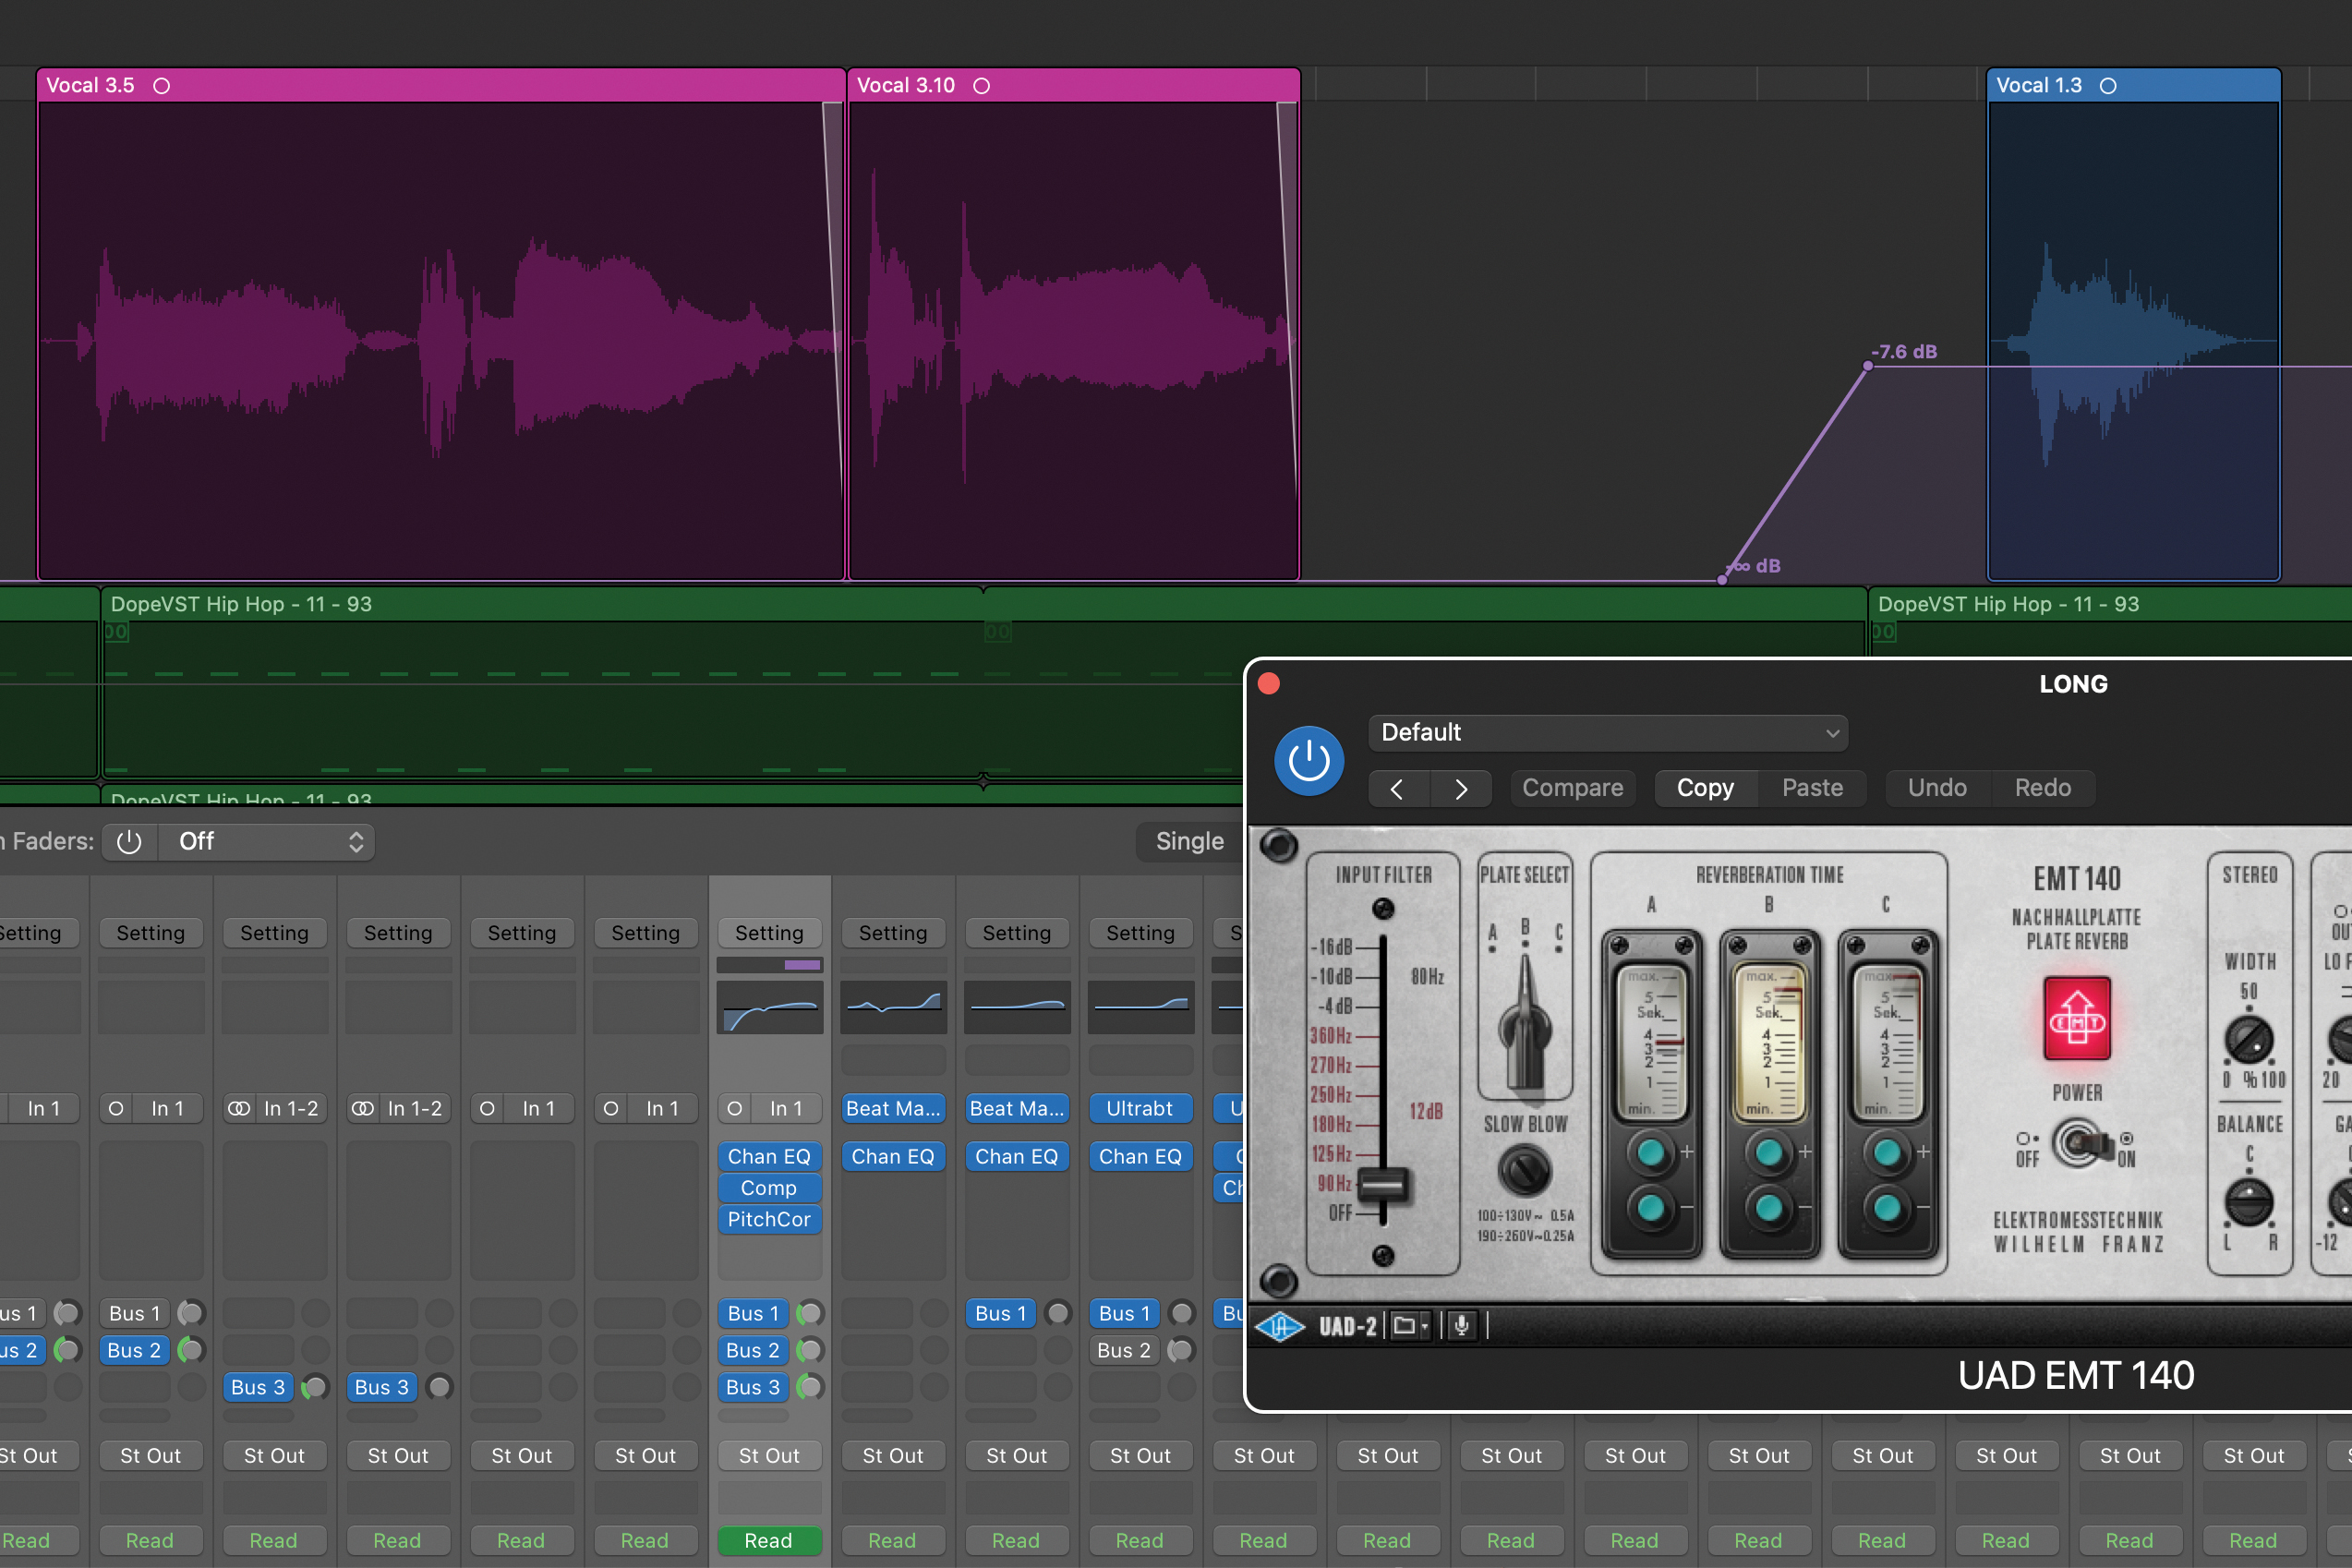
The long reverb is too coloured for the main vocal section, but works really well for the vocal snippets that follow. Here we’re using DAW automation to send to the large reverb just for this section. Remember to A/B, muting either sends or returns. And finally, expect to tweak your send levels throughout the mix process.
Pro tip
Referencing good examples of finished tracks, particularly in the genres you’re mixing, is vital for improving your mixes. For reverbs, listen out for how long the reverbs are and how much has been used.
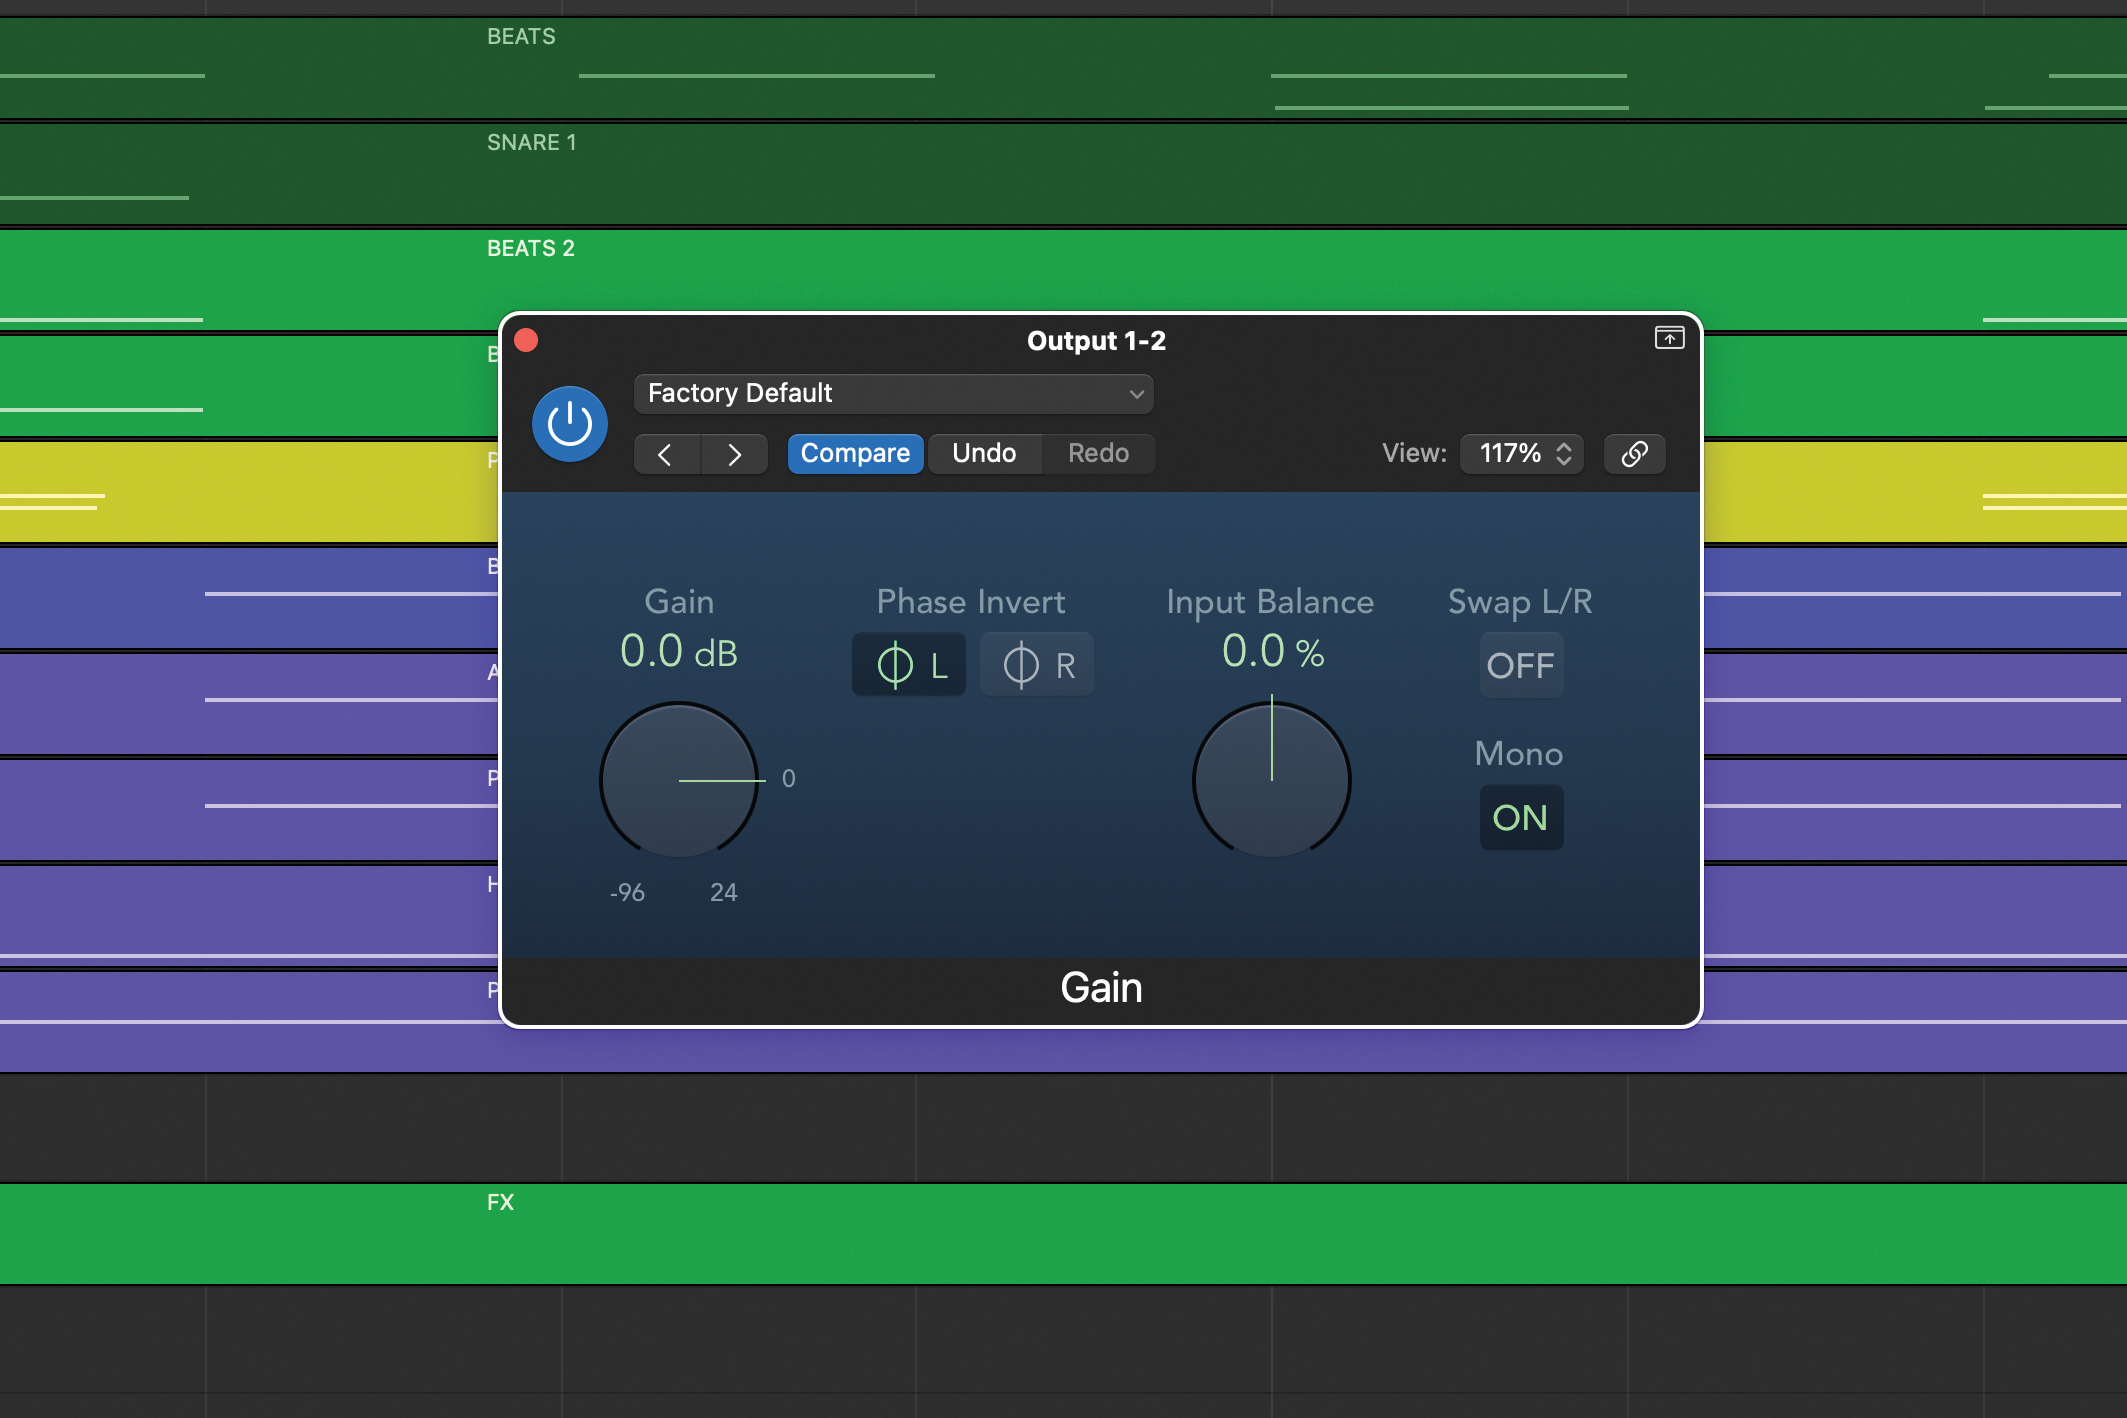
Try listening to just the difference signal. Add the reference track to your DAW, invert the polarity of the left or right channel and listen in mono. The difference signal will contain lots of sounds including some that are panned, but you should be able to gauge the size and level of the reverbs used.
Balancing reverbs on headphones is notoriously hard, particularly without any kind of headphone monitoring assistance plugin or system. It’s tricky not only choosing the right reverb but particularly getting the levels right.
Still, headphone mixing is a reality for many of us so we need a workaround. My tip is to periodically listen on speakers. They don’t have to be amazing, but the perspective provided can save you a lot of tail chasing.
Recommended listening
1. Dua Lipa - New Rules
A good example of selective and combined use of different reverb lengths in contemporary production.
2. George Michael - A Different Corner
When choosing reverbs, sometimes you just have to use your instincts, as this particularly sibilant example demonstrates.
Jon is a London based platinum award winning mixer, producer, composer and club remixer with a diverse CV that spans dance, pop, rock and music for media. He’s also a long term contributor to MusicRadar's music technology tutorials and reviews. Whether working alone or collaborating he usually handles final mixdowns, so you’ll also find MusicRadar peppered with his handy mixing tips.
