Perhaps the most underappreciated skill of a great studio drummer is the ability to 'push' or 'pull' the overall timing of a groove at will.
'Push' means driving the beat forwards, ahead of the rest of the band or track elements, making the whole thing sound faster and more frenetic. 'Pull' refers to exerting the opposite influence, delaying every stroke slightly in order to create a more laid back feel. In both cases, the amount of timing offset from the grid or metronome is tiny. We're talking milliseconds, not discrete note values, the idea being to change up the pace of the whole track rather than obviously alter the shape of the beat in any way.
Applying push and pull to your MIDI drum parts couldn't be easier. Most DAWs feature a delay parameter on every track that delays (positive values) or pre-delays (negative values) their timing, either in milliseconds or samples. If yours doesn't - or if you want to push or pull just the hi-hats or snare drum, say - just select the relevant notes in your MIDI clip and drag them manually with snap disabled.
In this tutorial, we'll show you a few examples of how pushing and pulling the drums can affect the feel of a rhythm-section loop. Bear in mind that the effect is subtle, so you might want to A/B the shifted audio demos with the unshifted ones (0ms) to fully appreciate it.
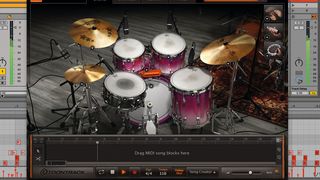
Step 1: Here's a live MIDI drum part triggering Toontrack EZdrummer 2. No quantise has been applied, so the whole thing has the human timing of a real player, but it sits pretty tightly with the bassline and percussion. We can transform the feel of the whole track by shifting the drums backwards or forwards in time…
Acoustic drums original
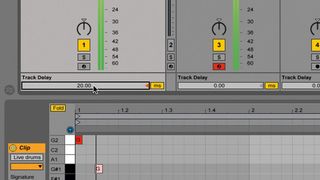
Step 2: Doing this in Ableton Live is a simple matter of adjusting the Track Delay setting at the bottom of the channel strip (activate the D button at the far right if you can't see it). Increasing it delays the drums in relation to the rest of the project - set it to 20 to pull them back by 20ms, giving the track a slightly lazier feel.
Acoustic drums 20ms
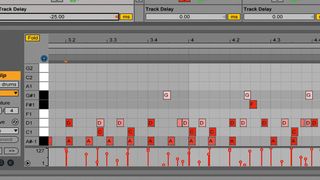
Step 3: Pushing the timing in the other direction makes the drums feels more pacy and driving. To make a noticeable difference in this case, though, the shift needs to be a bit larger, and -25ms has the desired effect. Notice the fairly significant timing difference between the drums and the congas now.
Acoustic drums -25ms
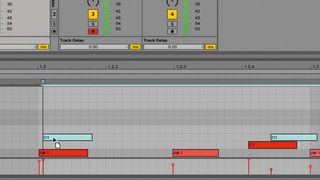
Step 4: Pushing or pulling the drums as a whole has a profound and sometimes quite destabilising effect on the rhythmic shape of a track, so for less heavy-handed results, consider just shifting a single element. Here's our track again, with the hi-hats pushed forwards.
Acoustic drums snare pull
Acoustic drums hats push
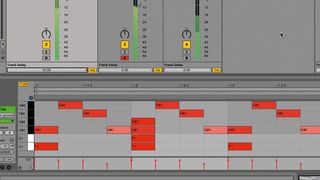
Step 5: This stuff isn't limited to realistic acoustic drum kit tracks. Here's the same bassline and conga part underpinned by an electronic drum track from NI Battery 4. Pulling it by 15ms and pushing it by -20ms gives a similar impression of slowing down and speeding up as with live drums.
Dance drums 0ms
Dance drums 15ms
Dance drums -20ms
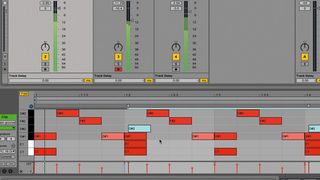
Step 6: Finally, a good technique for pulling an electronic drum track back while still retaining the positioning of its hits is to 'smear' the backbeat. The backbeat snare in our drum track comprises a handclap layer as well as the snare, and pulling just the clap slightly later gives the whole drum track a lazier feel.
Dance drums pulled clap

