RECORDING WEEK 2023: The acoustic guitar is a pure instrument. The sound it produces is self-contained, and relies on you as the player to influence it. This can be done with different string types, picks, but most of all, the room.
There are loads of tricks for getting different acoustic guitar sounds on your recording, and in this tutorial we’ll show you just a few of them.
The good news is that you can get brilliant-sounding acoustic tracks with just one microphone, some careful room selection and mic placement. Here’s how it’s done.
1. The one mic method

Acoustic guitars are dynamic instruments, capable of outputting a range of levels and frequency responses.
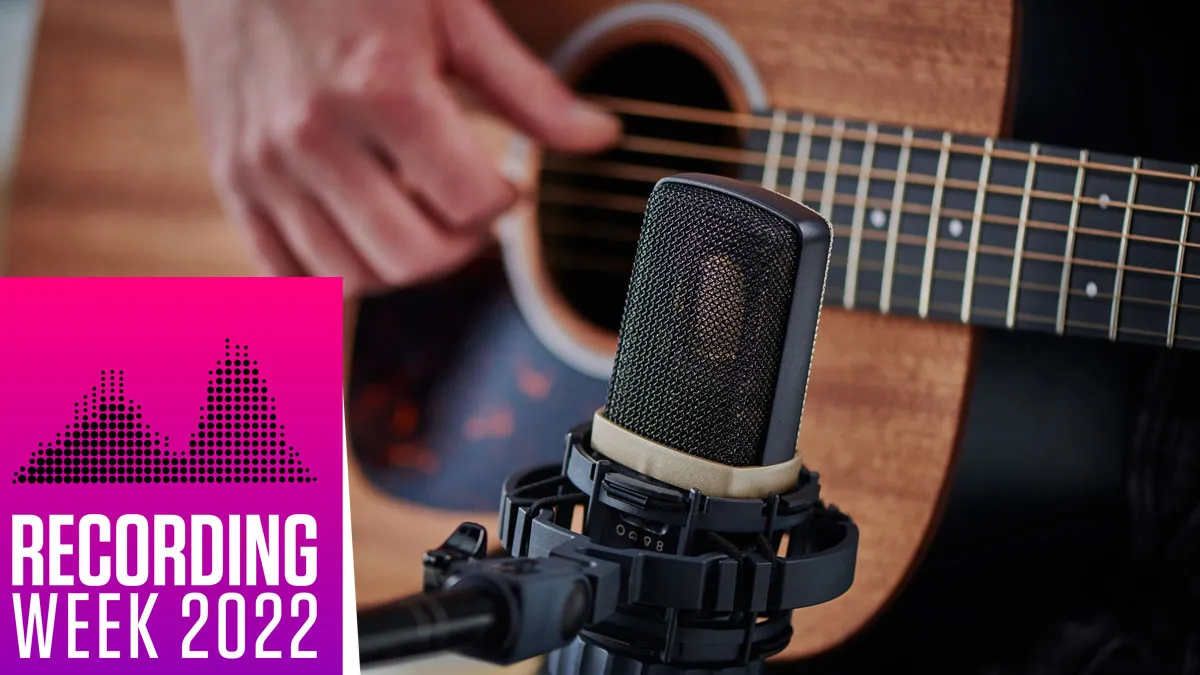
For this reason, the most common way of capturing an acoustic guitar with a single mic is to use a condenser. But before you position the mic, have a listen to the guitar in the room.
Your environment can have a great effect on the sound
Your environment can have a great effect on the sound; empty spaces with lots of hard reflective surfaces (a bathroom, for instance) will give you a bright, lively sound, whereas a room with carpet, sofas and curtains will soak up a lot of the reflections, giving you a dryer, punchier acoustic tone.
An acoustic can be played anywhere, so experiment with different rooms to see which gets you the sound you prefer.
Position the mic about 30cm in front of your acoustic, aimed at the join between the body and the neck. Positioning the mic here will keep it out of the way of your picking hand, and will avoid too much muddy low-end from the soundhole.
You will need: Condenser microphone, one microphone input, one track.
2. Stereo setup 1: X/Y configuration

Capturing your guitar in stereo can give you a huge, wide-sounding acoustic part for your tune, and it’s really quite easy to do!
When you record in stereo, it’s best if you can use a pair of identical microphones, so that the signal picked up by each will be equal. For this method, we’re going to use an X/Y placement. This is where the capsules are crossed over, so that they’re an equal distance from the source to minimise phase.
Once again, position them around the 14th fret of your acoustic. Pan them left and right, and bask in the super-wide stereo effect!
You will need: Two condenser microphones, two microphone inputs, two tracks.
3. Stereo setup 2: Spaced pair

The second way of recording in stereo is using a spaced pair.
It’s similar to the X/Y idea, except for this time we’ll physically move the microphones apart to achieve an even wider sound than before. Place one microphone between the bridge and the soundhole, and aim the other at the fretboard.
Once again, you’ll want to pan these tracks left and right respectively when mixing to achieve a spacey, stereo effect.
You will need: Two condenser microphones, two microphone inputs, two tracks.
4. Overheads
The acoustic guitar is an organic sound, and there’s an argument that it should be captured more ambiently. After all, you don’t stick your head down by the body of the guitar when listening to someone play!
A good method for achieving a very natural acoustic sound is to try positioning a pair of microphones at the player’s head height as shown. This way, you’ll be recording ‘what they hear’ rather than an artificially close sound.
You will need: Two condenser microphones, two microphone inputs, two tracks.
Pickup/mic blend

If your acoustic has a pickup on it, you can get two contrasting tones from one take by blending the sound of your pickup with the ambience of a microphone.
It’s easy to do – simply plug your guitar into your interface’s instrument input (we’d suggest keeping your preamp’s EQ ‘flat’ so you can tweak the tonality later), then record the mic signal on a separate track using the one mic method above. You might want to play with the distance of the microphone, just to get the sounds to compliment each other as well as possible.
Once you’re done, try panning the tracks, or running the pickup track through amp/speaker modelling to create some extra texture.
If your guitar doesn't have a pickup, but you're looking to fit one, take a look at our guide to the best acoustic guitar pickups on the market.
You will need: Electro-acoustic, condenser microphone, mic/instrument inputs, two tracks.
Don't Miss
How to amplify your electro-acoustic guitar for live gigs
7 of the best acoustic guitar pickups
How to record electric guitar using amp modelling plugins
