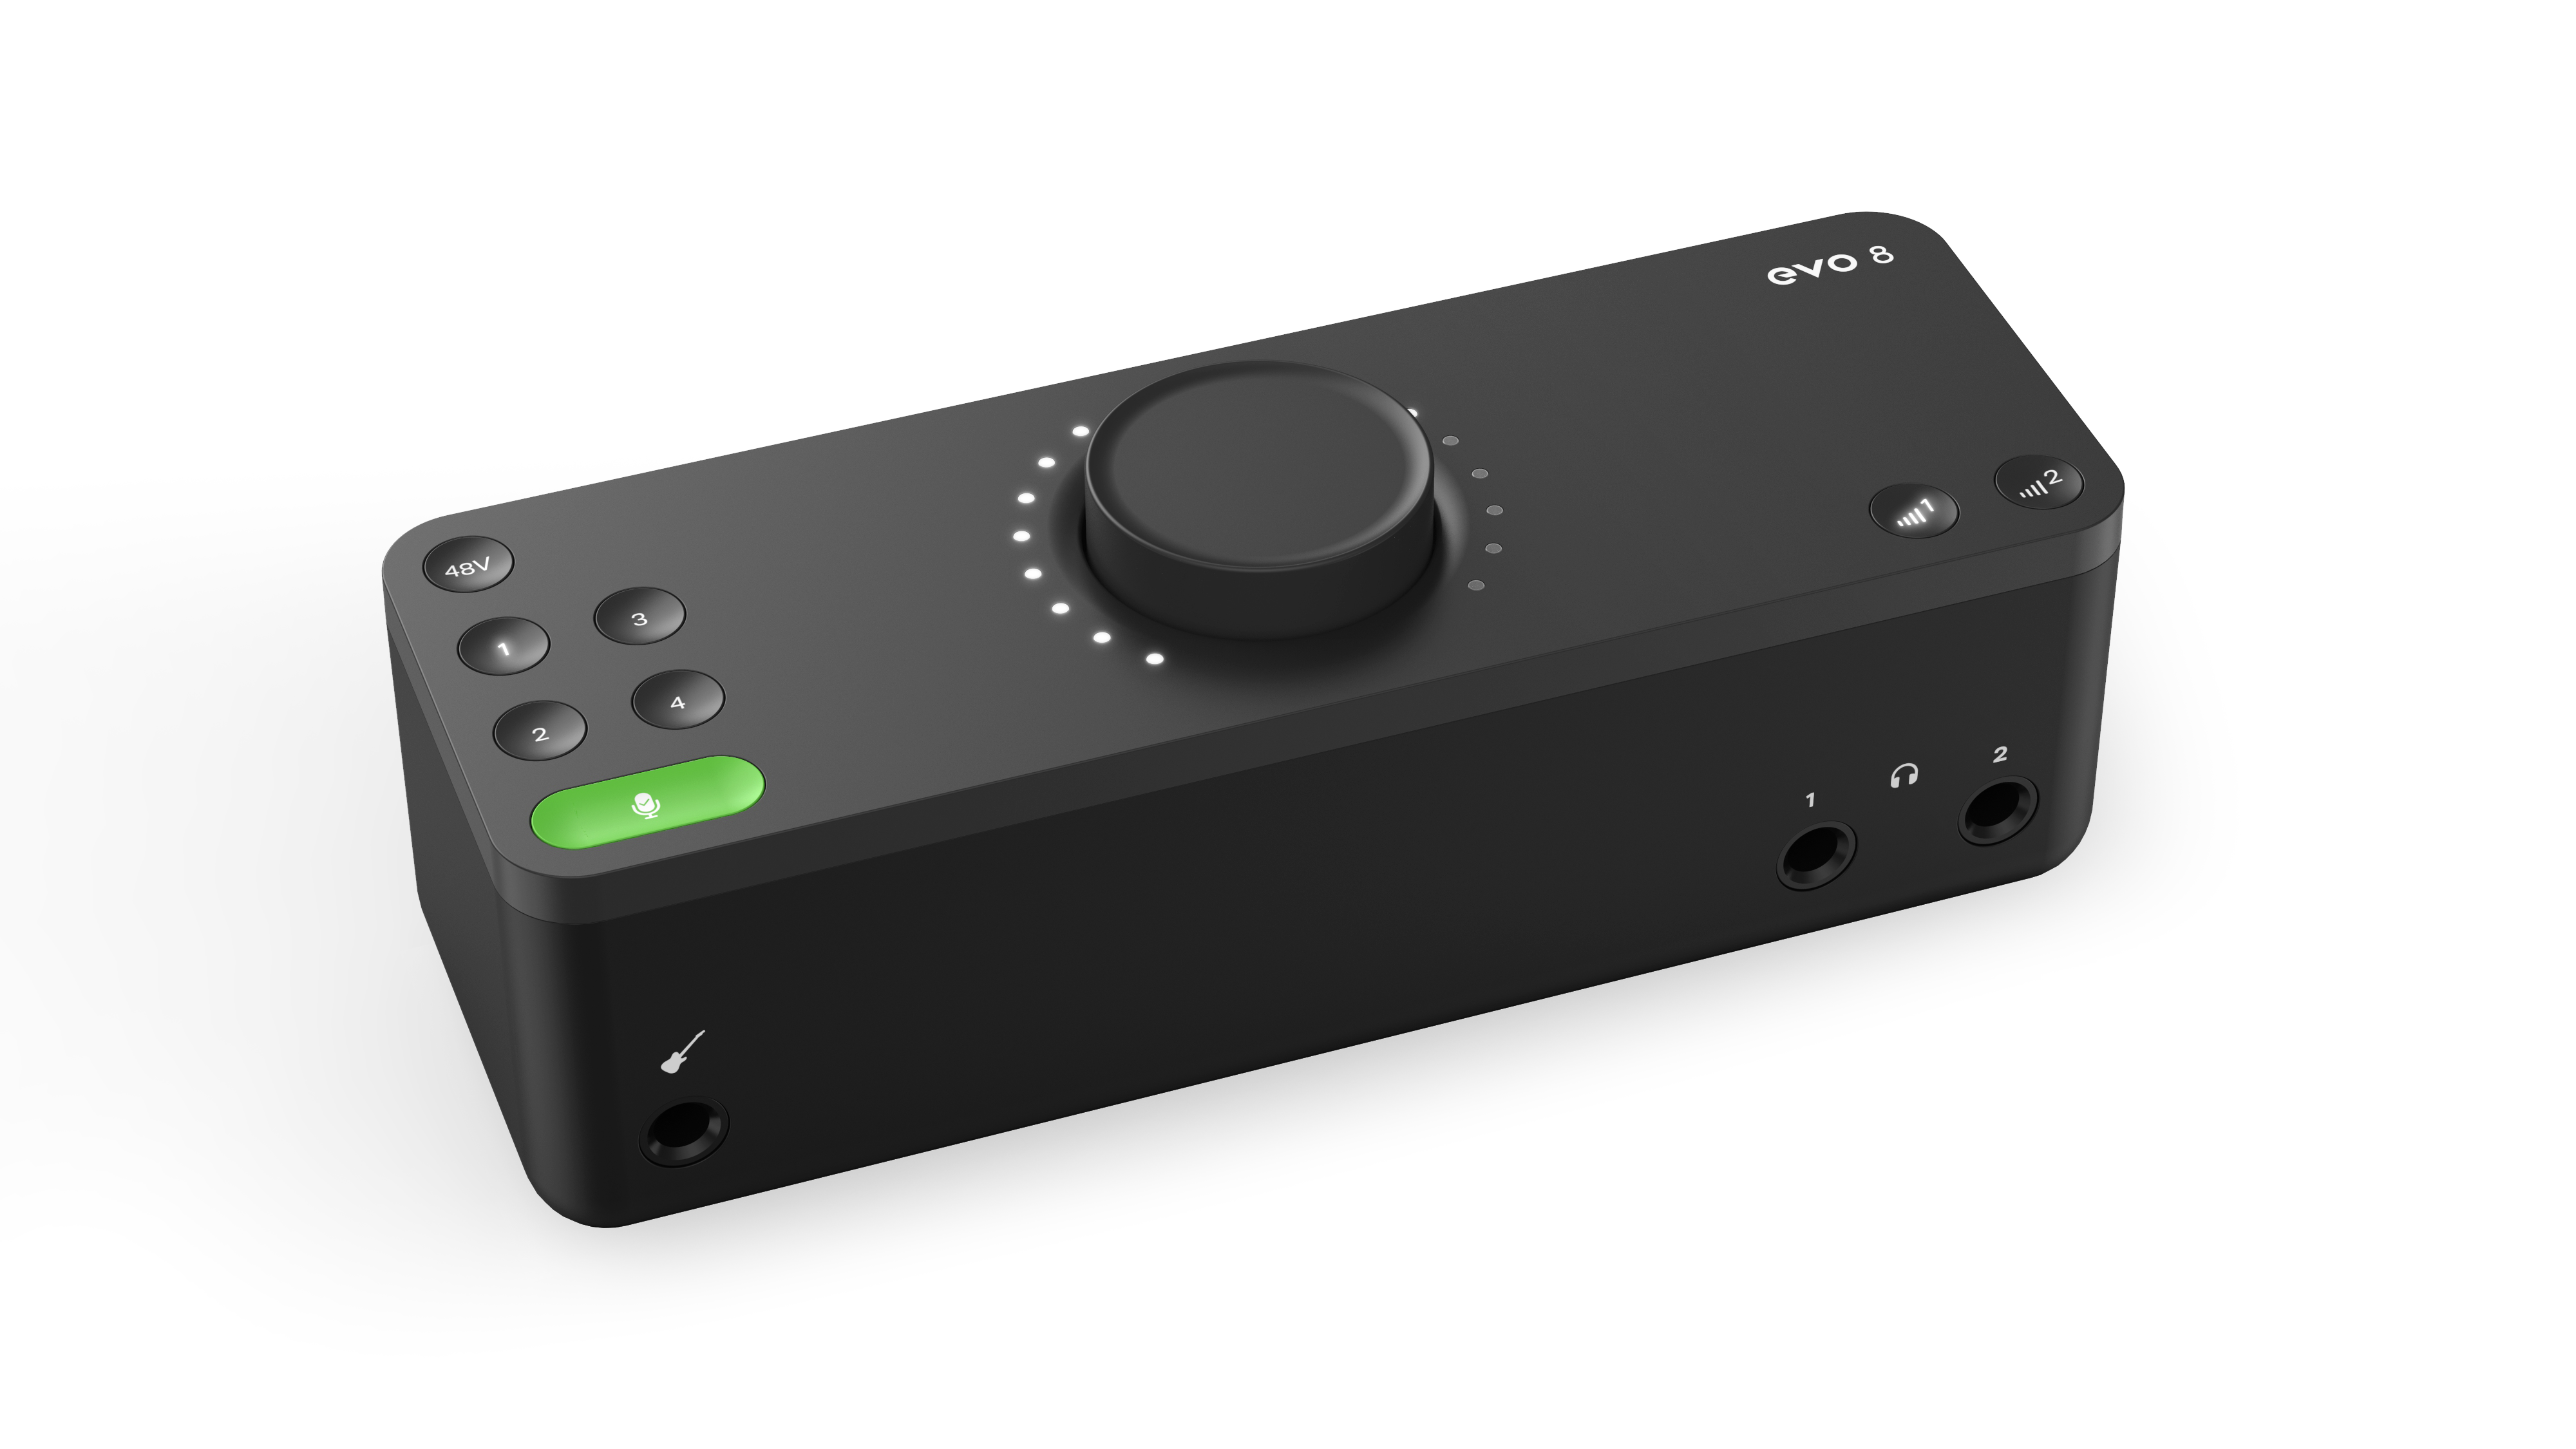
Watch: The EVO 8's Loopback feature makes audio routing simple
We take a look at Audient's EVO 8 interface and show you how it makes audio simple for podcasters, streamers and video creators

Audio loopback is becoming an increasingly in-demand feature due to the prevalent rise of podcasting, Youtube/content creators and gaming streamers. So just exactly what is loopback and how would you use it? Let's find out…
The primary function of loopback is to record your computer audio alongside your microphones in your audio software. Imagine plugging some cables from the main outputs of your interface and bringing them straight back into the inputs so you could record the audio from your computer.
This is exactly what the loopback is doing but it all happens virtually, without the need for cables and while still allowing you to use your mic inputs for recording. This means your computer’s audio can be recorded on separate channels to your microphones, enabling you to take more control over your audio when it comes to editing and mixing in your software.
This has often been done using dedicated software but in more recent years some hardware manufacturer’s have started to address this directly within their hardware. Most recently we have seen the EVO 4 and the EVO 8 by Audient, which both have a loopback feature built in and ready to go. So what would you use it for?

An example of where this would be useful is if you are creating a podcast and want to interview someone via Skype and record that conversation, or maybe you have a gaming YouTube channel or want to stream yourself playing a game with computer audio as well as your microphone, while still using EVO 8 to listen to everything on headphones.
So is it easy to use?
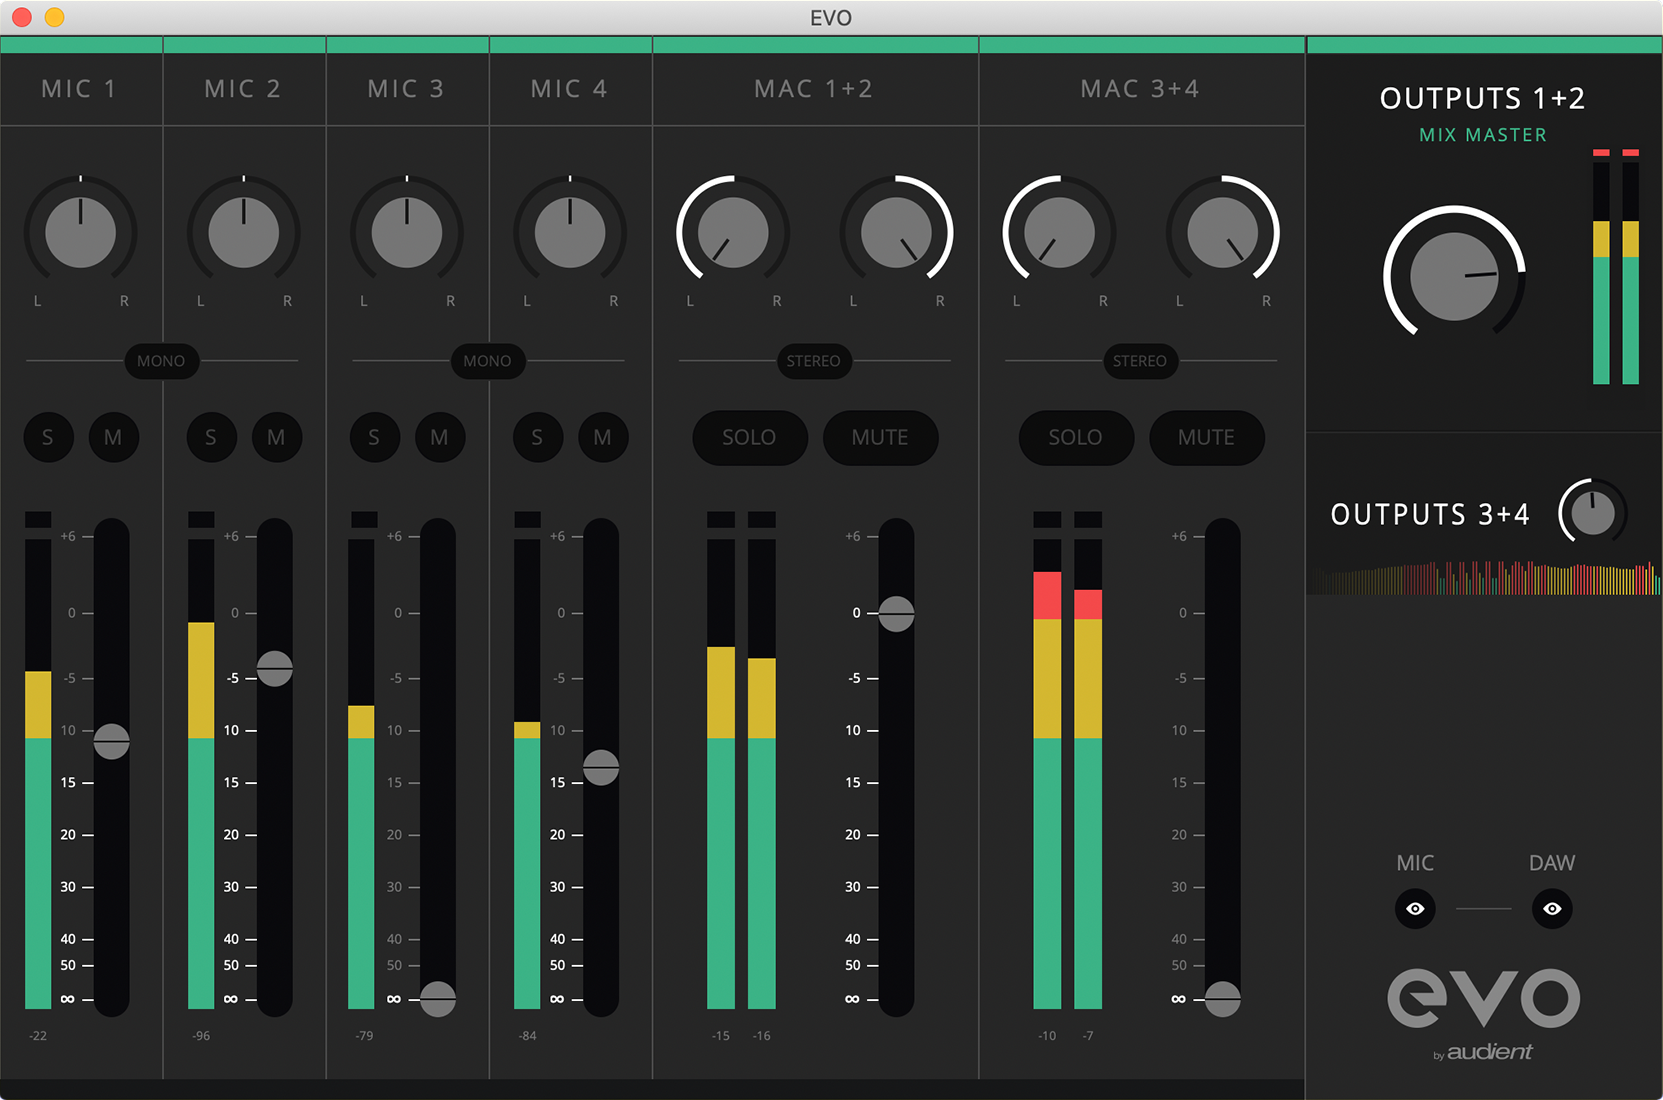
EVO 8’s Audio Loop-back feature is surprisingly easy to use. The software loop-back mixer gives full control over each audio source allowing you to get the perfect balance between your microphone audio and the audio you are looping back from other programs.
How does it work?
EVO 8 can loop-back audio from two sources, either from your main output, so the audio that is coming out of your headphones or speakers. Or alternatively, you can use two virtual inputs and outputs called loop-back 1+2, which keeps it separate from the audio you are listening through on your Speakers or headphones.
The first step is setting your computer to output sound to the loop-back outputs of EVO 8, the virtual outputs. On some software, you can change this in the software itself in the settings.
Otherwise, for software that doesn’t allow you to set the output channel, such as web browsers or video call services, you can simply adjust your sound output setting on your computer itself.

This audio will then appear in the Main Outputs 1+2 or the Loopback 1+2 channels on the mixer depending on how you’ve set your outputs. You can then use the faders and pan controls to set the right balance between your Microphone signal and the Loop-back audio.
Now you would just need to set the software you wish to use this audio with to take audio from the EVO 8’s dedicated Loop-Back inputs. Most software will allow you to do this in the settings but you can also change this in the sound settings of the computer itself.
And that’s it! You can now easily stream or record audio from various sources on your computer making high-quality streams or for super slick recording sessions easy. Loop-back is a valuable tool to have in your arsenal and EVO 8 makes it more simple than ever!
Head over to the EVO website for the full details on the EVO 8.
Want all the hottest music and gear news, reviews, deals, features and more, direct to your inbox? Sign up here.