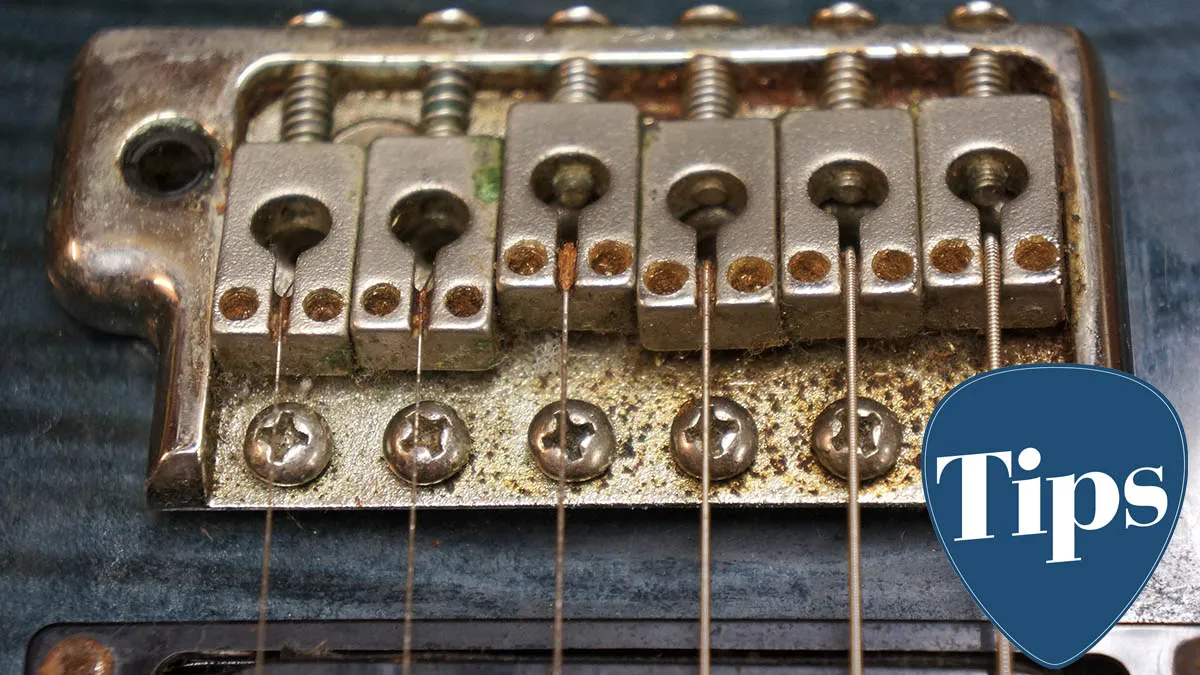
Let’s talk about the dirty elephant in the room – not looking after your kit properly. This PRS electric guitar has got a serious build up of Bridge Funk™ all up in the tremolo. We’re seeing grime, rust, goop and pitting in the plating, and it’s set in for sure.
With a bridge this far gone, we’re in restoration and repair territory. We’ll be extracting the parts, cleaning what we can, seeing what parts can be salvaged and replacing what can’t! Jack runs a few disciplines that are worth adhering to, some more aggressive than others, starting off light and only bringing out the big guns if needed.
The parts of this tremolo are numerous and made from different metals, in different finishes and sometimes plated so we need to take care not to excessively damage the parts.
Let’s tear it down and rebuild the bridge – minus the goop – and see what we can rescue!
Tools you might need

- Correct Allen keys
- Blue roll
- Water
- Lighter Fluid / Naphtha
- Servisol Foam Cleaner 30
- WD-40 or GT-85 penetrant oil
- PB Blaster Penetrant oil
- Plastic guitar pick / old credit card
- Plastic bristle brush
- Brass Bristle wire brush
- Steel Bristle wire brush
- #0000 Wire Wool
- Soldering iron
- Tap and Die Set
- Metalwork vice
- Mole Grips
- Hook and pick tools


1. Whip off the backplate and pull out the tremolo springs

2. Let’s extract the full tremolo so we can work on it safely away from the guitar. Loosen the anchor screws holding it onto the front of the guitar.

3. Here’s what we’re dealing with, a mixture of grime, grease and rust. It even smells. Great.

4. Pop the tremolo in a vice for easy grabbing, audition different screwdriver types to find the best match for the aged heads – ours suited a Phillips PH1. If you’re stuck already, some of the tips later in this article may be of use.

5. Store the parts in order, sometimes there’s different lengths of bolts or springs, this will make reassembly much easier.

6. Yuck, here’s the tremolo baseplate. The plating has breached in many places allowing rust to pop up, and so we have what’s known as pitting. This will not go away but the look can be improved for sure.
In terms of cleaning here’s order of severity, it goes from light safe cleaning to more aggressive abrasion

You have nothing to lose with each part when you start at the safe end. But be aware that, as you go to more aggressive methods, you run the risk of damage.
Keep in mind that metal plating is like paint – if you go through it, that’s it. There's no going back.

Just hitting it with Servisol foam cleaner took a considerable amount of goop off the bridge.

With the rust removal, we had to de-grease, foam clean, pick it and lightly abrade with the brass brush. It’s taken the worst off but unfortunately the rust on the base plate will return in the future.
The damage was already done with the long exposure to sweaty, salty grime. It’s important to know when to quit!

Let’s see what we can do with these intonation bolts. In this case, they are Metric M3 (3mm diameter) with a thread pitch of 0.50mm, so we’ve run them through the corresponding die cutter. This is a tool for cutting threads and here it can be used to “chase” the threads free of rust and crud.

If you do not have a die then you can either replace the parts or try your hand with a wire brush.
Common bolt sizes

Cleaning the saddles

There’s a horrible build up on the sides of these; we’re simply going to go through the cleaning chart once again, starting with the safe end, and then opening a can of whoop-ass if we need to…
Start off kind then get progressively more aggressive! Swearing does help... sometimes.
Stuck part removal
We’ve got saddle height grub screws stuck in here – a classic. Buried in grime then rusted in place, once again there’s a safe procedure to run through.
Don’t forget, start off at the top and see how severe you have to get to get the part loose:

How we fared

The saddle top cleaned up pretty well with the brass brush but look at these...

The grubs are rusty as hell, and worse on the wound string saddles where the hand has rested more often.

Fixed in a vice we can get down and dirty with it. Step one, WD-40 soak. Pick out that detritus you can from the Allen adjuster head and try out a new Allen key in it. Drive it clockwise (downward and out the bottom).
Sometimes a bit of back and forth really helps loosen it up. We got lucky and didn't have to work down to the worst case measures!

To clean out the remaining grime in the holes we are going to use a tap to chase out the threads. A tap is the matching part to a die – one makes nuts, one makes bolts.
On our PRS, the bolt type required is M3x0.50, therefore the same diameter and pitch is needed for the threaded hole.

Replacement grub screws – let’s take this chance to upgrade to some stainless steel ones hey? They won’t rust into place when this happens again.
We’re going ahead and will assume the owner won’t adjust their cleaning schedule too much…

Reassemble the bridge! Back just the way you took it apart with a few new parts added. We managed to save the intonation bolts, replaced a dozen grub screws and upgraded them to stainless steel, replaced the springs, and successfully whipped the saddles and base plate up a notch.
It's not new, but looking better and most importantly – it's fully functional now.

Finally, we'd better set the whole guitar up again now...
Read more: How to set up your guitar
