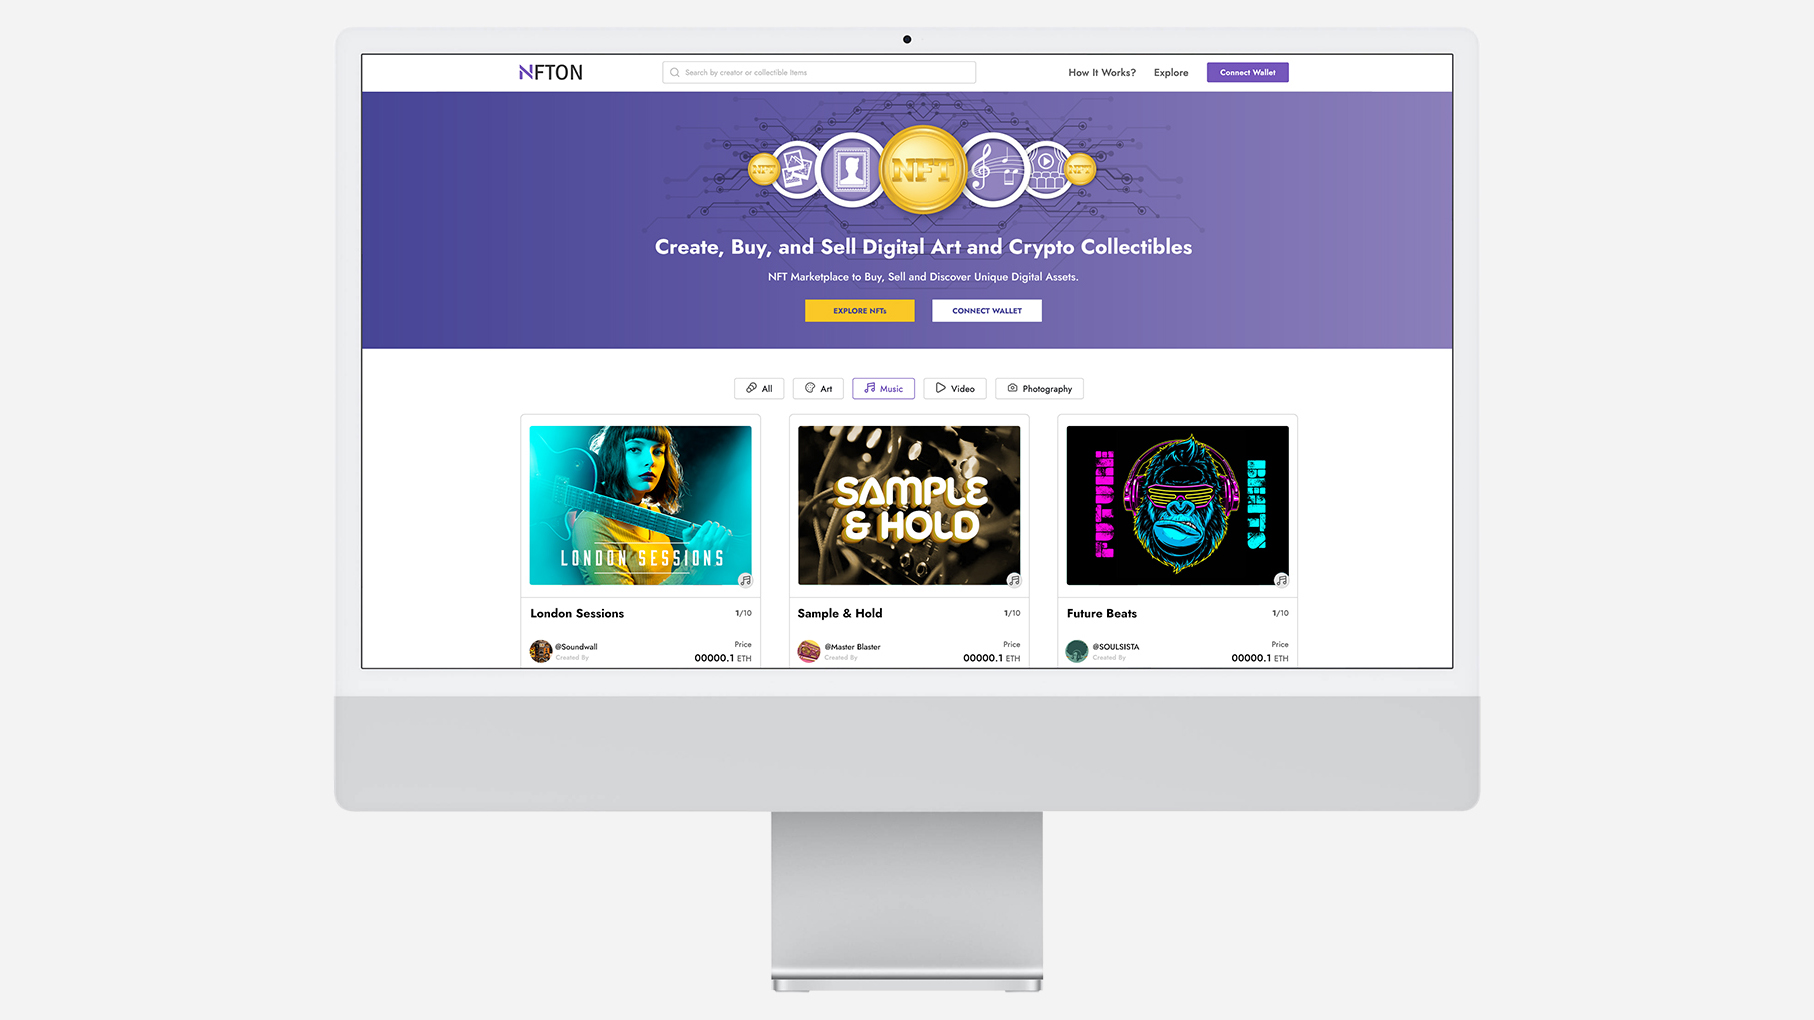
How to mint and trade your music as an NFT with NFTON
NFTON is a revolutionary new marketplace giving digital creatives the power to mint and trade their own NFTs

NFTON is a revolutionary new marketplace giving digital creatives the power to mint and trade their own NFTs. Whether you’re a musician or producer looking to enter this exciting and lucrative marketplace, or a digital artist curious as to how NFTs are changing the art world forever, NFTON has opened its doors and is waiting for you to sign up and explore.
To the uninitiated, NFTs may seem intimidatingly technical, but the reality is that it’s never been easier to mint and trade NFTs. Read on to find out how you can get set up with a crypto wallet, deposit Ethereum, mint your own NFT and trade it on the NFTON marketplace.
We’re going to explain how to acquire and fill a cryptocurrency wallet, so you can use this wallet to trade NFTs on NFTON. Your first step here will be to download and install the free browser extension MetaMask, which will essentially provide you with an Ethereum wallet within your browser.
After installing the browser extension, hit Get Started, and follow the instructions within your browser to create a wallet. Make sure you choose a secure password that you won’t forget later, and take note of your Secret Recovery Phrase.
Now you’re ready to deposit some Ethereum in your crypto wallet. Remember that you can’t purchase Ethereum within MetaMask - it’s just a virtual wallet for you to store your cryptocurrency. To purchase Ethereum, you’ll need to use a cryptocurrency exchange platform such as Coinbase, Binance, Kraken, or FTX.
Purchasing Ethereum on these platforms is simple, and each will have a guide to assist you with your purchase on their website. Once you’ve purchased, send your desired amount of cryptocurrency from the exchange platform to MetaMask, by using the address listed in MetaMask as the destination address for the transfer.
Once you’ve purchased and transferred your Ethereum to your wallet, you should be able to view the amount in MetaMask. Now you’re ready to trade and mint NFTs on NFTON. The first step will be to connect your wallet with your NFTON account, which you can do from the NFTON homepage once you’ve made an account.
Then, hit Create in the top menu bar. Here, you’ll need to decide whether to create a single NFT or more than one in a Bundle, select a category, and upload the digital media that you’re minting on the blockchain. Most NFTs are image files, but if you’re a musician or producer, this could be an MP3 or WAV file of a track of your choice.
The maximum file size for your upload is 50MB, but NFTON gives you an option to offer the purchaser of your NFT a high-resolution download once they’ve purchased. Toggle ‘Unlock Once Purchased’ to take this option, and copy a download link to the high-resolution file into the box below. Give your NFT a snappy name, and a solid description, and then choose which percentage royalty you’d like to receive every time your NFT is resold.
If you set ‘Resell NFT’ toggle to the off position, your NFT will only be able to be sold once, and you won’t receive royalties from subsequent resales. Don’t forget to choose the amount of copies you’d like made of your NFT, too. When you’re finished, make sure you check everything over one last time. Then, hit Create NFT, and wait for MetaMask to pop up, so you can hit confirm.
Congratulations! You just minted your first NFT. On the next screen, you’ll be able to view the Proof of Authenticity and IFPS details for your NFT, to ensure it’s authenticity. If you’d like to begin trading, hit the Sell button to open up the Field List and make your NFT available on the NFTON marketplace. All you need to do is check over the details, confirm in your MetaMask wallet, and hit List on Marketplace. If you’d like to view your listing once it’s confirmed, hit Explore in the top menu bar.
Want all the hottest music and gear news, reviews, deals, features and more, direct to your inbox? Sign up here.