Inside Yamaha's Chinese factory
The making of a top-end Yamaha drum is a detailed process.
At the company's state of the art Chinese factory in Xiaoshan, Yamaha has three managers overseeing the production process in three key areas; woodworking, finishing and assembly. Each manager was trained at the Japanese factory before bringing their considerable knowledge to China.
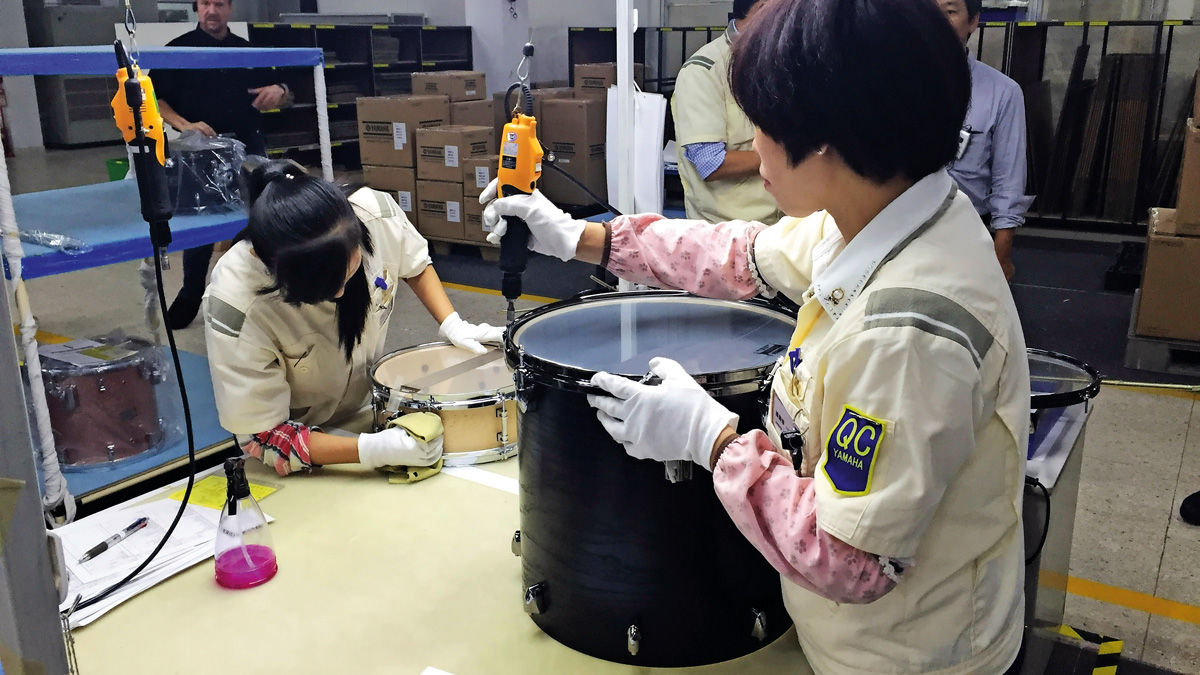
Xiaoshan employs a number of bespoke, state of the art machines, but human interaction, intervention and inspection from the 50 employees at every critical stage ensures quality and consistency. It takes 12 days, on average, to build a complete drum kit.
Inside the factory working conditions are impeccably clean with extractors at key stations removing fumes and dust away from the factory floor. This is better for the staff and means there is very little potential for contamination at any stage of the drum building process.
Bright lighting also helps technicians more easily spot any issues at every stage of production. Let’s take a look at what goes into the making of a Yamaha drum...
Inspect The Parts
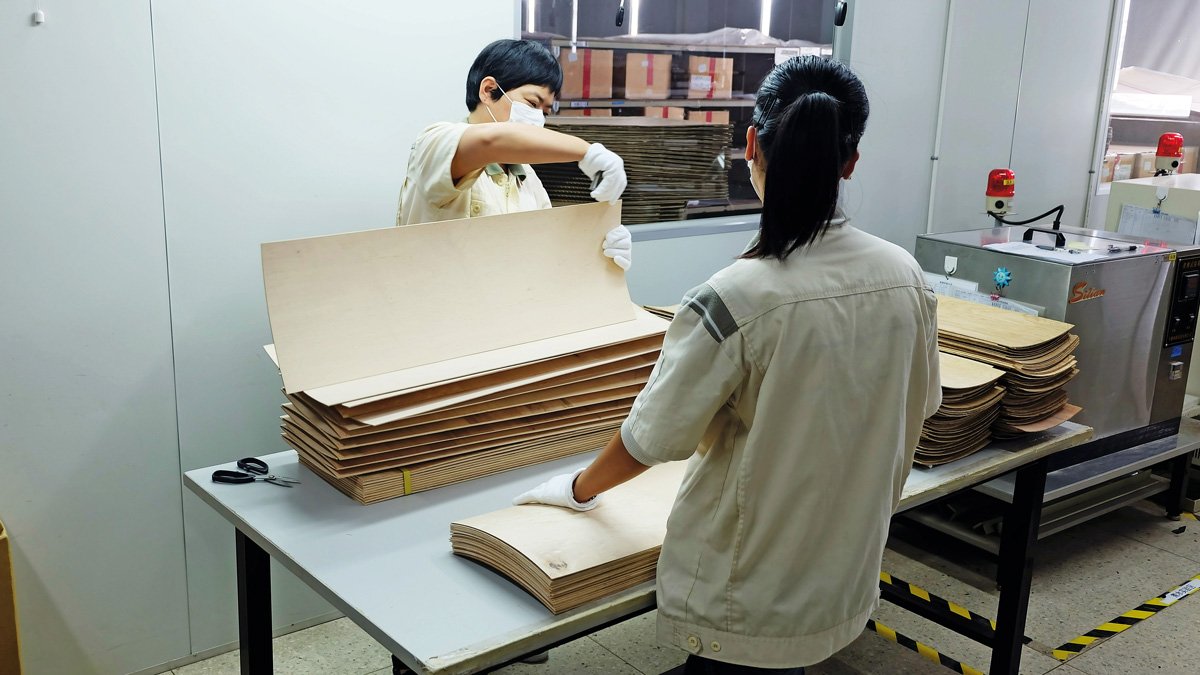
Thorough inspection of every component of a Yamaha drum is critical to ensure quality is meticulously controlled.
Here, plies are checked for consistent thickness and quality of grain, and every single tension rod, lug casing, head and more is inspected before it enters the production line. Everything is recorded on a log sheet, which allows for any trends or weaknesses to be identified and quickly corrected.
Selecting the wood
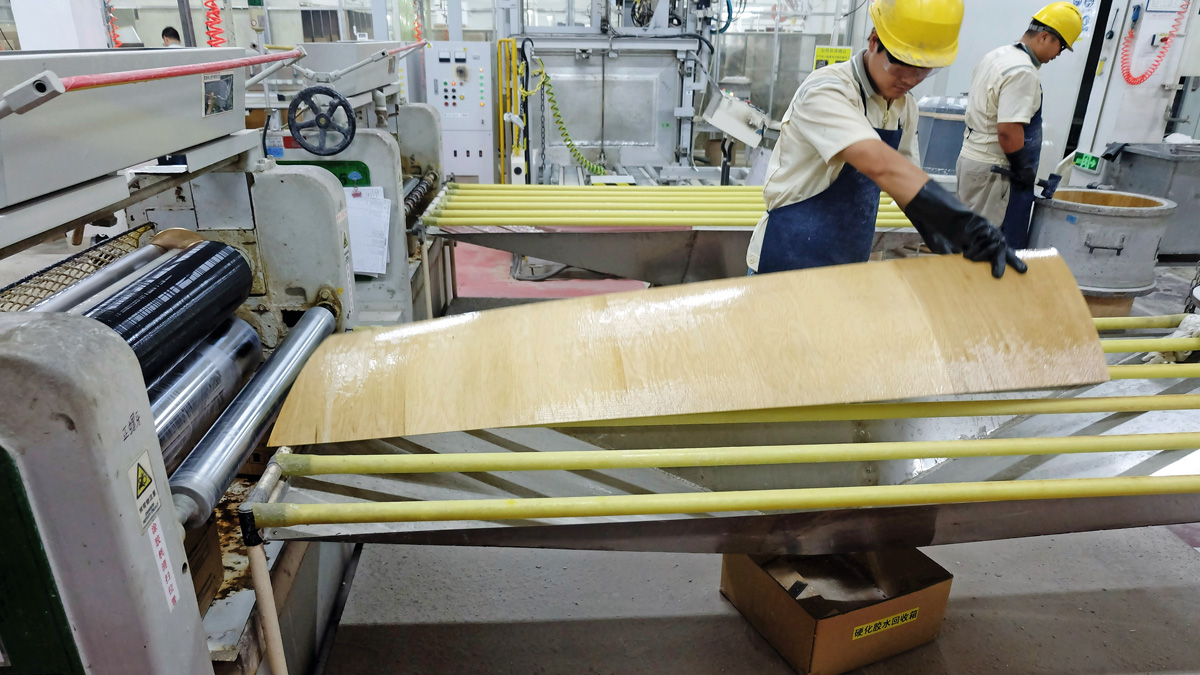
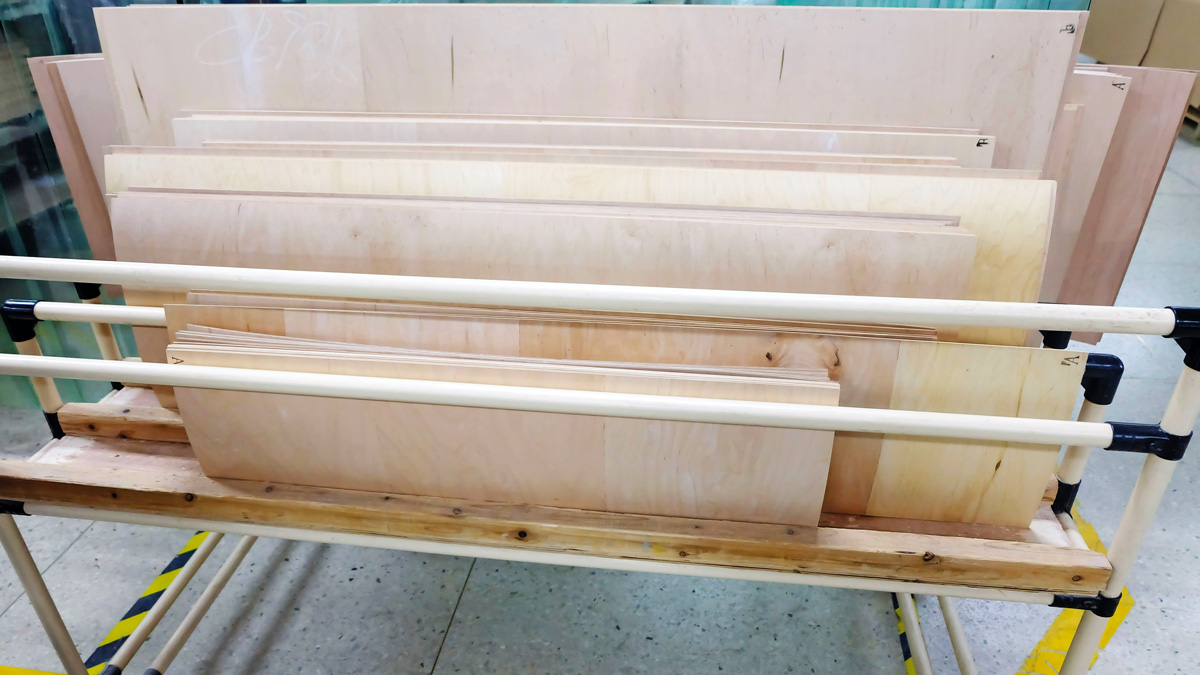
Pre-made plies are stored in a separate room and picked and grouped according to the size of shells and model of kit being made.
Each ply consists of two or three veneers, laid up with alternating horizontal and vertical grains for extra strength. Trolleys are loaded up with all the plies required to bring a new kit to life. It’s important to note that at this point the wood is still flexible due to the presence of moisture.
Making the cut
Now it’s time to enter the main production space within the factory, which is noticeably clean.
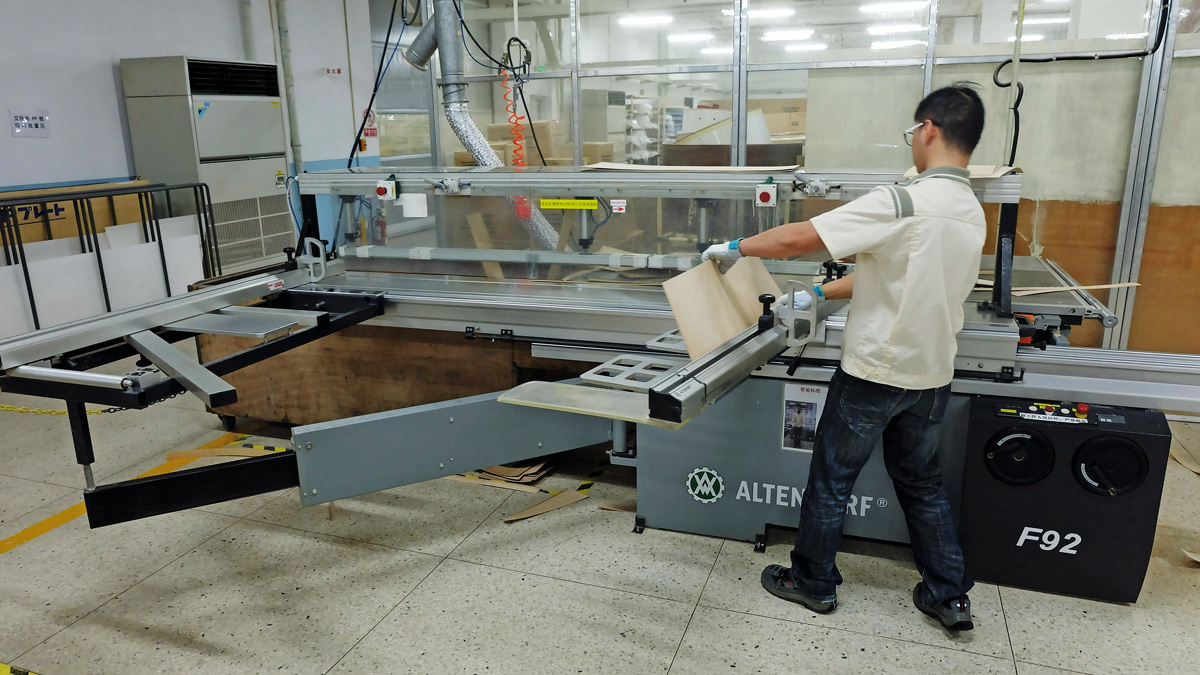
First, each ply is taken from the trolley and cut to size on a computer-controlled sawing machine.
This is where Yamaha’s famous diagonal seam is applied. The angle of the cut is dictated by shell size and model. This information is all presented to the technician on a detailed job card that follows the shells through the process.
Forming the shell
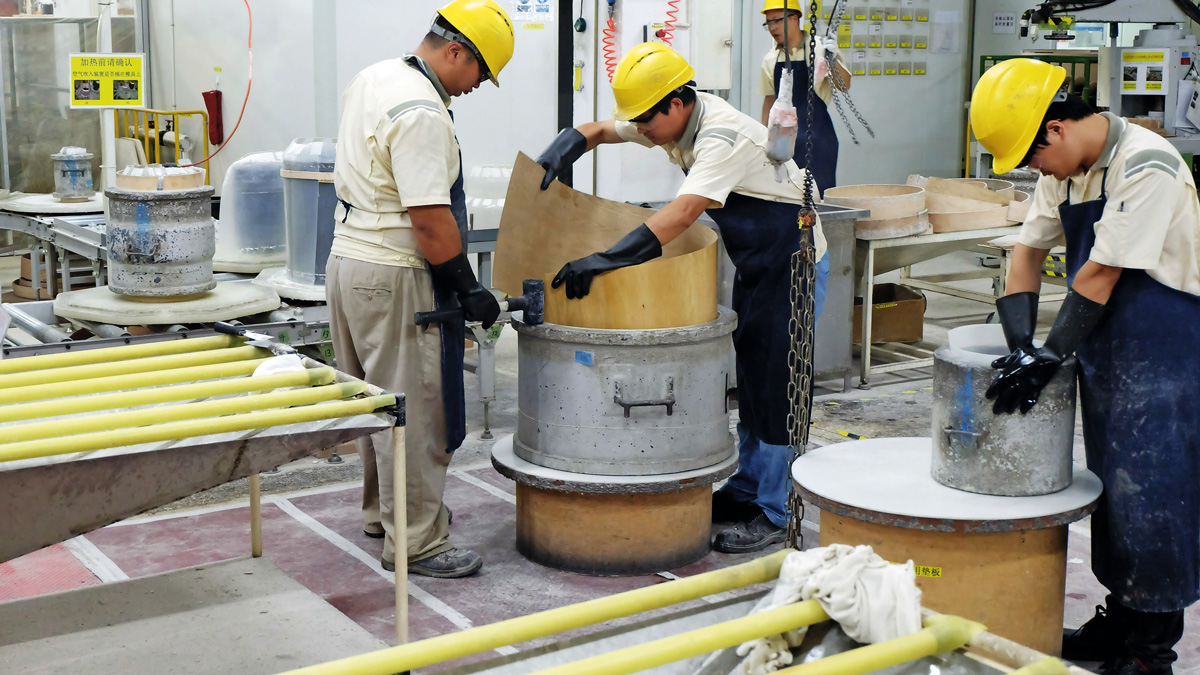
Laminates are twisted into size-appropriate moulding kilns and lightly hammered into position to ensure the diagonal seams butt up perfectly to create a sealed joint.
The seams are staggered so there is even pressure around the shell. Using this method means Yamaha shells can be thin but remain strong.
Cooking the shell
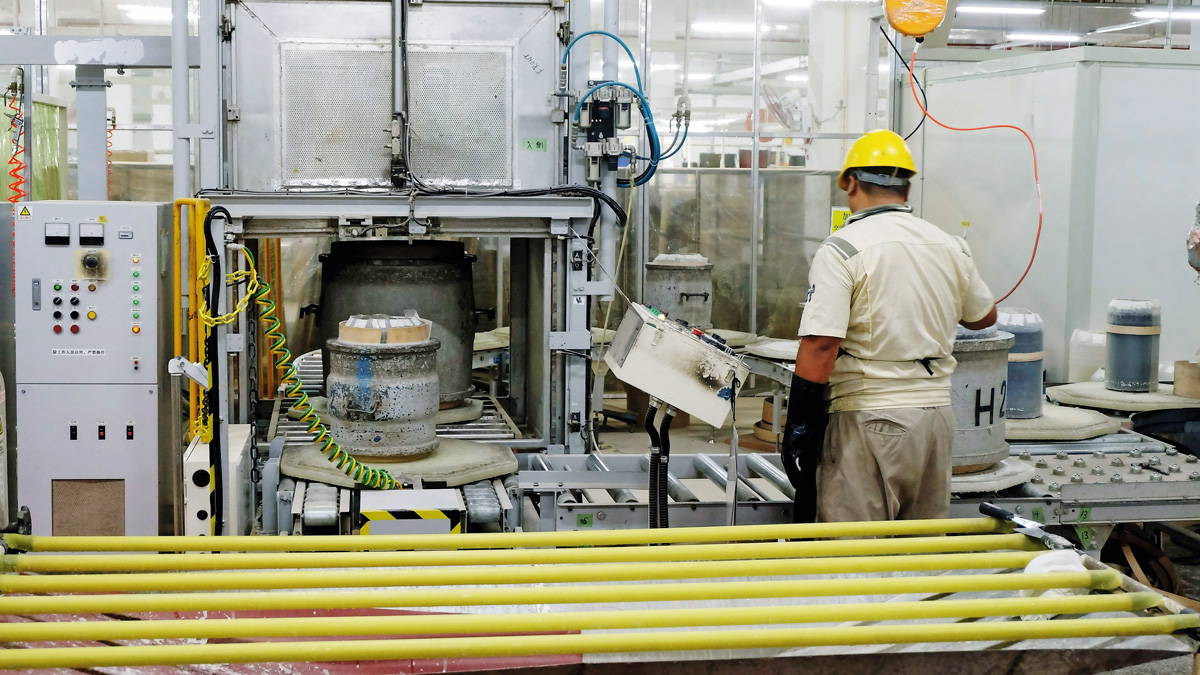
Before entering the microwave to dry, a cylindrical bag is inserted into the shell and inflated.
This Air Seal method ensures the shell is subjected to uniform pressure for a better seal and a more rounded shape.
The 50°C microwave heat extracts moisture from the wood and dries the glue. Larger drum moulds (22" and up) have a built-in heating system.
Sanding the shell
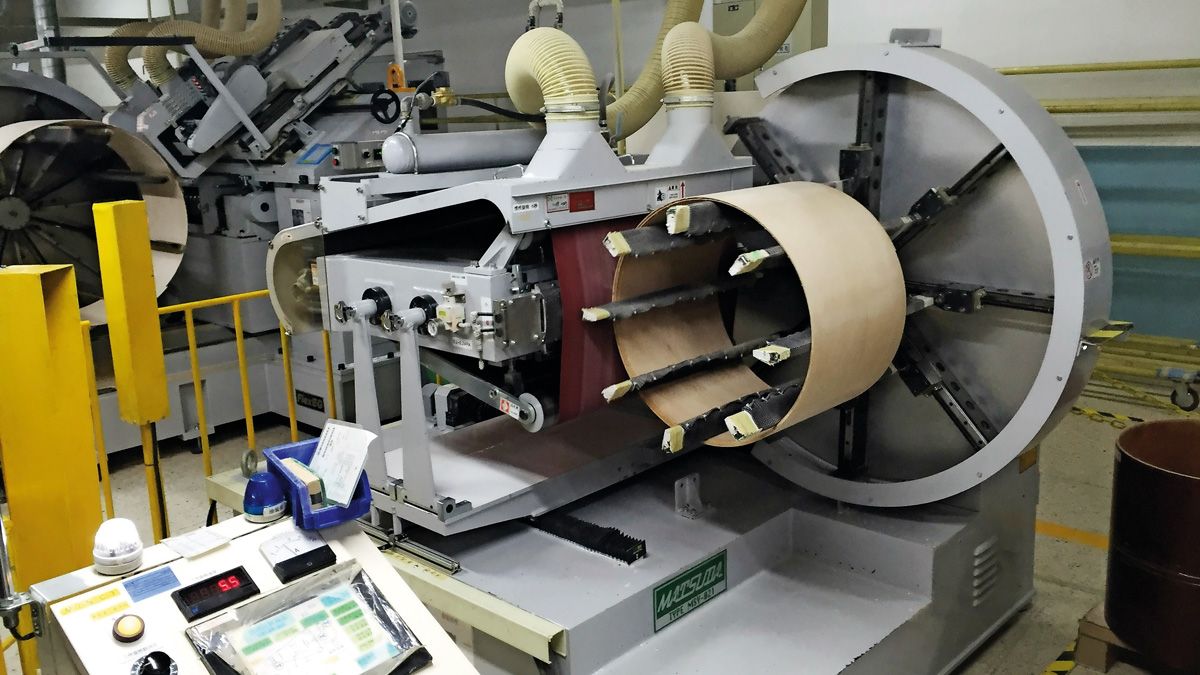
Here begins the first of numerous rounds of sanding that contribute towards Yamaha’s blemish-free shells and immaculate finishes.
The inside and outside of the shell is sanded, with slightly different processes and machines for each. The machines automatically adjust themselves for each size of shell.
Removing excess glue and cutting the shell
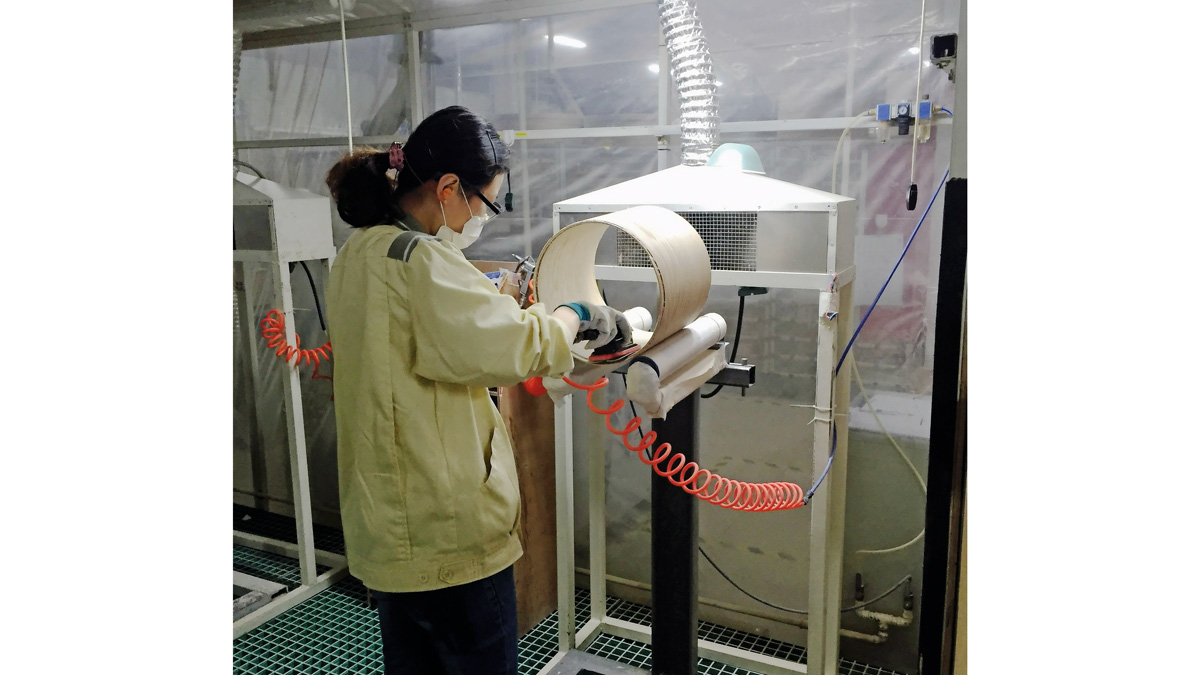
The inside of the shell is inspected and sanded by hand before any remaining glue is removed from the seam.
The shell is cut to a uniform depth using a computer-controlled, laser-guided precision machine. Every shell is then closely inspected in a clean and well-lit area.
Finishing begins
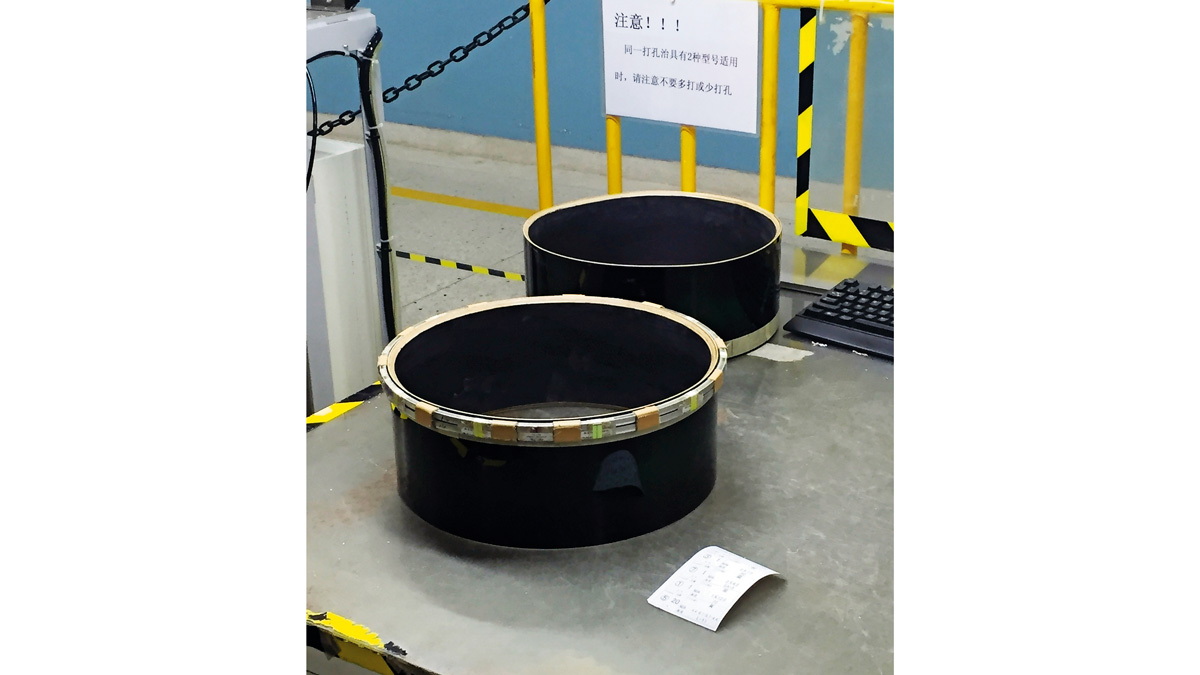
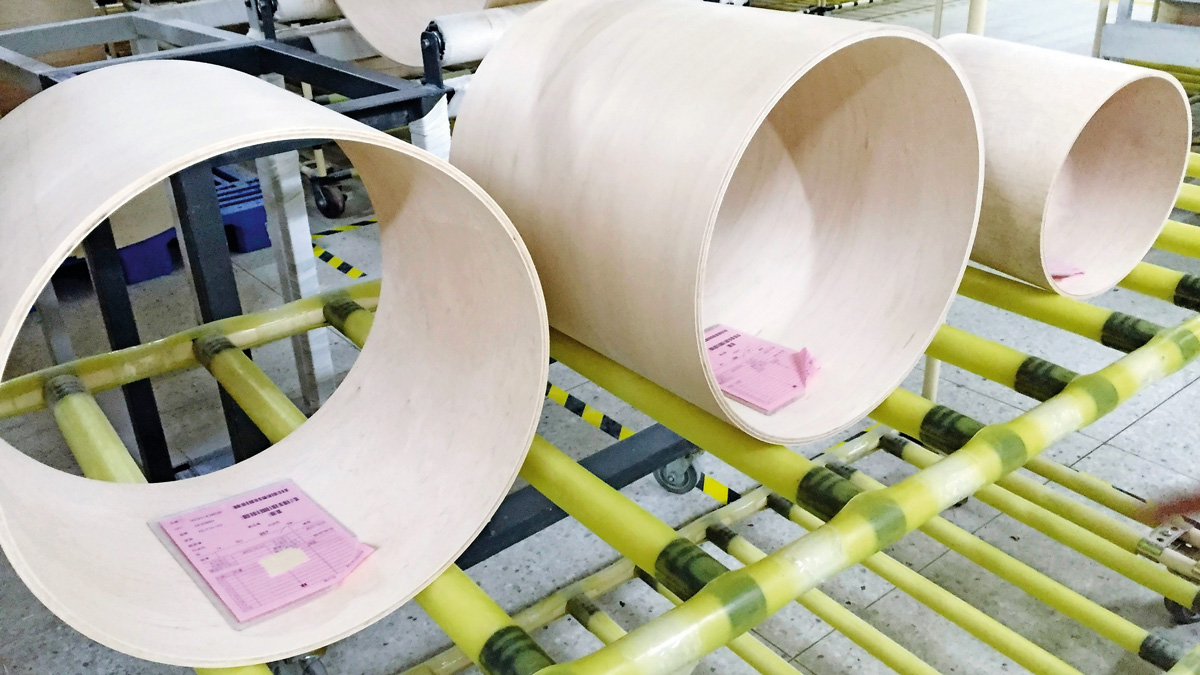
To avoid impacting shell vibration the finishing process involves repeatedly building up layers of lacquer and sanding by machine and hand to reduce overall thickness of the finish.
The process behind Yamaha’s most dazzling of finishes, the UV lacquer, is taken directly from their piano business. In general, there are around 20 steps involved in finishing – varying by product, wood type and paint specification.
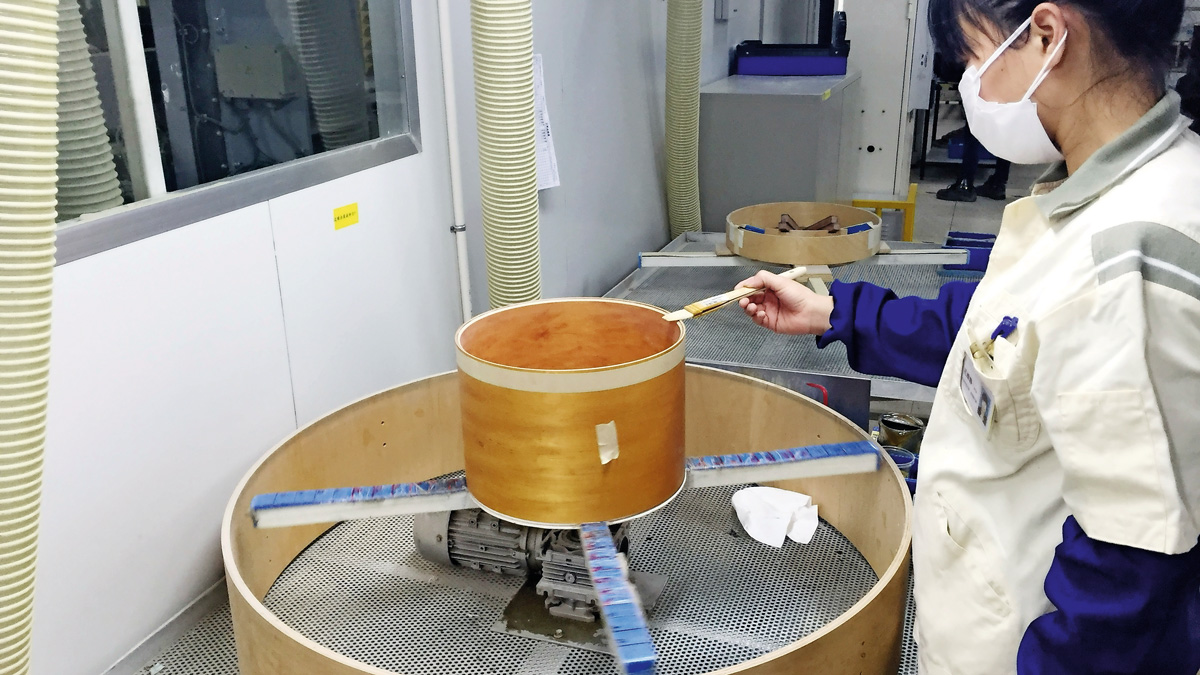
The first two of 10 key finishing stages is wiping and colouring, which gives the shell a base layer of the colour it is to become. The shell is then sanded.
Spraying
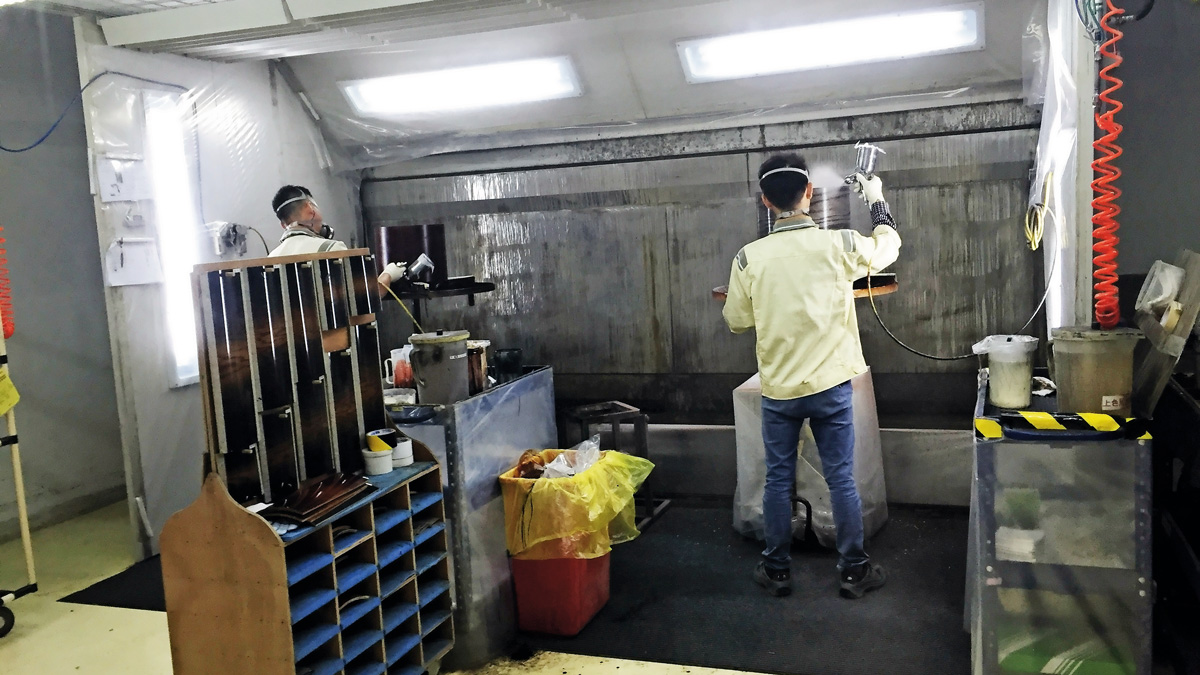
Shells are taken into immaculately clean spray booths for undercoat. Spinning carousels allow for an even and consistent coat.
Shells are sprayed skillfully by hand. Fades in particular are amazing to witness taking shape. Cascading water behind the spraying stations extracts dust from the spraying process. Shells are sanded again.
More paint, spraying and drying
Next it’s middle coat, sanding, top coat, more sanding and a final buff to really make the shell gleam. UV finishes bake in a microwave at 50°C for one night.
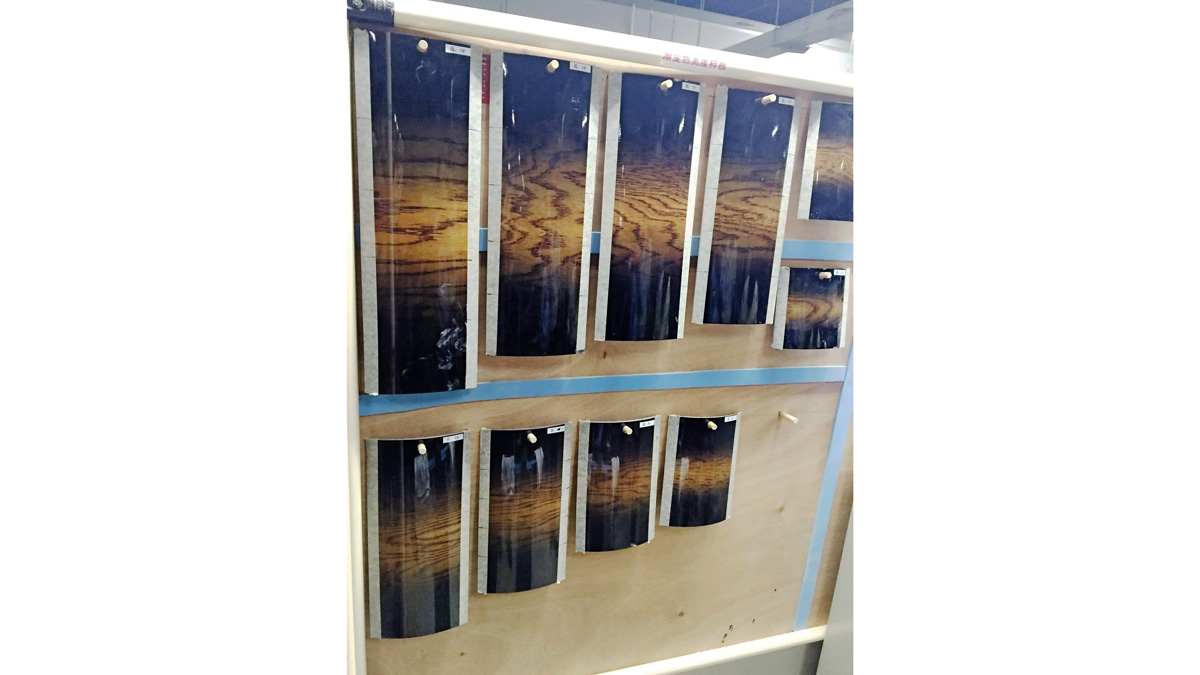
Non-UV are left to air dry, before thorough inspection. Approved samples of finishes are referenced with a small tolerance for inaccuracy.

