MASTERING WEEK: Whether you're tackling the mastering stage of your latest project yourself or passing it onto a professional mastering engineer, there are a number of things that must be done first to get your stereo mix properly prepared for the process.
In this walkthrough, we'll show you what those things are and how to address them in order to give you or your engineer the best possible starting point from which to elicit a great master.
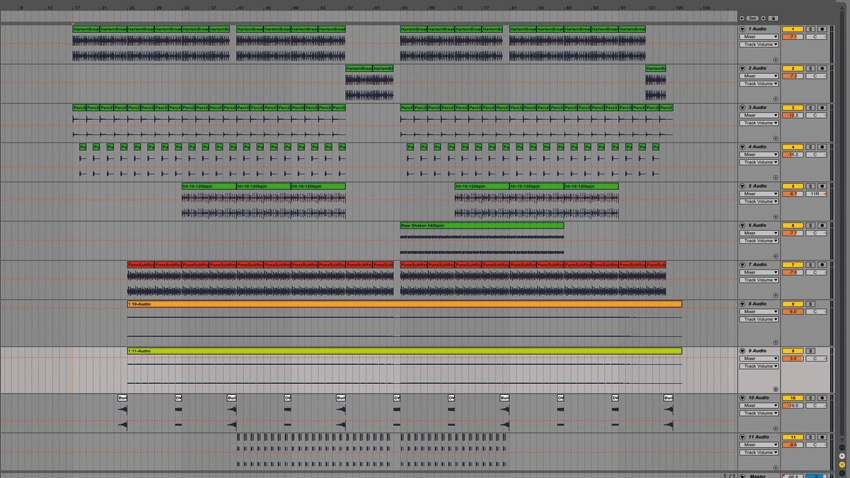
Step 1: Here's a typical 'mixed' project comprising many audio and MIDI channels. You could apply processing directly on the master channel, but you might be tempted to adjust individual mix elements, too, switching you back into the mindset of the mix engineer. Instead, render your track as a single stereo file, so that it can be tackled from the mastering engineer's perspective.

Step 2: Set your DAW's cycle markers around the entire track - including a few seconds of silence at the beginning and end - ensuring you capture any extra track elements such as reverb tails or lead-in effects. This is especially important for analogue mixes or restoration projects, as isolated noise at the beginning or end can be used as a 'noise profile' for noise removal plugins or restorative processes.

Step 3: If the track contains any global volume fade-ins or fade-outs, remove them before rendering the final mix, as they'll sound unnatural when dynamics processing is applied to them. If in doubt, export a second 'reference' version with fades applied, so that you or the mastering engineer can replicate them at the end of the mastering process.

Step 4: Remove any master buss processing before exporting the final mix, as it could impair the mastering engineer's ability to apply their own processing to the track. If a particular master effect is adding a quality that you like, simply make a note of it so that it can be replicated during mastering, if desired. Get the highest peaks hitting around -3dB to -6dB, to prevent clipping and leave headroom.

Step 5: Render the mix at the same sample rate as the project, and at 24- or 32-bit to ensure that you don't lose any quality or resolution in the final stereo file. It's important to maintain audio fidelity at every stage of the production process, so be absolutely sure that you aren't inadvertently lowering the quality of the track at this final stage.
