The single biggest change in Live 9.5 is the massive overhaul that's been given to Ableton's veteran sampler, Simpler, introducing a bold new look and - more importantly - a ton of very useful new features.
As well as the simple one-shot and looping playback for which it's already known, Simpler can now warp samples just like audio clips, with the same choice of Beats, Tones, Texture, Re-Pitch, Complex and Complex Pro algorithms. It also now offers a choice of three playback modes for both warped and unwarped audio: Classic (for looped playback, including crossfade looping), One-Shot (for one-shot playback with optional 'trigger' mode, where the sample plays in its entirely no matter how long the note is held), and Slice (where each slice of the sample is assigned its own MIDI note for triggering). In this walkthrough, we'll show you around the first of them, Classic mode.
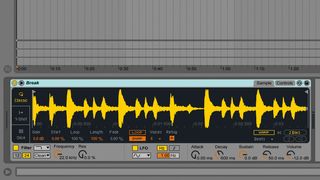
Step1: Drag Break.wav into a MIDI track's Device View and Live will automatically create a Simpler to play it back. By default, the sample will be unwarped, but if you take a peek at the bottom right hand corner of the interface, you'll see that Simpler has correctly calculated its length as 2 Bars.
Break
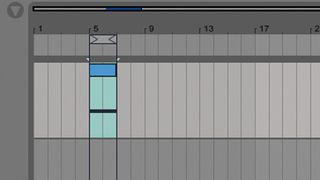
Step 2: Click the Warp button and the sample will automatically play at the project tempo. Highlight a two-bar area on the MIDI track, and press Ctrl/Cmd+Shift+M to create a new MIDI part, then Ctrl/Cmd+L to set the Loop Start and End points around the clip. Double-click the clip to bring up the MIDI Note Editor, and draw in a C3 note for the whole two bars.
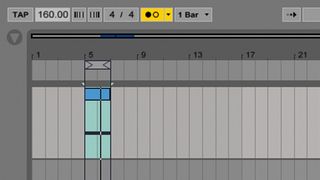
Step 3: Click Live's Metronome button to activate it, and take a listen back to the project. You'll hear that the beat plays back at the project's tempo of 120bpm, even though the original audio file is much faster. Let's speed things up a bit: click the Tempo parameter and enter 160.
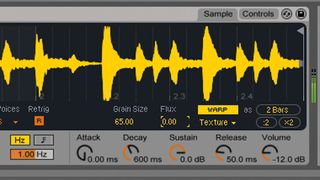
Step 4: Simpler will automatically play the beat back at the new tempo. Now let's get a bit more creative. Turn the metronome off, then return to Simpler and click the Warp Mode (currently set to Beats) to see the other available modes. Select Texture from the drop-down menu. Turn the Flux (random factor) down to 0.00 for a totally consistent sound.
Warped break
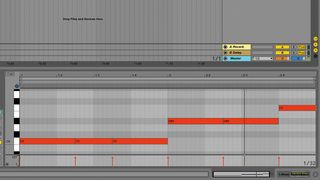
Step 5: Transpose the MIDI note up to C5. It'll play back at the same tempo, but its pitch will be shifted up dramatically, giving us a metallic, psychedelic beat reminiscent of early 90s jungle. Create your own melodic pattern, or copy the one we've used here.
Pitched break
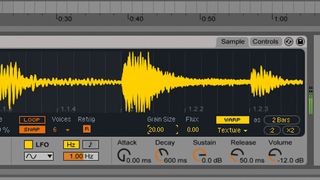
Step 6: An effective way to control the timbre of the beat is to adjust the Texture mode's Grain Size parameter, which controls the size of the audio grains used by the warping algorithm. Turn it down to 20 to get a comb-filtering-style effect. Higher values result in a slurred sound with a less defined rhythm.
Comb filtering
For a full-on guide to all that's new in Ableton Live 9.5, get your hands on Computer Music 225, which is on sale now. Includes free Arpeggiator VST/AU plugin, Sparse Soundscapes sample pack and more!

