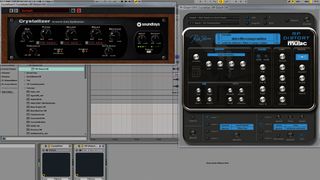
As with most things in music production, there are a number of different ways to use effects, the simplest being to place them directly on the required channel as an insert. While this is typically the best way to use effects such as EQ or dynamics processing, it can be a pain when it comes to using things such as delay, reverb or chorus.
The most convenient way to use creative effects like these is to instead place them on an FX send/return path that 'taps off' an input signal from one channel before outputting an effected version of that signal onto a separate channel. This may be more long-winded than just placing the desired effect straight on the channel and using wet/dry mix controls to blend the clean and processed signals together, but one advantage of this method is that additional processing can be applied to the FX send before or after the main effect. Allow us to demonstrate…
For further advice on using effects creatively, pick up the December edition of Computer Music (CM237).
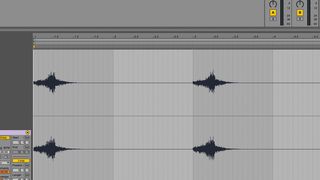
Step 1: Using FX sends to apply creative processing can open up a world of sound design possibilities, making it simple to turn a dull sample into something more exciting - so let's twist a boring stab into a unusual riff using Soundtoys' Crystallizer and Rob Papen's RP-Distort CM. Start by setting your project tempo to 128bpm and importing Drums.wav and Stab.wav.
Drums
Stab
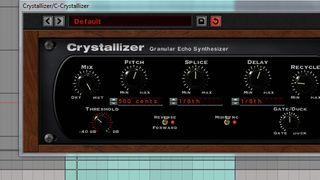
Step 2: Add Crystallizer on a new send, then turn the wet/dry mix up to 100%. After this, set up a 0dB send from the Stab channel to the new FX channel. Now we've got a basic delay going, let's make it into a riff using automation. First up, we'll automate Crystallizer's Pitch to 300 cents for bars 1 and 2, then increase it to 700 cents for bars 3 and 4.
Automate Crystalizer pitch
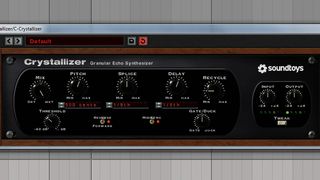
Step 3: The delay effect now pitches five and seven semitones up, turning our stab into a simple riff. Next, we'll automate the Splice amount to 1/4 for bars 3 and 4 - this will delay a longer slice of the incoming audio, giving the riff more variety. Next, we can draw in automation of the Recycle dial to increase Crystallizer's feedback, creating an unusual pitching delay effect.
Automate splice amount
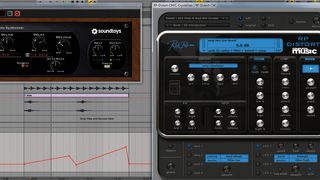
Step 4: We've gone for a subtle Recycle boost in bar 2 with a more extreme lift over bars 3 and 4, but feel free to experiment. After this, set the Delay Time to 1/4 to make the riff slower; this'll give a more musical sound that fits the drum track's groove nicely. Now, we can grunge our riff up a little by adding RP-Distort CM to the FX send after Crystallizer.
Recycle and delay tweaks
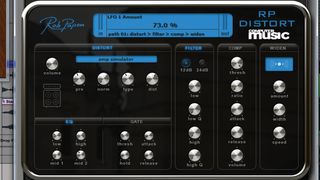
Step 5: Stop playback and load the Great On Short Leads preset. Pull the distortion Volume down to around -23dB. After that, change the distortion Type to 4x12 to achieve a richer, less tinny distortion sound. Now modulate the wet/dry mix by assigning LFO1's destination to Mix, before pushing the Amount up to around 70%.
Modulated distortion
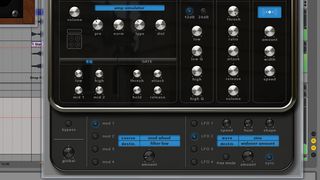
Step 6: Finally, we can add extra width to the riff by assigning LFO2 to the Widener amount - turn on sync and set the timing to 1bar, then adjust the Amount to taste - we've gone for around 30%. We now have a cool and unusual riff that works musically and sounds unique. These techniques work equally well with different genres and sounds.
