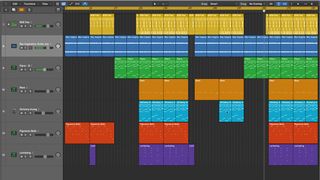
In your search for richer, more 'pro-sounding' tracks, you've probably stumbled across the concept of layering sounds.
Fundamentally, this is the basic principle: combine (or stack) two or more of the same kind of sound together to achieve a more powerful or better-sounding outcome than one single source can achieve in isolation, creating the perception of one denser, fuller sound.

The idea is pretty much as old as music itself - imagine choirs combining multiple singers in unison to create more power and depth, producing a more complex, interesting sound for the audience.
The caveat is that it's easy to make a mess when blending several sound sources together, especially when they have similar characteristics. Frequency clashing and masking can easily muddy up your mix, especially in the mids; transients can compete for attention, causing dynamic inconsistencies; and a lack of precision or forward planning can lead to phase cancellation, flabby results and a weak-sounding, amateur mix overall.
These 12 tips and tricks should help you avoid these pitfalls, and make sure your layering isn't doing more harm than good.
1. Don't get too attached
Stacking layers isn't just about throwing together sounds as quickly as possible. Use each element to contribute to an overall 'bigger picture', and don't get too fond of one particular part. Be prepared to throw away or replace things that aren't working in your search for a superior sound.
2. Width vs. mono
When fading in a stereo layer to give a wide presence at the sides of the mix, be sure to sum your overall output to mono on occasion using any standard 'monoising' or width-reduction plugin. If your end result falls apart or disappears, consider revisiting each part and tweaking its width to prevent too much cancellation.
3. Less is often more
Try to minimise the number of layers you're combining. We're not saying you should never stack five sounds together, but make sure you regularly mute each channel to see how it's contributing. If there's one layer that will do the job of two, replace them with it.
4. Thinner's a winner
Lots of modern commercial packs contain dense, ready-layered sounds to create that 'wow' factor when you audition them. Whilst sounding impressive in isolation, if you want to use them for layering, you'll probably have to process them a lot to get them to fit in. Keep a folder handy of thinner sounds and layers (old hip-hop or drum machine hits, for example) for specific layering tasks.
5. Sampler stacking
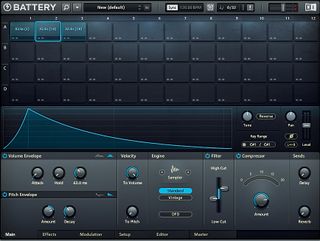
Modern software samplers and drum machines house features that make your life easier when combining two or more sounds together. Transpose functions enable you to pitch sounds around quickly and easily. Onboard high and low-pass filters let you speedily remove unwanted frequencies to get things working in a flash. Most will also feature multiple outputs so that you can route your separate layers to individual DAW channels if you need to process them further.

6. Transient awareness
If you've created a punchy drum hit from two or more layers, watch out: your transients could be peaking too highly, eating up valuable headroom. To monitor these, we recommend a real-time oscilloscope-style waveform analyser such as the free s(M)exoscope or WaveShaper CM.
7. Transient reduction
But what if those transients are peaking in a mix? How should you reduce them without ruining your carefully stacked sound? The obvious solution is gain reduction from a transparent limiter plugin, but you can get more creative too. Subtle application of a tape saturation tool, a touch of distortion or a transient shaper can all help reduce peaks.
8. Perfect pitch
When layering sounds together (especially drums), make sure you for the transpose or tune parameter in your sampler. Repitching can often really help two sounds to gel together before you even add any other effects!

9. Make some noise
Whether it's recorded texture or basic white noise from a synth plugin, trusty noise comes into its own when mixing sound sources together. It can add brightness to a snare, texture to a soundscape, or realistic 'glue' to stick sounds together. Again, keep a library of interesting beds and textures to draw from when designing your samples.
10. Parallel worlds
Sends and returns can be ideal for creative layering journeys. Load up some crazy effects chains onto a return track, send a portion of your source sound's signal to that return, then experiment with plugin settings and effects. Export the return track separately, then reimport and layer it with your source sound for even more editing and processing.
11. Library layering
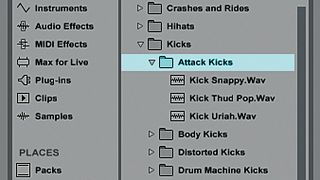
Once your layering skills improve, it's great to have specific folders in your sample library dedicated to this layering task so you can quickly turn to 'Tops', 'Snap', 'Body' or 'Release' elements on the fly. Packs such as Goldbaby's Dirt and Layers have cottoned on to this workflow and offer this approach in a useful pre-prepared format.

12. Time management
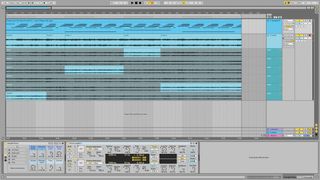
Layering can be a drag, so when working quickly, save dedicated layering or sound-design templates for your more focused stacking sessions. You can have your channels, returns, groups and processing chains ready to go. Once you fancy a little layering action, get stuck in, but don't forget to export your creations for later use!


