When designing your own drum kits for electronic music, it doesn’t get any more ‘from-scratch’ than building them on one-shots you’ve recorded yourself using found sounds - kitchen utensils, urban noise, industrial machinery… you get the idea.
In this tutorial, we're going to show you just how effective the technique can be by throwing together a drum ’n’ bass beat using nothing but recordings of a variety of household objects, including a box of pencils, a sofa, a large cardboard box, an even larger wooden box, a pair of scissors, a number of cups and bowls, and a studio chair (struck with the hand and, er, a hairbrush).
The creation of the raw sounds simply involves recording whatever you like with a microphone, bearing in mind the often multiple properties required for each kit piece – the ‘body’ and ‘click’ layers of the kick, for example. The hits we’ll be using have been cut to size from the original recordings, and normalised to -0.3dB. However, as you’ll see, most of them are actually ditched during the selection process for each type of drum.
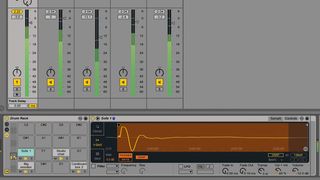
Step 1: We're going to host our kit in Live’s Drum Rack. We start by importing our kick sounds into the lowest 16 pads, then copying a MIDI sequence between lanes, adjusting sample starts and fades. We eventually arrive at a combination of four layers that sound like they’ll blend well into a punchy kick, and group the sounds within the Drum Rack.
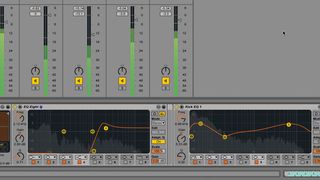
Step 2: The Big Wooden Box Hard layer is doing a good job providing high-end ‘click’, so we focus it on that particular role by EQing out everything below 1kHz, thus clearing out the muddy low-mids. We then EQ the whole kick drum group to bring it all together, and work in a touch of distortion to harden it up.
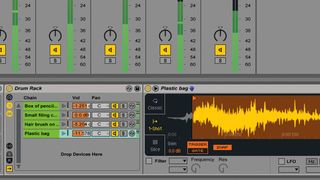
Step 3: Via the same selection, editing and balancing process, we boil the snare drum down to a group of four very distinct sounds: a box of pencils, a small filing cabinet, a hairbrush striking a plastic chair, and a plastic bag being scrunched. The first three form the snare’s body, while the plastic bag emulates the snare wires.
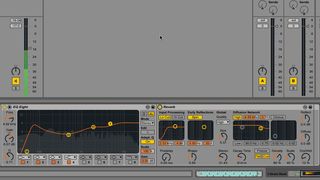
Step 4: We don’t EQ any of the individual elements this time, but we do place Live’s EQ Eight on the snare drum group, filtering out the low end, scooping the low-mids and boosting the highs. A short reverb set to a low wet/dry mix places the snare in an ambient space and adds a bit more cohesion.
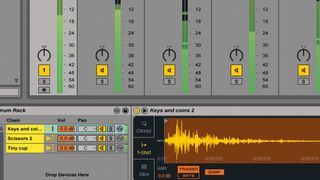
Step 5: Next, we reduce eight hi-hat candidates to three using the same process: a handful of keys and coins being struck on the beat, and the combination of a tiny cup hit with a pen and a pair of scissors being closed on the offbeat. Applying a resonance-boosted high-pass filter at 2kHz gets rid of unwanted lows.
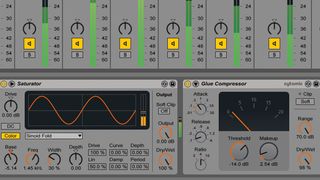
Step 6: Our kit sounds pretty tight as it is, but it needs more energy and sizzle. Live’s Saturator effect, set to the Sinoid Fold Curve Type, delivers exactly that; while placing a Glue Compressor after it - set to 3ms Attack, 0.1ms Release and 4:1 Ratio - reins in the dynamic spikiness that comes as a consequence.

