“Why would that be embarrassing?!”: Jack Antonoff on winning the Producer of the Year Grammy 3 years in a row
Only one other producer has managed it

Only one other producer has managed it

Before she became a six-time Brit Award winner in 2024, the British singer wrote for artists including Beyoncé and Rihanna

It seems that the streaming platform could be set to capitalise on the demand for multiple versions of viral hits
Plus, 5 other things we learned from the session ace’s interview with Rick Beato

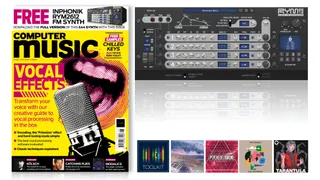
Transform your voice with Computer Music's June issue – and get a FREE FM synth plugin worth £44

Both recordings are set to appear on a tribute album celebrating Mancini’s 100th birthday

He's formed a power trio with two old friends

Anderton says the economics of manufacturing budget guitars can mean small investments yield dramatic increases in quality
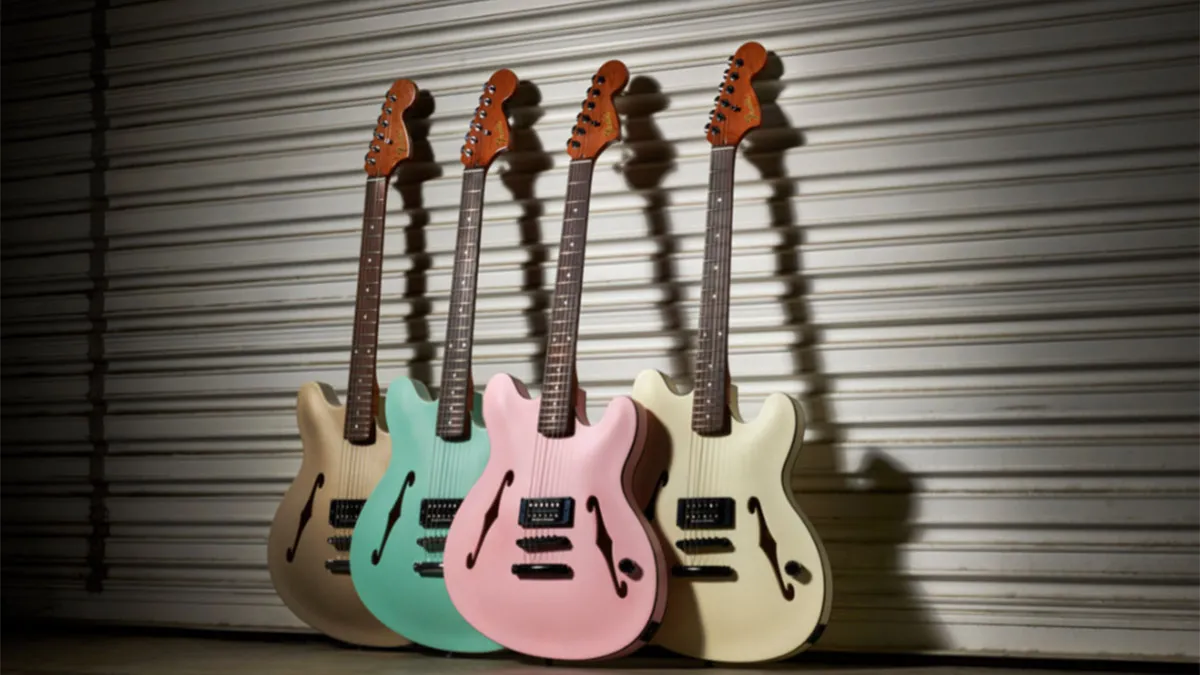
“It goes to space. It expands your mind,” says DeLonge of a guitar that is equipped with a quality Seymour Duncan SH-5 humbucker and available now in four satin finishes

Following the Canadian artist's disastrous Coachella performance, we revisit a classic interview surrounding the release of Grimes' fourth album Art Angels
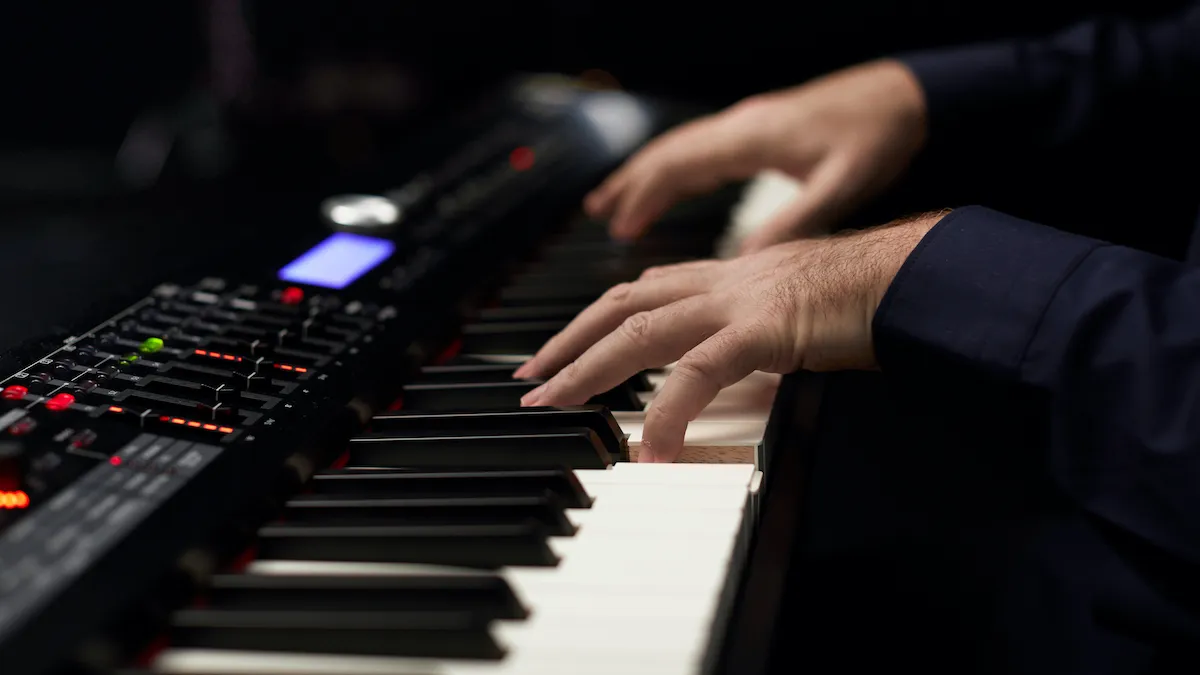
Our guide to the top stage pianos for gigging musicians, with options from Roland, Yamaha, Korg, Dexibell, Nord, Kawai and more.
Want to avoid replacing your studio headphones sooner than you need to? We’ve got a range of tips to keep them in prime condition for longer, from the studio to the road
Including delta blues, gypsy jazz, country, medieval, folk and bluegrass

Head like a… E5addb9

Set your reverb pedals to stun

I'm feeling supersonic, give me F#m11/C#
The essential tools for a blues jam are all here – complete with a backing track to try them out on

Waiting on the D/F# to change

All my strumming, I will send to you

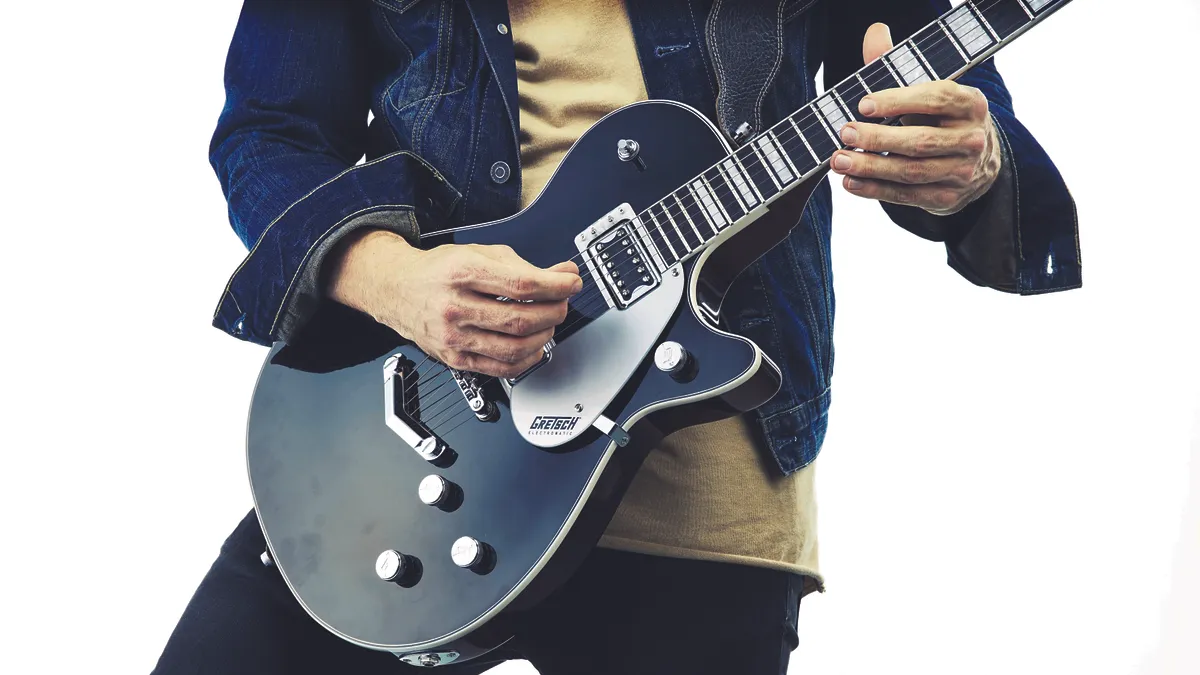
Unpicking the fingerstyle of the most influential blues guitarist
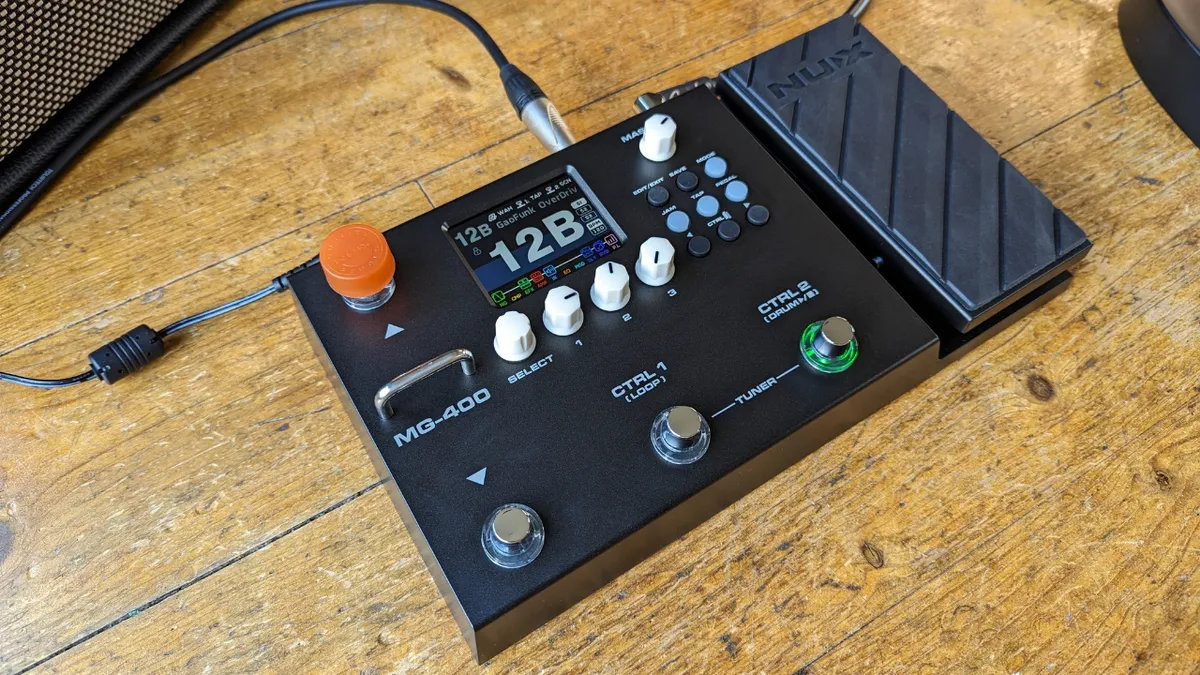
This affordable multi-effects pedal looks to tempt beginner guitar players away from the practice amp with loads of functionality and sounds

This all-in-one room correction package means no more excuses for a muddy low-end

It’s designed for snare drums. It’s a microphone. It’s the Lauten Audio Snare Mic

The Swedish developer launches a sample-based drum machine. We give it a shot
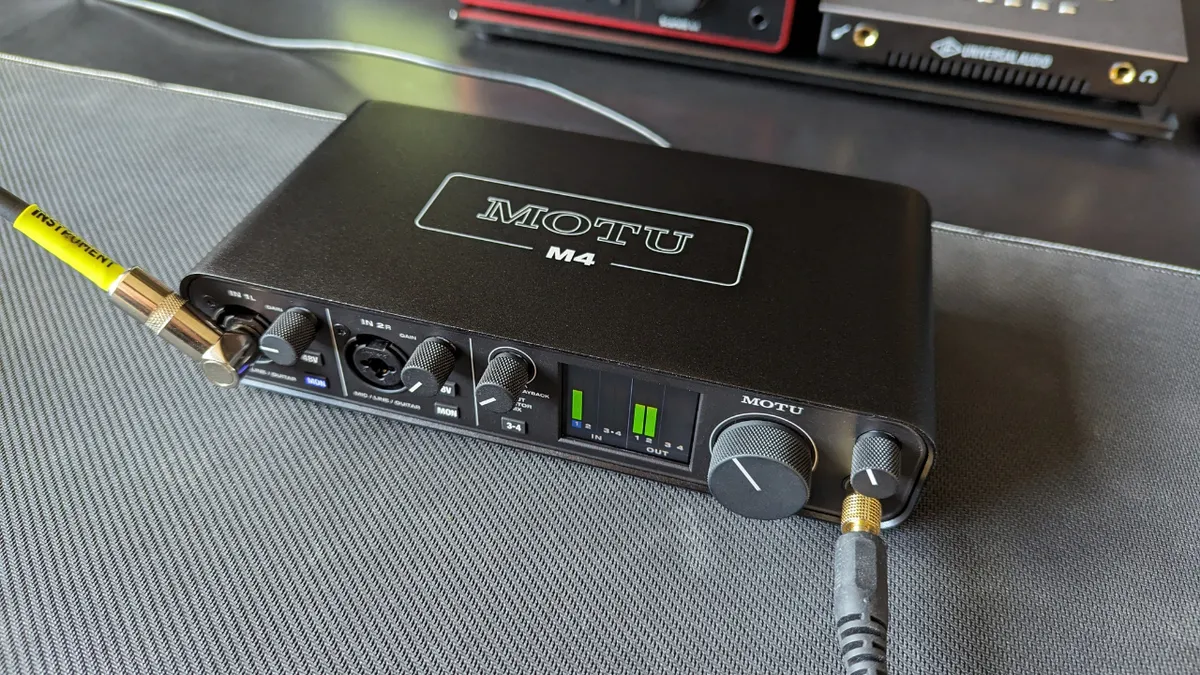
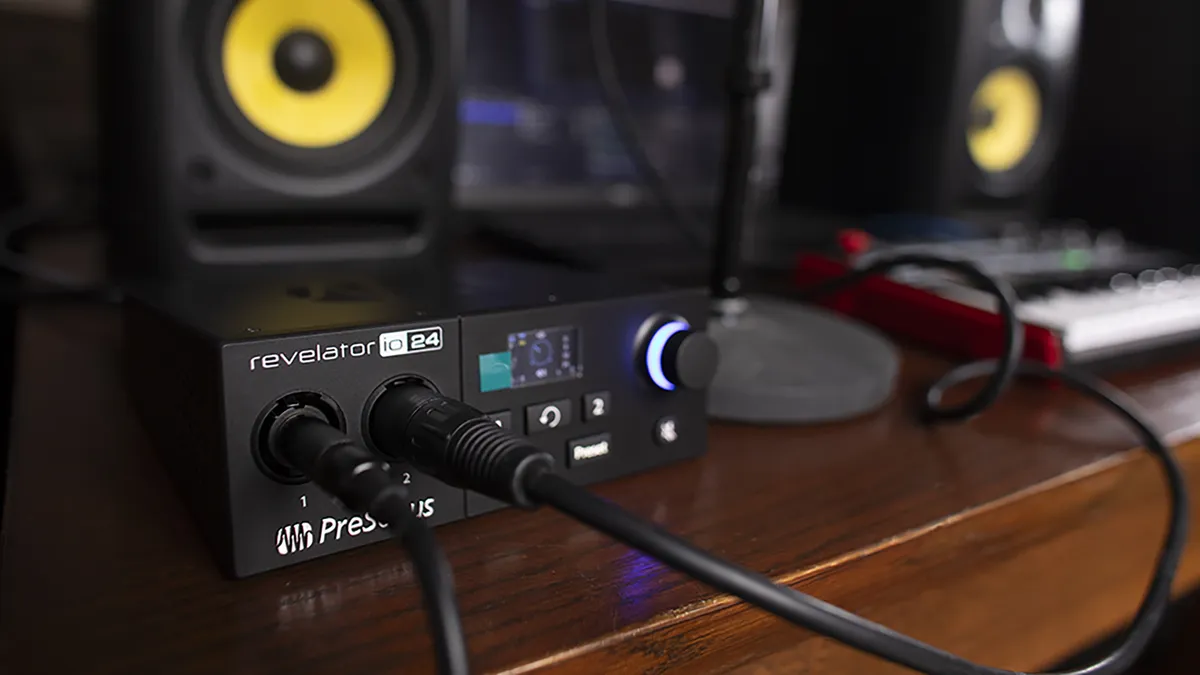
A feature-packed, great value-for-money audio interface that could be the perfect companion for live shows and studio work
A solid and affordable off-the-shelf monitoring option

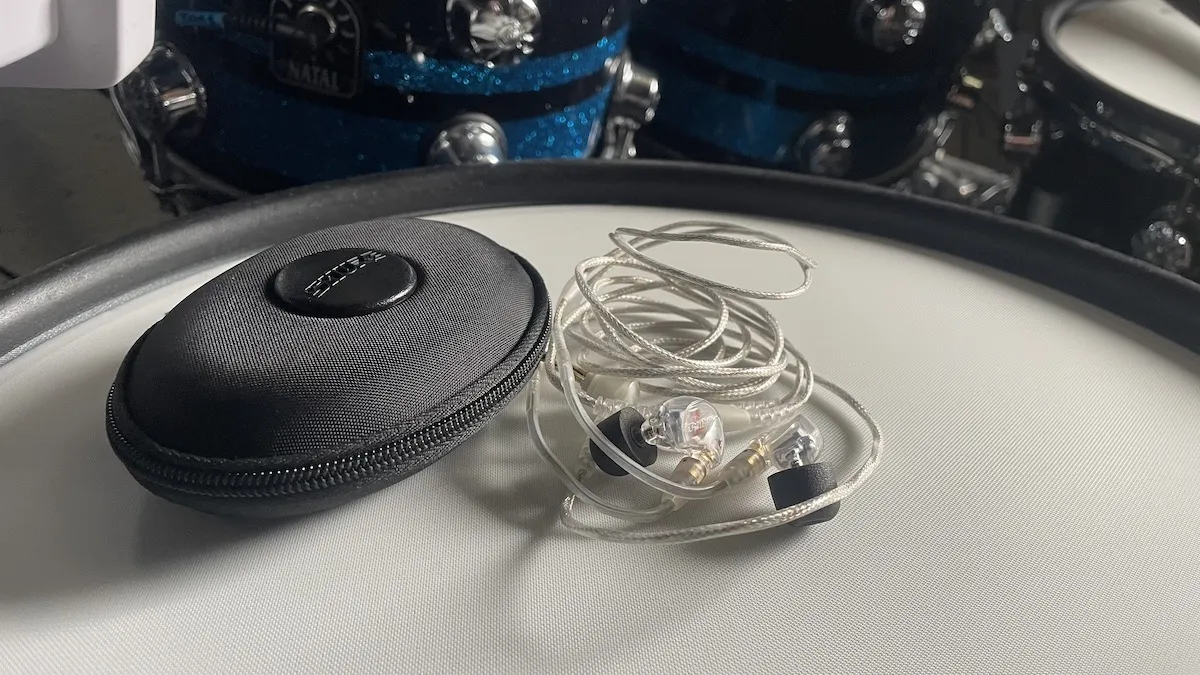
Headphones designed for both recording and mixing? We're intrigued

Well designed coaxial monitors can offer substantial sonic benefits. We hook one up